Step-by-step installation on macOS
This page documents a detailed step-by-step installation of Ancestris on a macOS system.
We will show an example that occurred on March 2024, of the installation of an Ancestris version on macOS Sonoma.

Installation of Java
1. From the macOS desktop...

2. Open a terminal and type "java -version" to check if Java is already installed or not.
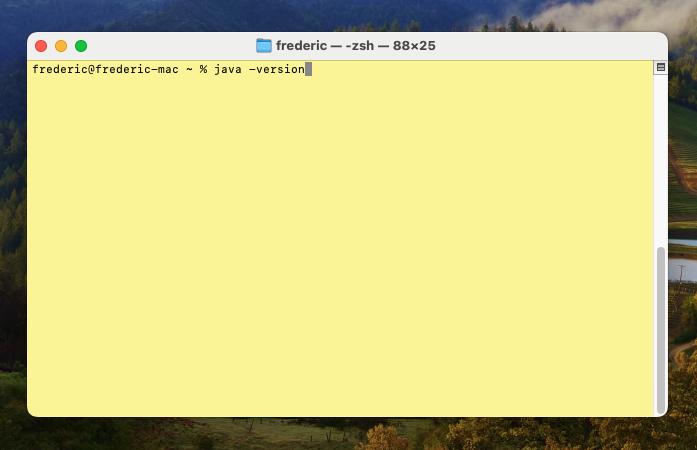
If java is installed, the response will indicate that Java is found and provide the version number. Here version 17 is installed.
Refer to the Version Compatibility table to check if a compatible version of Java is installed depending on the Ancestris version you chose to install.
In this case, all good, jump to step 5 to install Ancestris.
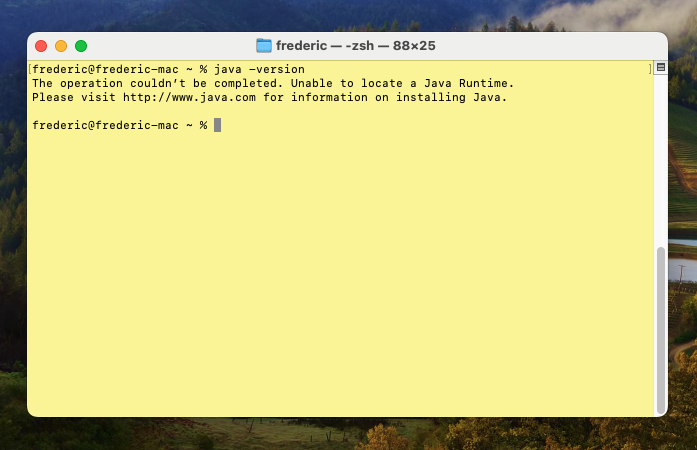
Otherwise, if Java is not installed, the response will indicate that Java cannot be located.
So install it by following these next steps.
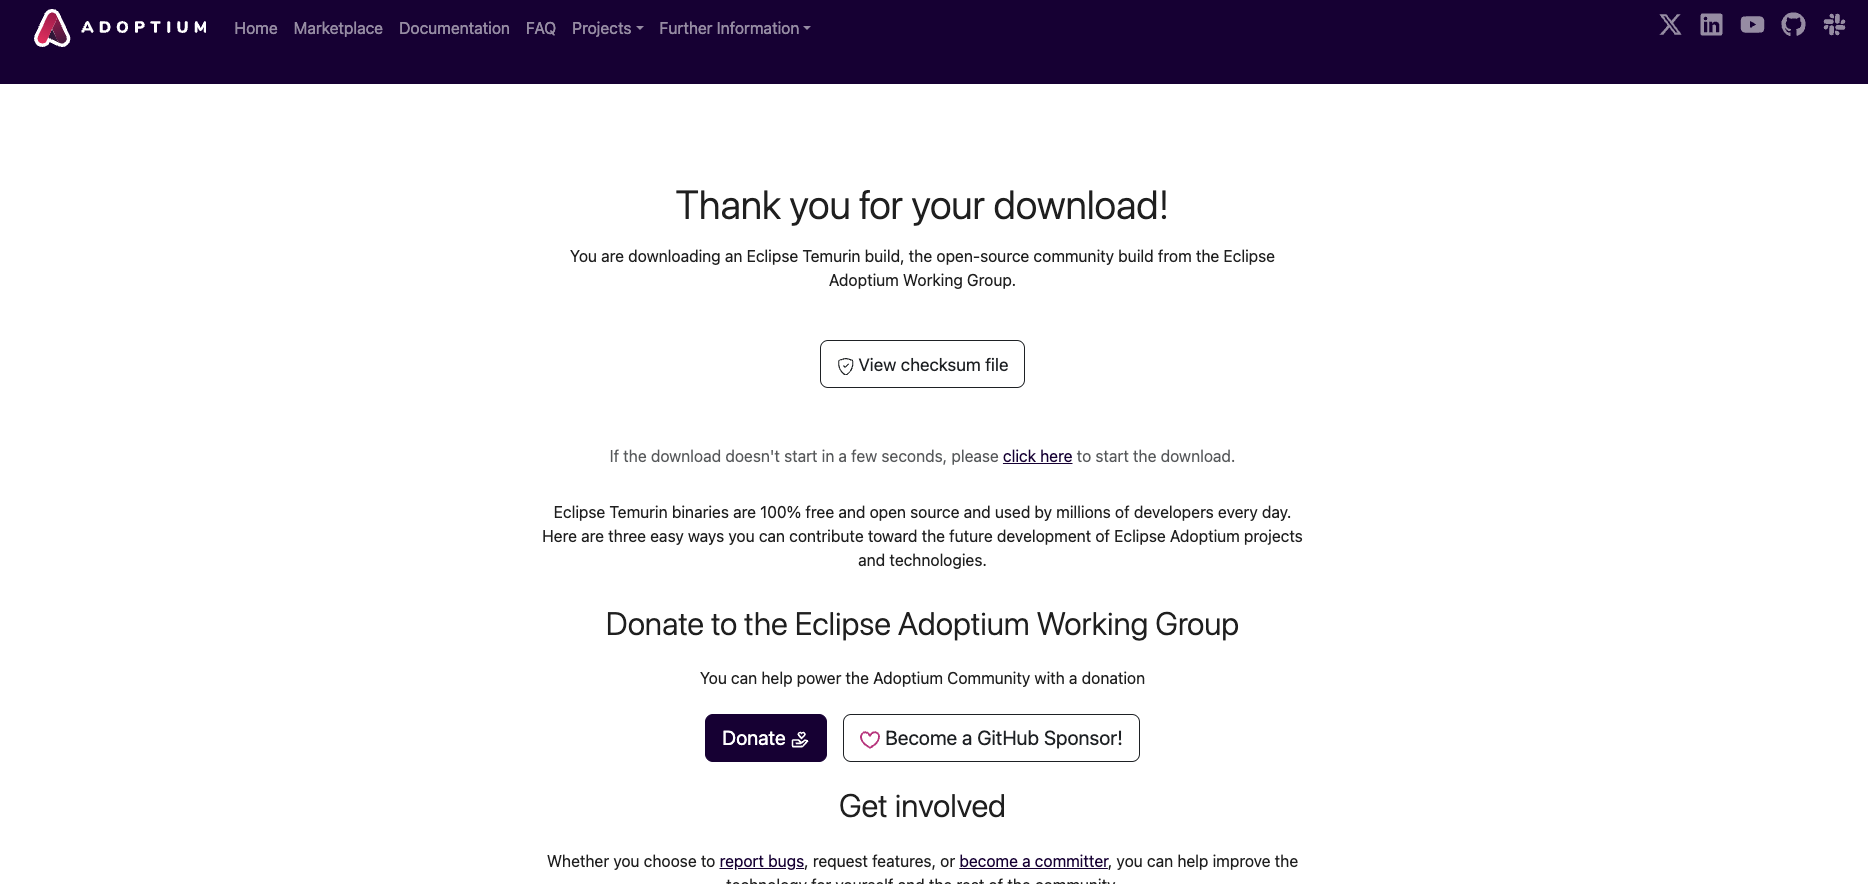
3. Install Java by going to the Adoptium web site.
Here Adoptium suggests to install the LTS (Long Term Support) release Java 21 for macOS.
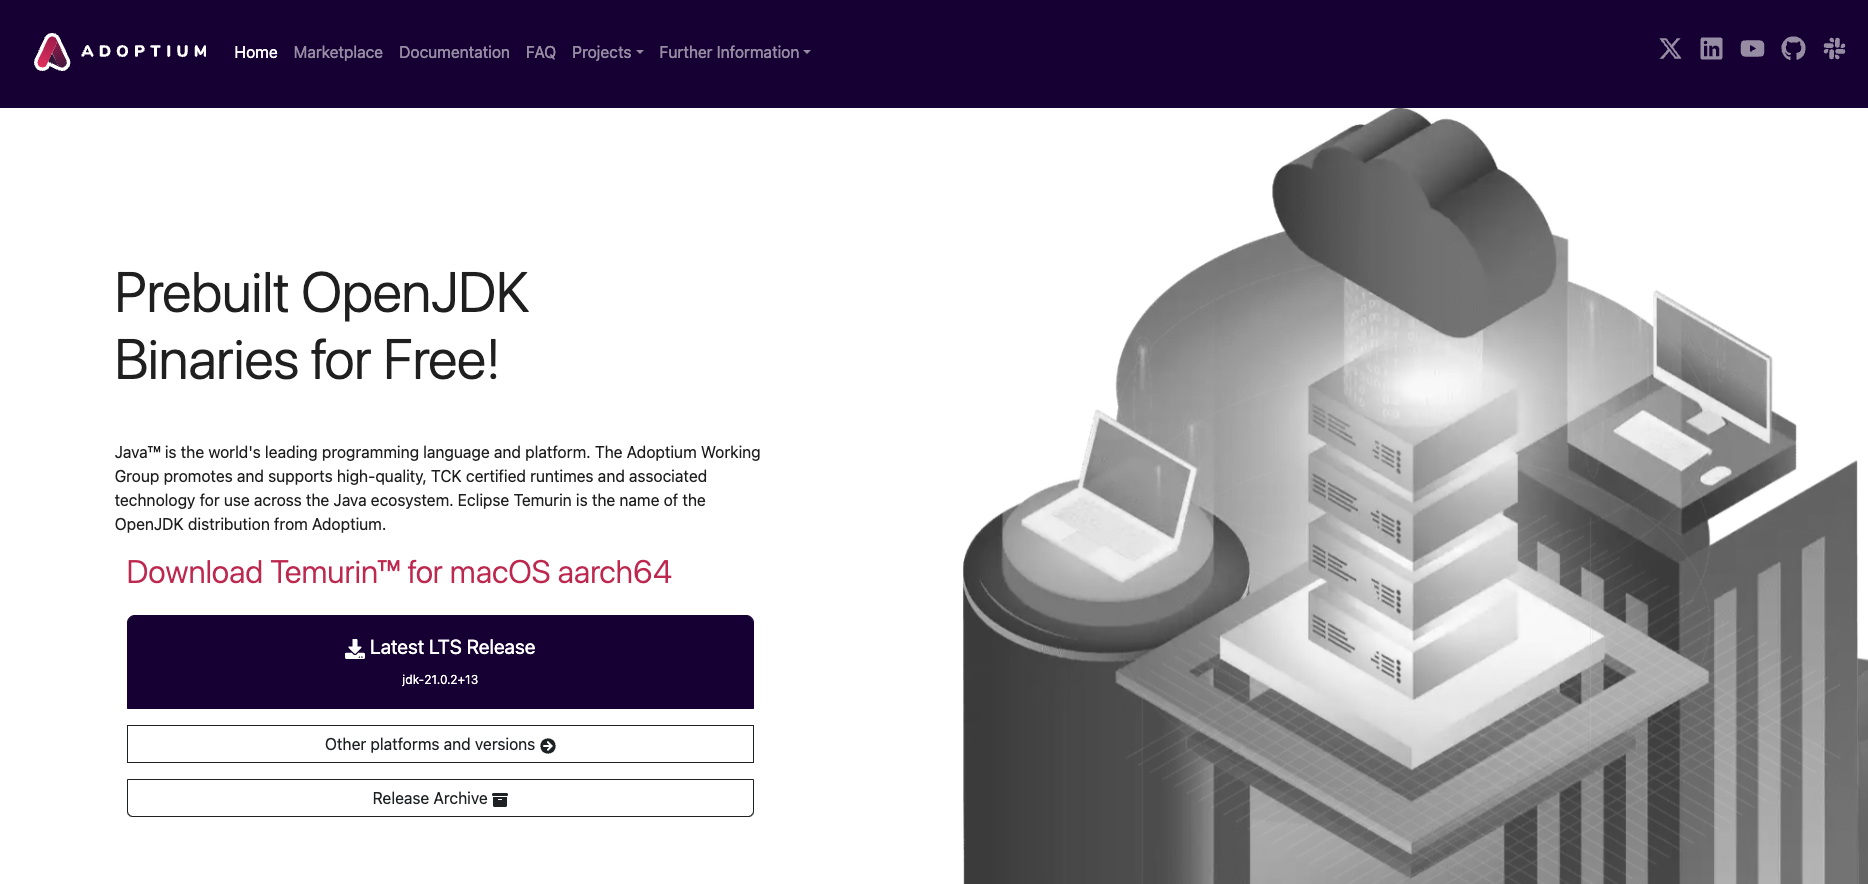
Click the "Latest LTS Release" button. You should see this page now.
Note: If you want to install another version, click the button "Other platforms and versions".
Downloading has started... Click the download round button on your browser and wait.
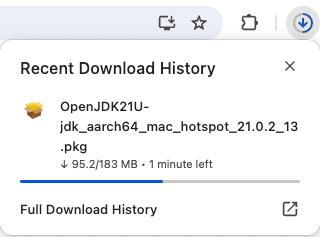
After a short moment, downloading is completed.
Launch the JDK package from this download popup. You should see this installation window.
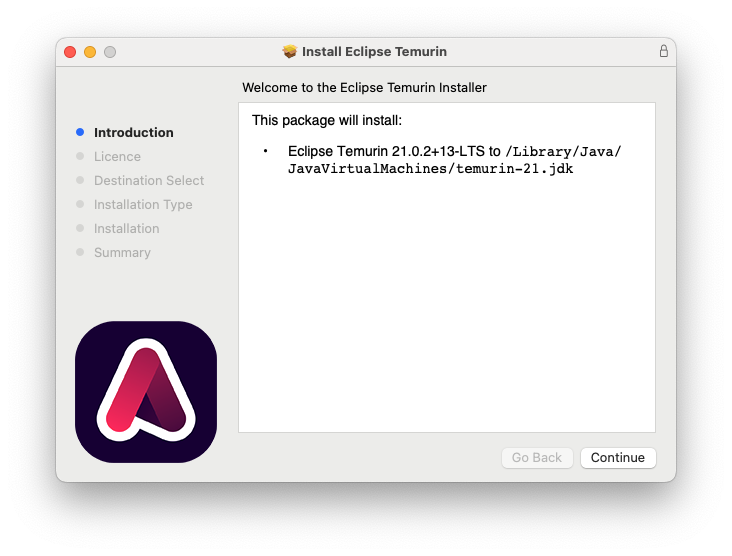
Click Continue.
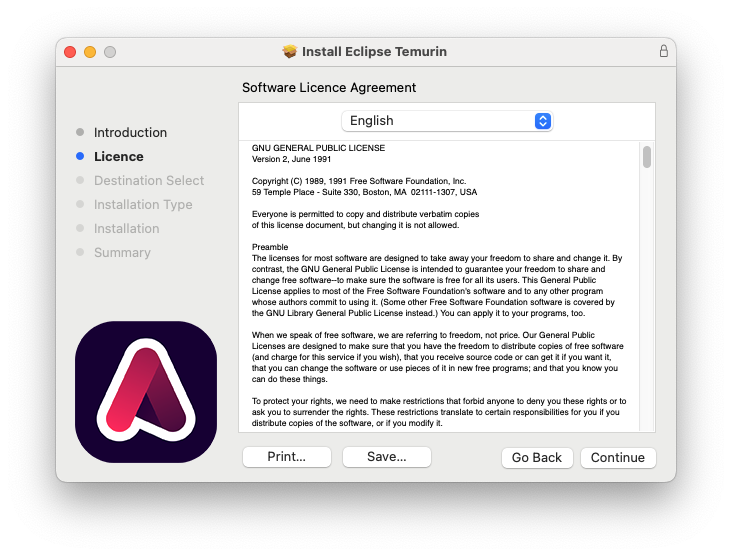
Click Continue.
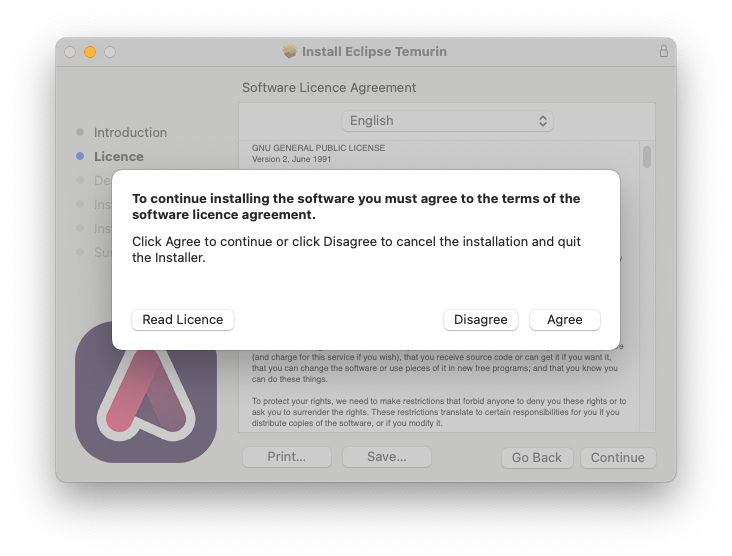
Click Agree.
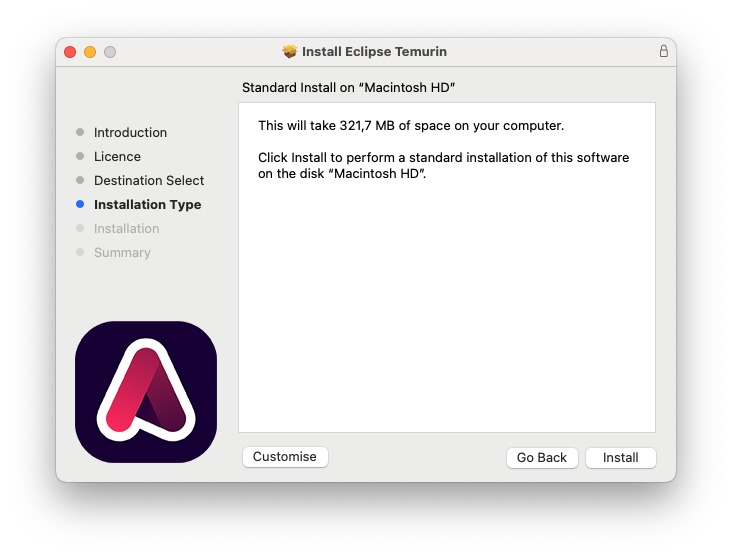
Click Install.
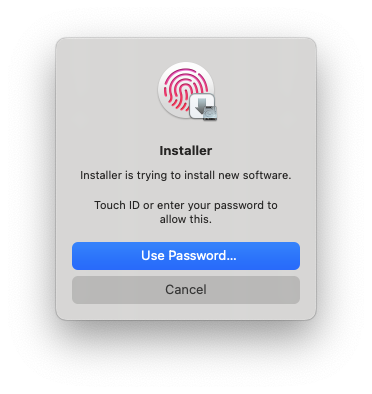
Validate with your fingerprint or provide your Mac password.

The installation starts.
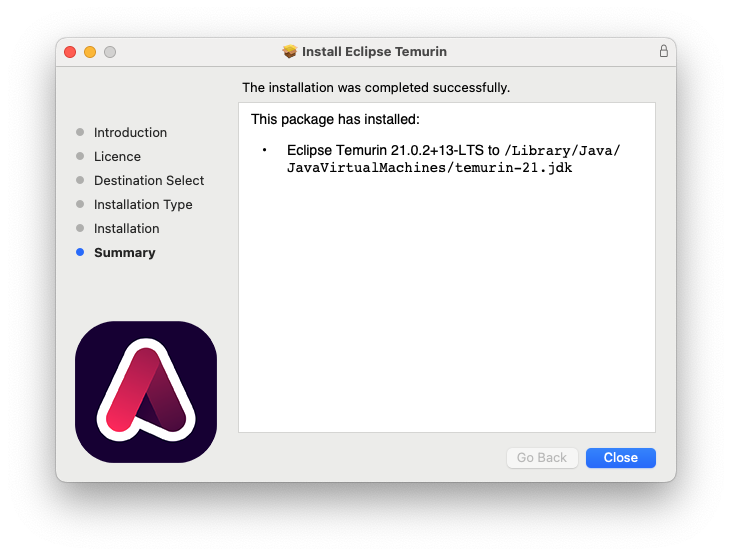
Installation is completed. It tells you where it has been installed. Click Close.
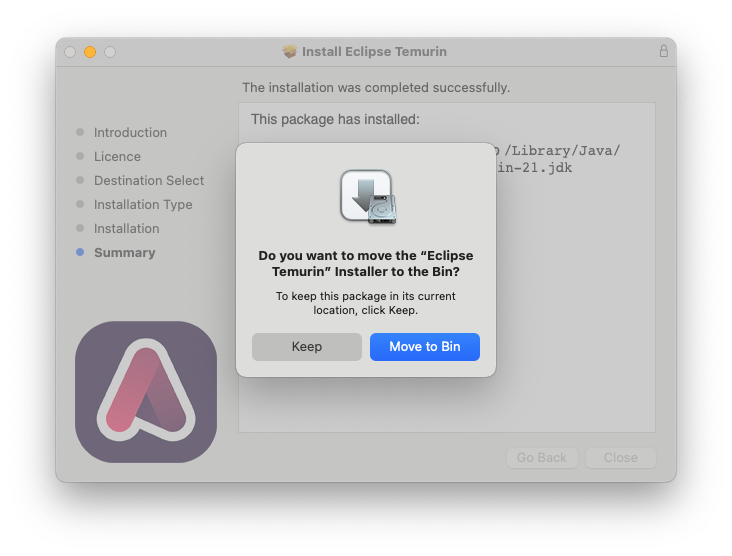
Finally, you are asked to Keep or Move the installation package to the bin. Do as you wish here.
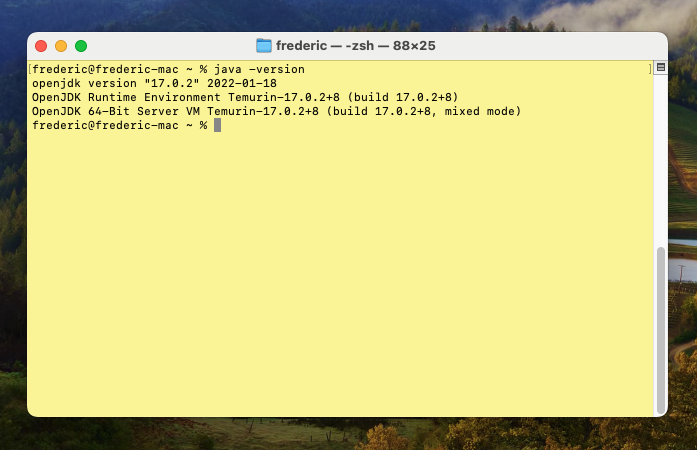
4. Check that Java now shows up in the Terminal window.
Type "Java -version".
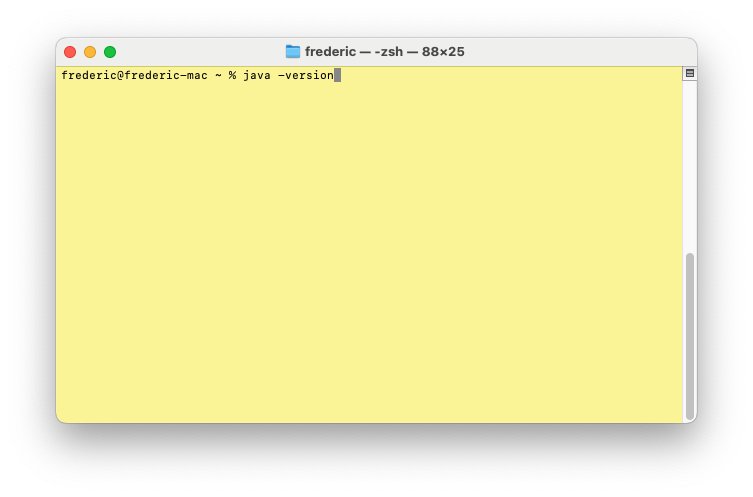
The following result should appear, indicating Java 21 is installed.
At the time of doing this installation, this was a Java version compatible with the available Ancestris version at the time.

You are now done with the Java installation. Let's install Ancestris now.
Installation of Ancestris
5. Go to the https://www.ancestris.org web site


You are taken to the Download section of the web site.

Click the Ancestris button that corresponds to the version you want under the macOS column.

Download starts. Click the Download round button of your browser to see the progress bar and wait.
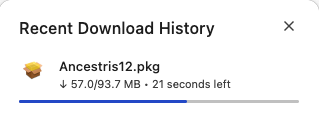
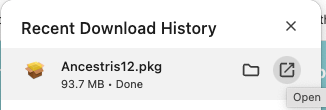
When completed, you should see the Ancestris package is approximately 94 MB.

Launch it from this popup window by clicking the little "Open" icon.
The Ancestris installation window should appear.
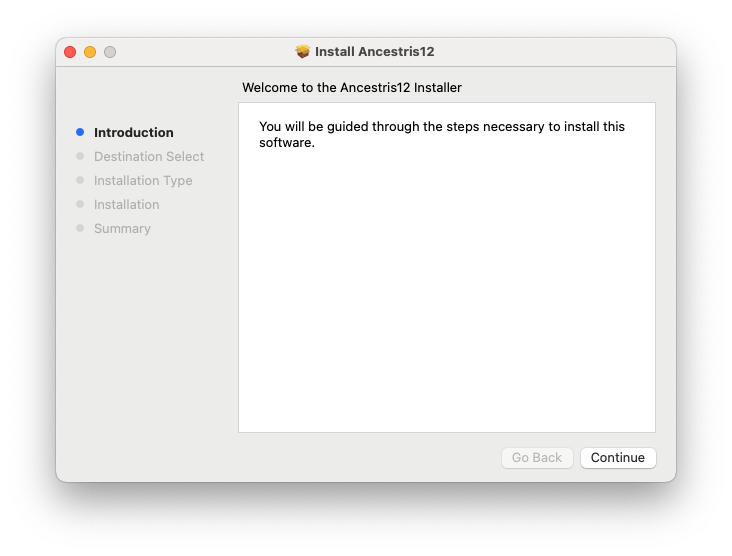
Click Continue.

Click Install. Confirm with your fingerprint or provide your Mac password.
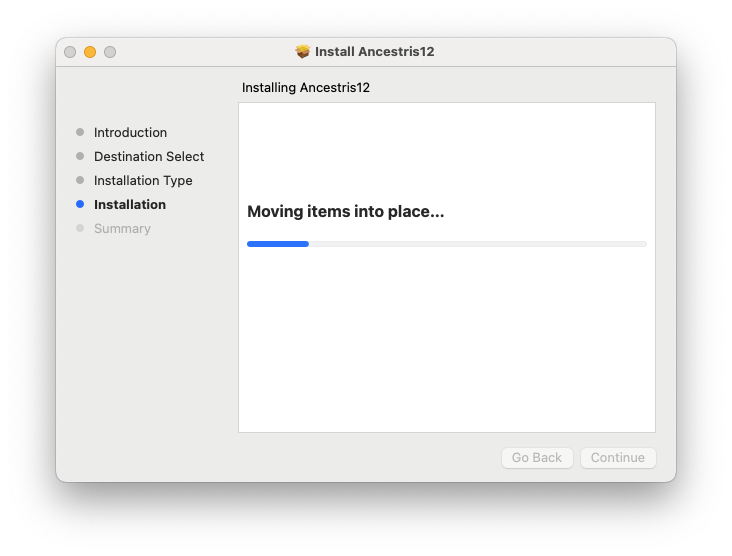
Installation proceeds...
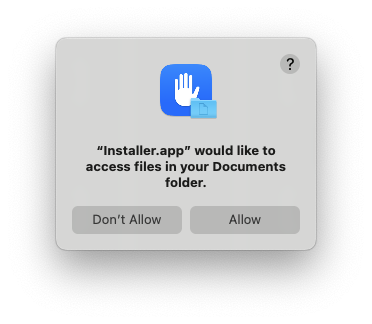 The installer asks for your permission to put the files on your computer. Press Allow.
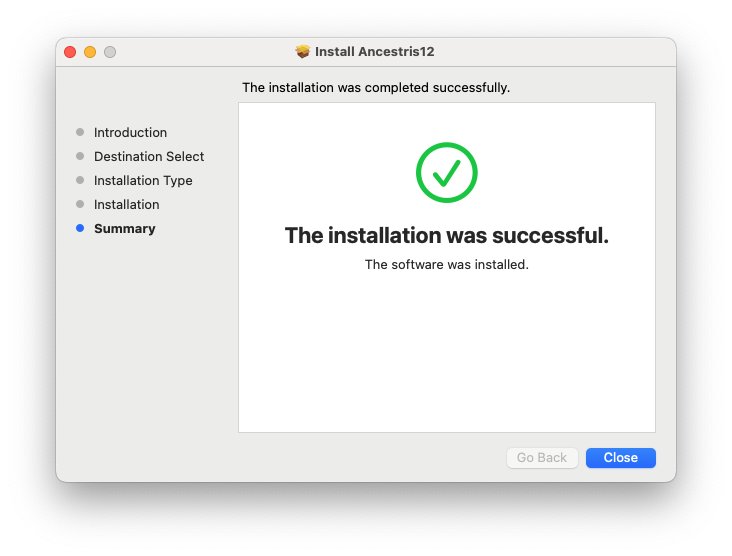
The installation completes quickly. Press Close.
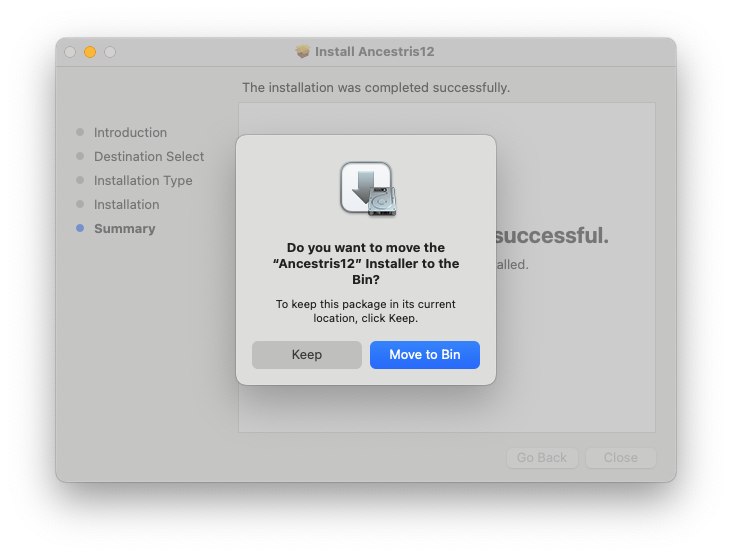
Finally, you are asked to Keep or Move the installation package to the bin. Do as you wish here.
6. Launch Ancestris from the Application launchpad screen.
In your application Launchpad screen, Ancestris should appear among the other applications. Launch it.
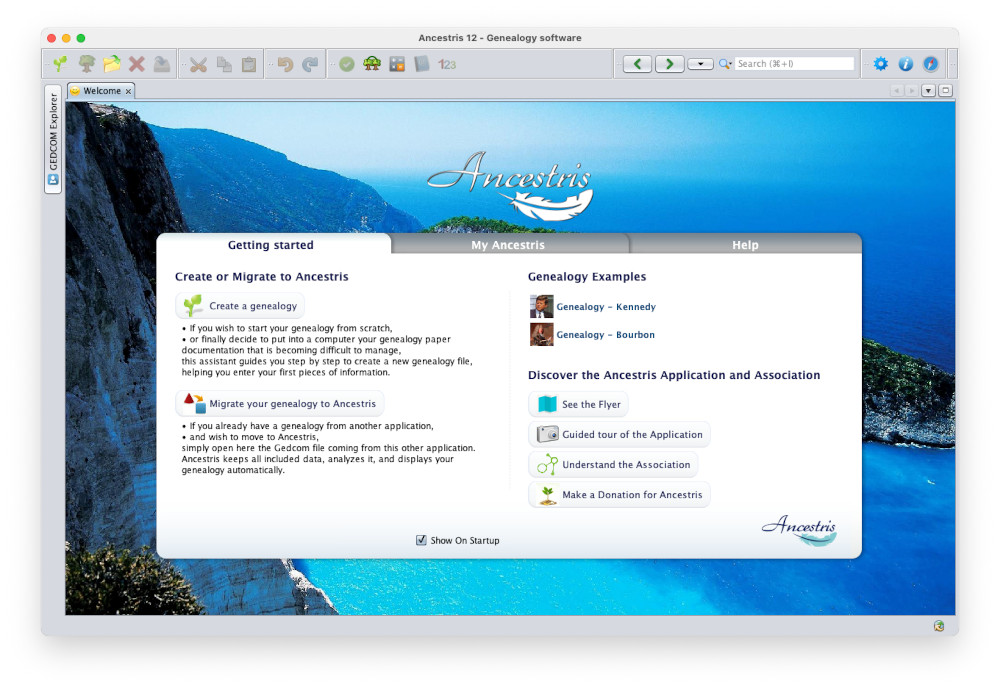
Ancestris starts.

The main Ancestris window then appears. You are done with the installation.
The language of the interface should automatically be set to your system language.
Congratulations.
Special note for users using macOS versions prior to 10.14.4
If you cannot upgrade your macOS version to the required version, you will need to launch Ancestris manually from the Ancestris script itself located here: /Applications/Ancestris.app/Contents/Resources/ancestris/bin/ancestris
If you use the manual way of launching Ancestris, you will not be able to write nor read files located underneath the Documents, Desktop and Downloads folders as per Apple security restrictions even though Ancestris is signed and notarized using the Apple platform. As an alternative, you will be able to store your files under /Public.
There are two ways to launch Ancestris manually.
First make sure you install Java and Ancestris as per the instructions in this page. Then use one of the following two options.
From the Finder
- Open the finder
- Go to /Application
- Locate the Ancestris.app application.
- Expand it. You will see the Contents folder.
- Go to Resources
- Go to ancestris.
- Go to bin. You should see the "ancestris" file.
- Click on it.
- A terminal window opens and Ancestris is launched.
From a Terminal
- Open a terminal
- Type
cd /Applications/Ancestris.app/Contents/Resources/ancestris/binto go to thebindirectory. ("bin" stands for binary files) - Type
./ancestris - Ancestris should launch. If not, please send us, via the Forum or the Support email, the text returned and displayed in the terminal.
Troubleshooting
If after having installed Java and launched Ancestris, nothing happens, please open Ancestris manually as described above in the From a Terminal section.
This runs the script contained in the bin folder.
The terminal window shows the script execution. If the error is not helping, copy the content of the Terminal window to a file and send it to the Forum or the Support email for assistance.
Special note for users with 2025 Mac Studio running Sequoia 15.7.2
A user has reported to us that if after a successful installation and a start of Ancestris you get the error message that the program is "broken", try the following.
- Manually delete Ancestris from the applications folder. As near as I can figure, the new installation either didn't overwrite the old version or the part that the OS was detecting as "broken" wasn't being replaced with the new version.
- As soon as I deleted it out and re-installed, it worked fine.