Create your genealogy (L)
Creating your genealogy usually starts by drawing a tree with yourself at the center, adding the information of your birth, and adding your parents from a family record, then by adding your grandparents, and so on.
We will show you how simple it is to do this with Ancestris, how to create the first individual, the immediate ancestors and close family, thus having your first genealogical tree with one or two generations.
Create the first individual
You have seen, during the guided tour, the Bourbon genealogy, Bourbon file. It is an example supplied with Ancestris.
Let's close it and create a new one. This is just to save space, we could as well leave it open. To close Bourbon, click on the red cross on the toolbar.
And now, let's create your own genealogy.
From the Welcome page, click the button "Create a genealogy" or click  on the menu bar.
The creation wizard will start. Follow the steps until a dynamic tree appears with yourself right at the center of it !
On the first screen, enter your name and gender, then click Next.

Then enter the information regarding the author of the new genealogy, probably you. Click Next.

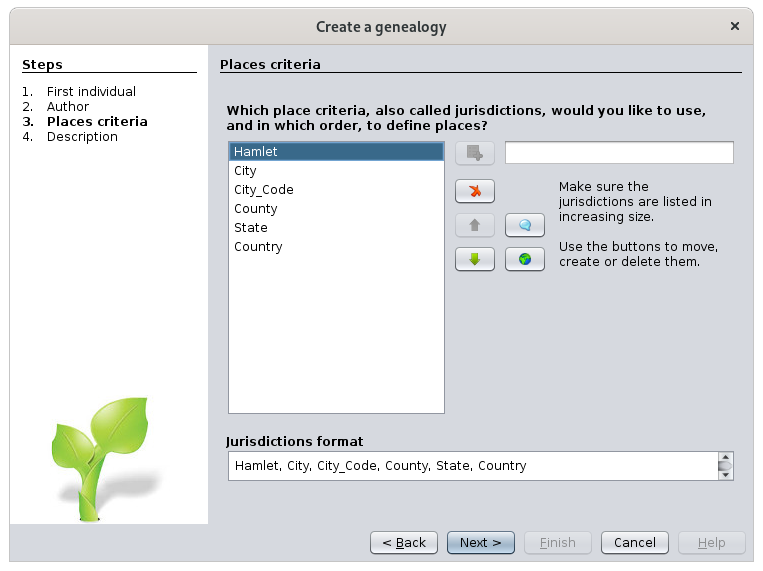
Define the places format to use across your entire genealogy. Below is the standard format. If you don't know now what it should be, click Next. It can be changed later.
Else, use the available buttons to add, change or delete jurisdictions. Then click Next.
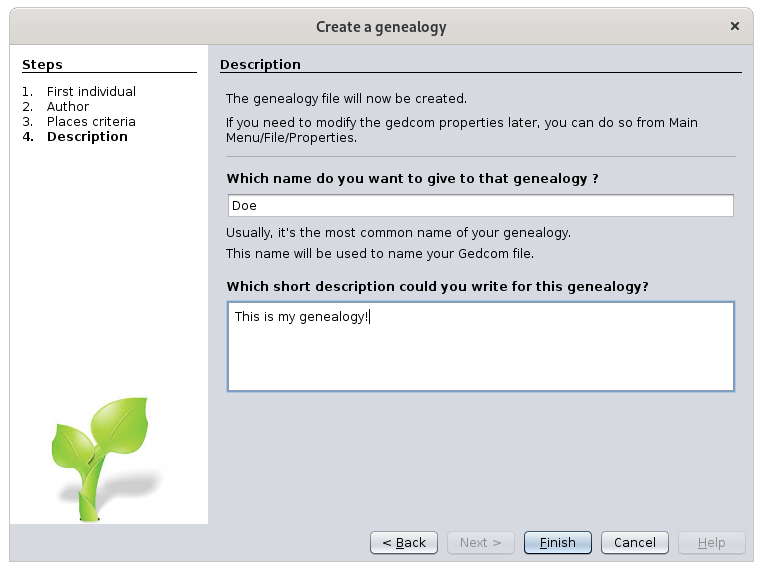
Enter a description for your new genealogy and click Finish.
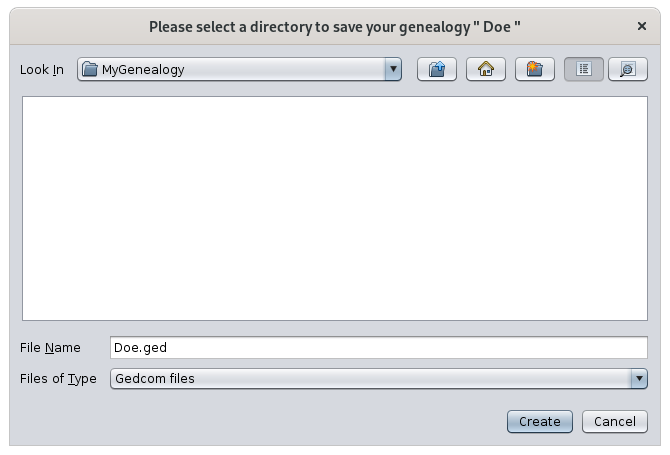
Ancestris will then ask you for the location to save your genalogy file and the file name to store all your genealogy information.
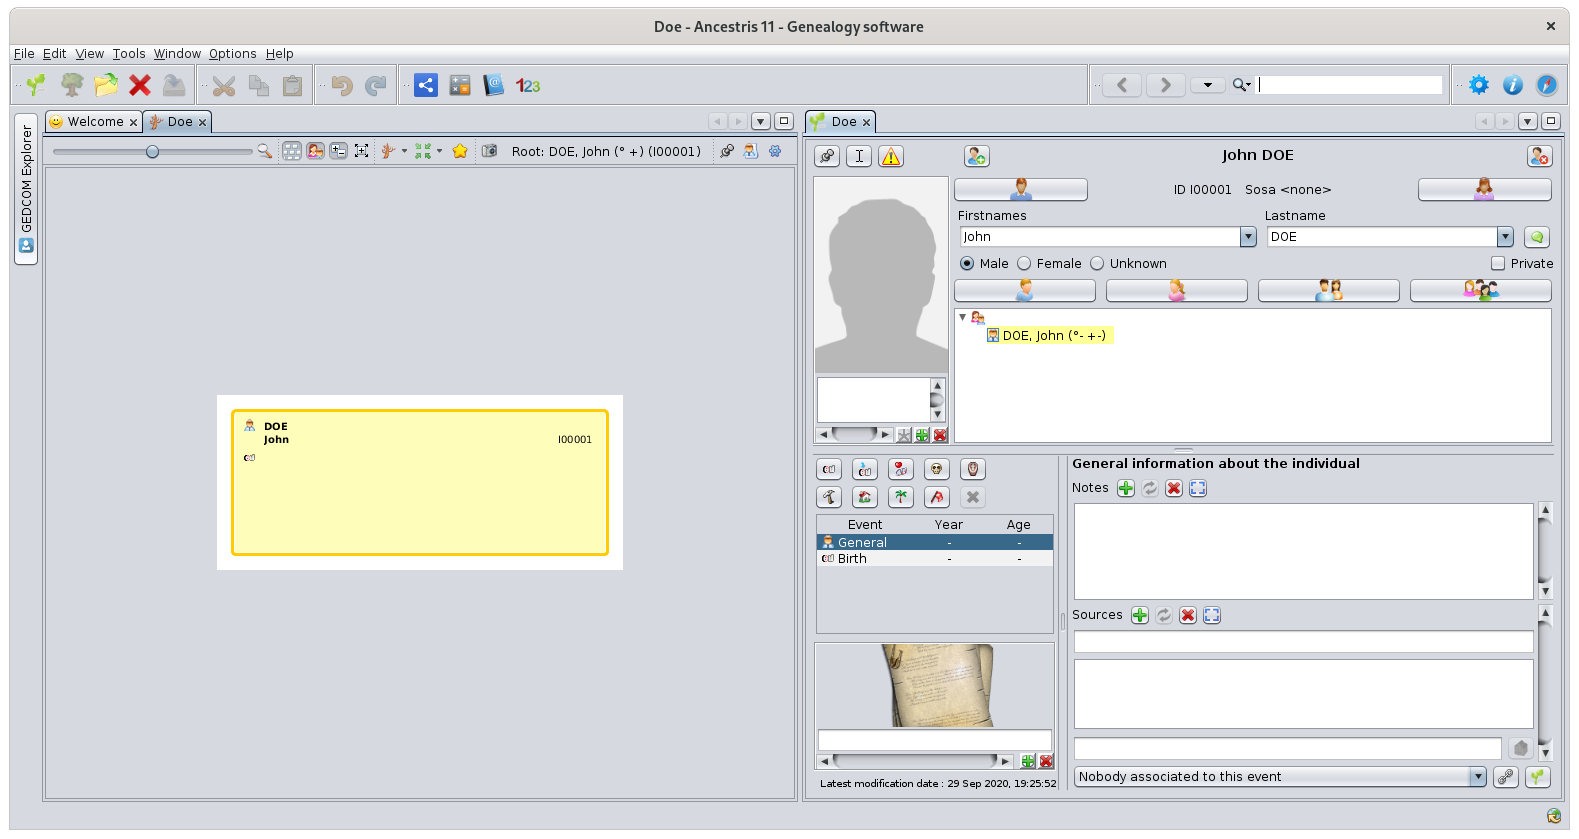
That's it. Ancestris will show you the beginning of the genealogy with the dynamic tree with you as root individual.
On the right hand side, the Cygnus editor is also opened. It shows the individual currently selected.
In the Cygnus editor, complete the missing information, e.g. your birth date and place.
Add a photograph of yourself by clicking in the respective area.
Add other names if necessary and if you haven't indicated them before.
When finished, in order to save the changes made, click on the OK button that will appear at the bottom right as soon as you change your data in the editor.
Adopt best practices
You will soon generate hundreds of records: individuals, families, etc.
We recommend you to immediately adopt a uniform and harmonised way to write the frequently used information, such as:
- surnames (1st letter uppercase or not)
- occupation descriptions
- witnesses (use husband's uncle rather than Peter's uncle) to avoid repeating names
- place names (old spelling or new spelling ?)
- etc.
Also, if you your birth certificate at hand, document it now as comprehensively as possible. Ancestris is made for it.
Create your parents
Creating people related to you can be done either from the dynamic tree or from the Cygnus editor.
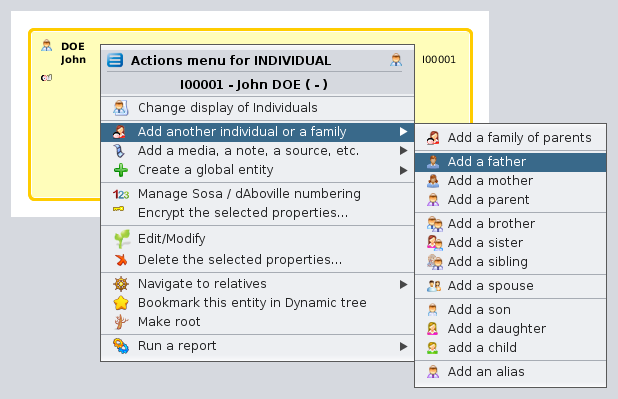
From the tree, right click the desired individual. This is a visual method. Here is an example:
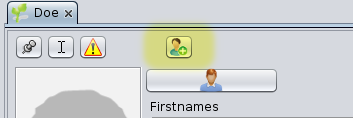
From Cygnus, we use the buttons for new parents. This is a faster method. The "Father" button is at the top left on the Cygnus editor.
In either case, you get two more boxes on the tree, above your own: your parents. Your father is created, but only a placeholder is visible for your mother, her entity is not yet created.
Ancestris default settings create only one parent at a time. It could be interesting to try and create both. To do so, go to preferences, menu Options / Preferences / Editing, or click on  at the top right of the main window.
Check the option Automatically create both spouses during the creation of a link Parent - Child.
On the father's box, the surname is already entered.
On the Cygnus editor, enter your father's information (name, date and place of birth, etc.). Click the OK button once done, to save the data.
To create the mother, whether right click on the individual and choose 'Add a spouse' or click the corresponding button on the Cygnus editor, or right click your own box and choose add a mother.
Create your close relatives
Next you can create your brothers and sisters, your wife and children, etc. in the same manner.
If you make a mistake, it is always possible to correct the information directly or simply undo the creation of the new individual by clicking on Undo button on the toolbar and start over.
Once you have created all the individuals of your close family, just click on your box to return to yourself.
Add information about your family
Let's suppose you want to enter your parents wedding date.
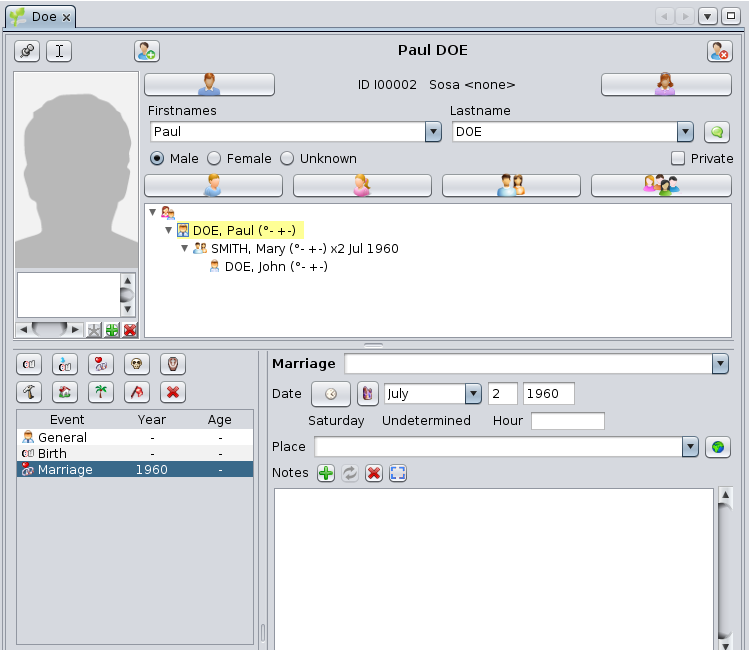
Click on the family box, the one between yours and your parents's. It is box number F00001 on the image below.
Cygnus will display your father as the current individual, and Cygnus will select the nuclear family he makes with your mother.
From there, click on the "Marriage" button on the Cygnus editor. The marriage event is created. Indicate the type of marriage (for example : Religious), enter the date and place, if known.
Click OK and that's it. Here is the result:
Let's now generate the Sosa numbering for this 3 people family.
This is the current tree:
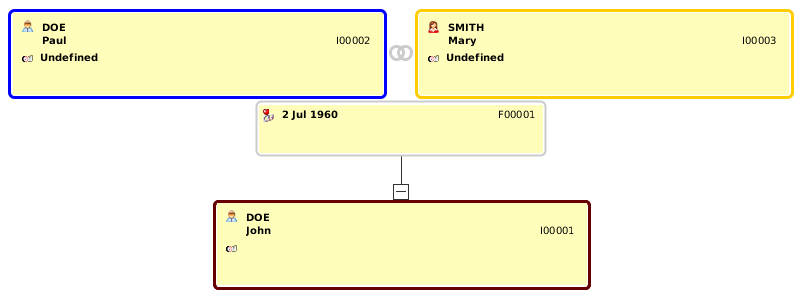
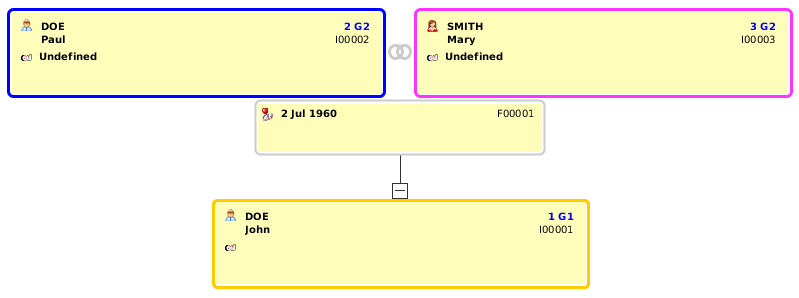
Right click on the box representing yoursdelf and choose "Manage Sosa / d'Aboville numbering". A window will open. Just click OK and the Sosa numbering will be created like the following: number 1 for yourself, 2 for your father and 3 for your mother. G1 and G2 codes are the generation numbers.
You should now have something similar to the tree below, where the Sosa numbering is visible on every box at the top right corner, above the identification numbers.
This first tree is now finished. Save it on disk by clicking  on the toolbar.
You can now close your genealogy file by clicking the red cross on the toolbar.
If you hadn't saved your data before, a window would have poped-up, asking you to save the file.
We will then see the Welcome page again, since it is now the only one opened.
From there, your genealogy will show on the "My Ancestris" tab of the Welcome panel, and at the top left on the section "Last opened genealogies".
From then on, you will probably adopt the habit of opening your genealogy from the Welcome panel.
You are now ready to take advantage of all the other features of Ancestris. The other chapters of this book will help you do so.
We wish you all the best.