Instal·lació pas a pas a MacOS
Aquesta pàgina documenta una instal·lació detallada pas a pas d’Ancestris en un sistema MacOS.
Mostrarem un exemple que es va produir el gener de 2021 de la instal·lació d’Ancestris versió 11 a MacOS Catalina.
Aquests passos inclouen els següents:
- Instal·lació de Java que encara no estava instal·lada a Catalina
- Descàrrega d'Ancestris versió 11 des del lloc web segur d'Ancestris
- Confirmació de la comprovació de seguretat per permetre que Ancestris s’executi tot i que prové d’un desenvolupador no identificat
- Llançament d'Ancestris
- Creació d’una icona Dock d’Ancestris
Tingueu en compte que les captures de pantalla que es mostren aquí poden ser diferents de les del lloc web actual Ancestris o de la versió actual del programari Ancestris.
Nota especial per a MacOS Big Sur:
- Des d'aquesta versió de MacOS, pot ser que calgui especificar el camí a la versió java al fitxer de configuració ancestris (vegeu la secció corresponent d'aquesta documentació)
- Per motius de seguretat, pot ser que sigui necessari emmagatzemar fitxers Gedcom en una altra carpeta que no sigui la carpeta "Documents"
Installation of Java
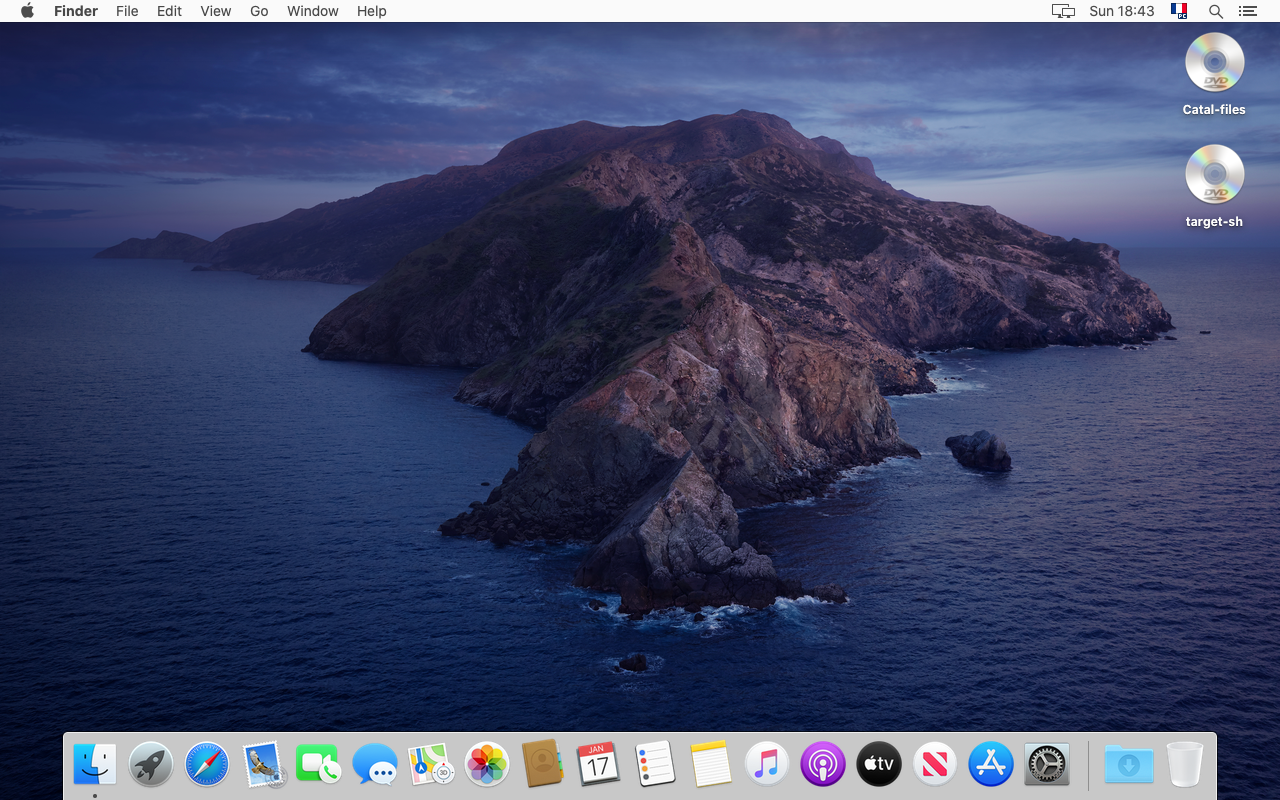
1. From the MacOS desktop...
2. Open a terminal and type "java -version"
If Java is not installed, a popup window will suggest to install it. Click "More Info...".
If java is installed, you can directly go to screen 11.

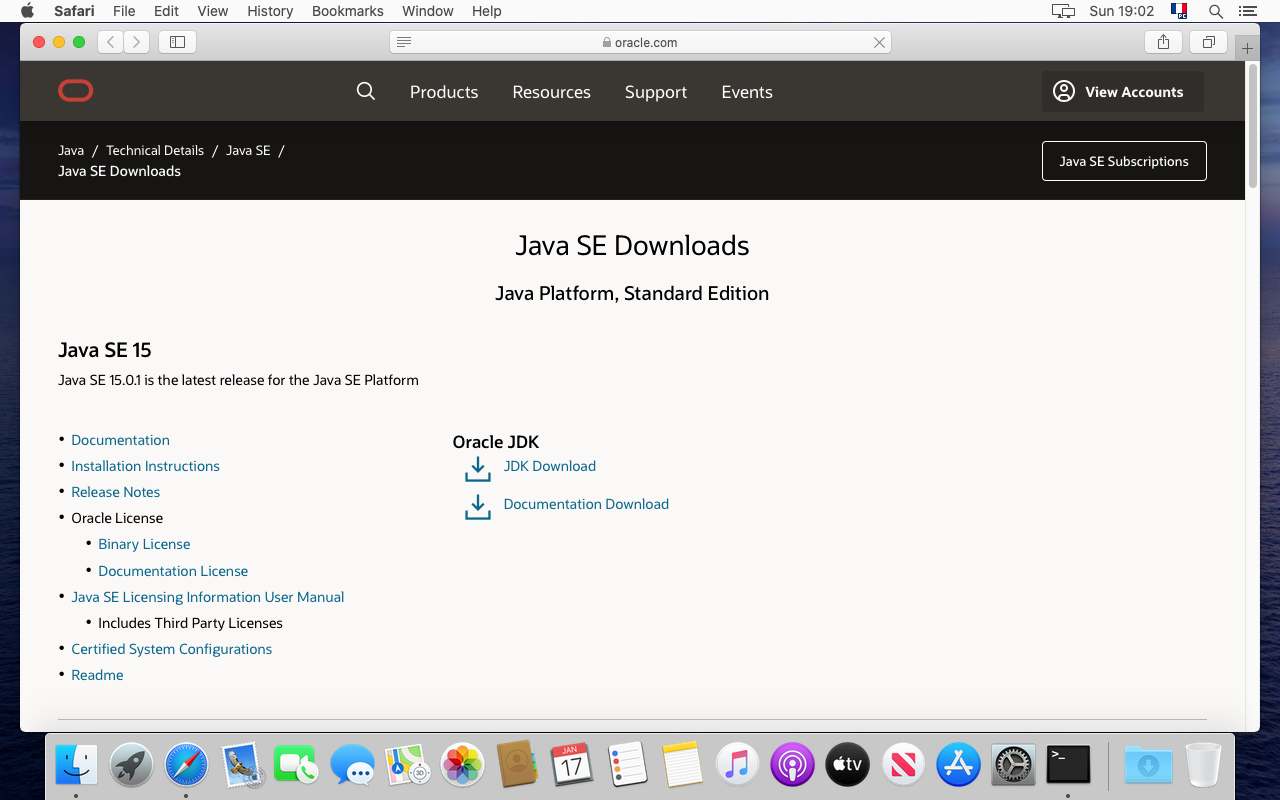
3. You are on the Java web site. Click on "JDK Download"
We can see from the web site that Java 15 was suggested. Let us install that version even though we recommend to use version 8 or 11 which are long terme versions (see required configuration).
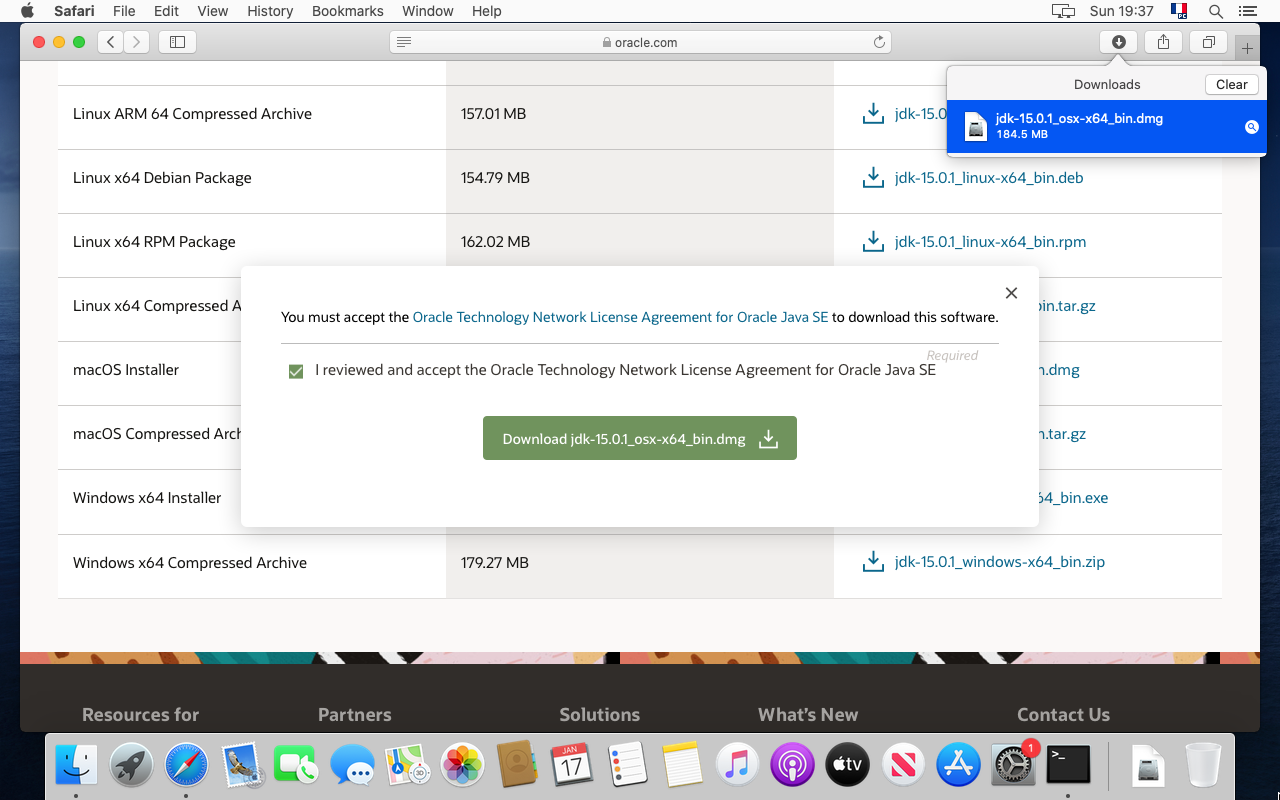
4. Go down to the "macOS Installer" line and click on the ".dmg' file

5. Click on the green download button.

6. Downloading starts... Wait.

7. Downloading is completed. Open the Downloads folder to check out the file.
8. Double click on the JDK package.

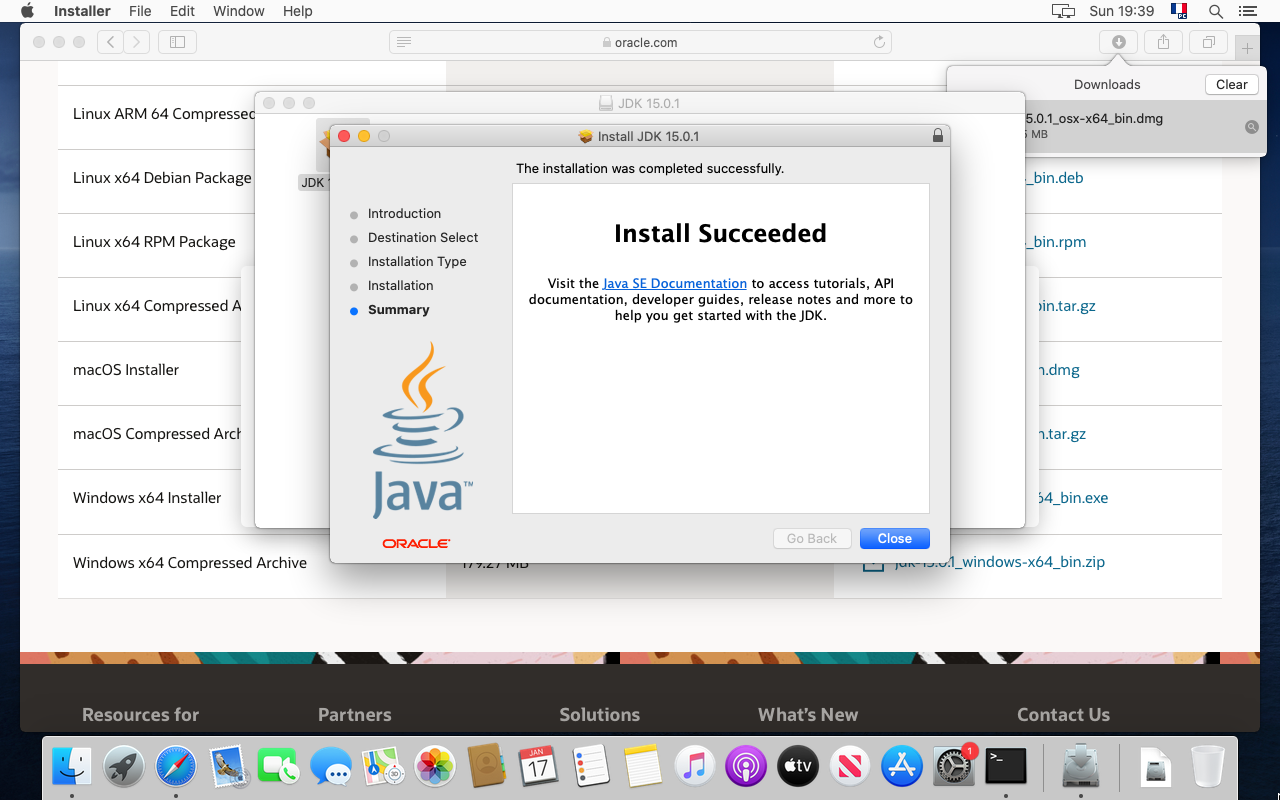
9. The JDK installer starts. Just follow the steps.

10. The installation should be successful. Close the window.
11. Then type again "java -version" in the terminal.
The following result should appear, indicating Java 15 is installed in our example.

Your are now done with the Java installation. Let's install Ancestris now.
Installation of Ancestris
12. Go to the https://www.ancestris.org web site

13. In the menu, click on DOWNLOAD. This will scroll down to the download section.

14. Click on the Ancestris 11 button of the MacOS panel.

15. Allow downloads from the Ancestris web site if this is the first time you do it.

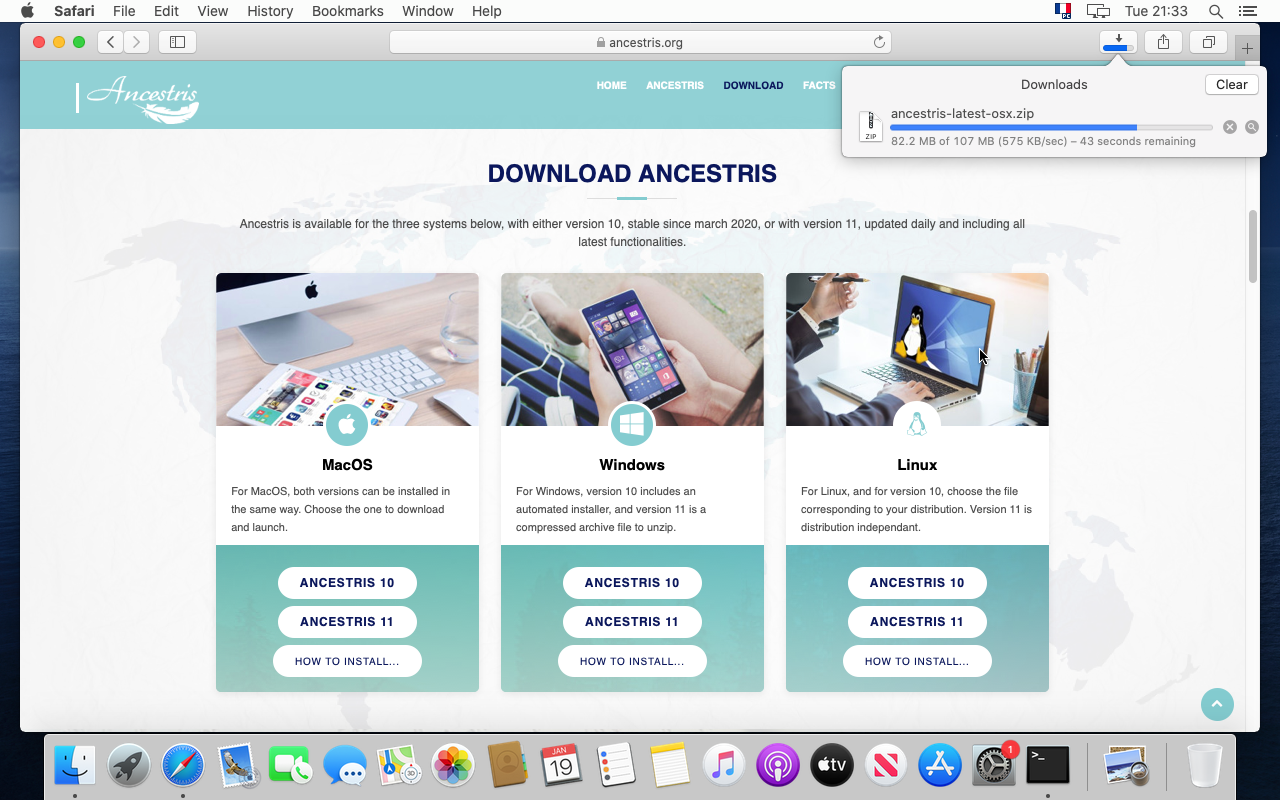
16. Downloading starts. It will take a couple of minutes.
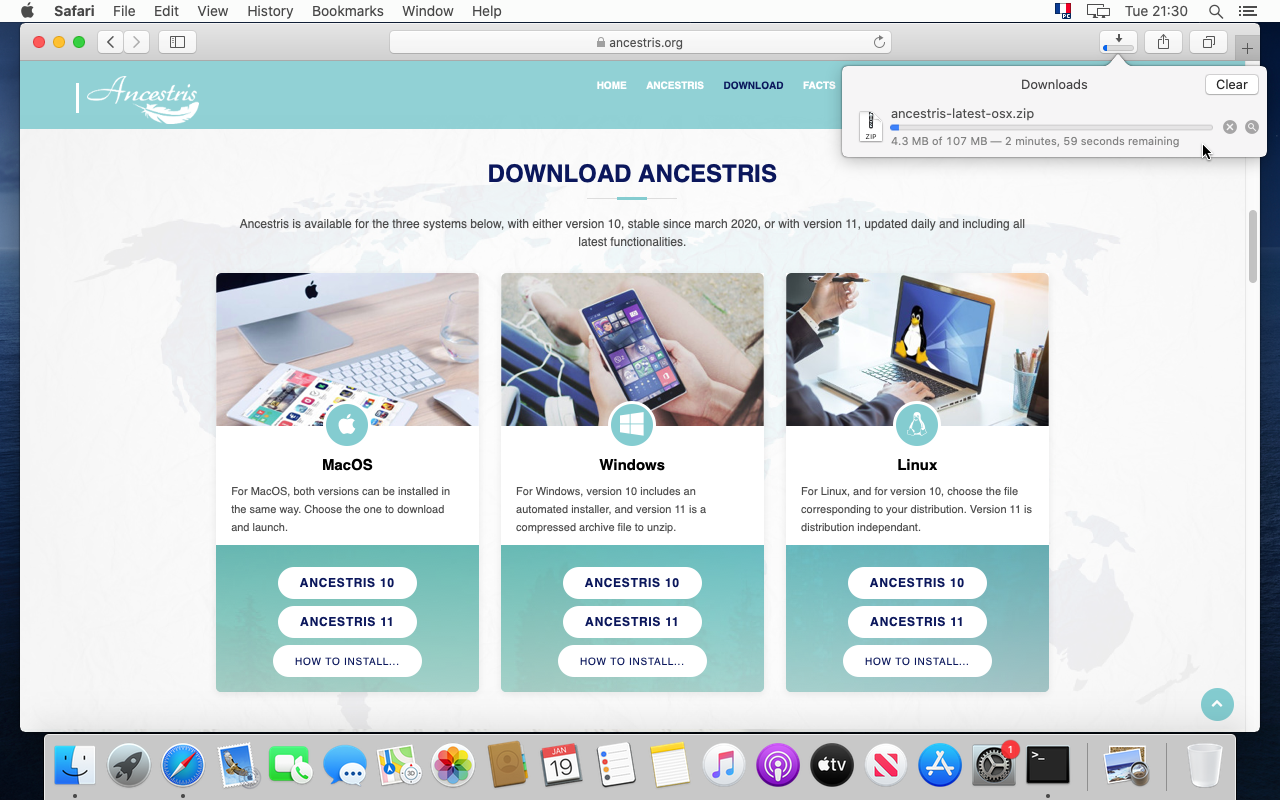
17. Wait a bit more ... we said a couple of minutes !
18. Once complete, move the file to your genealogy folder.
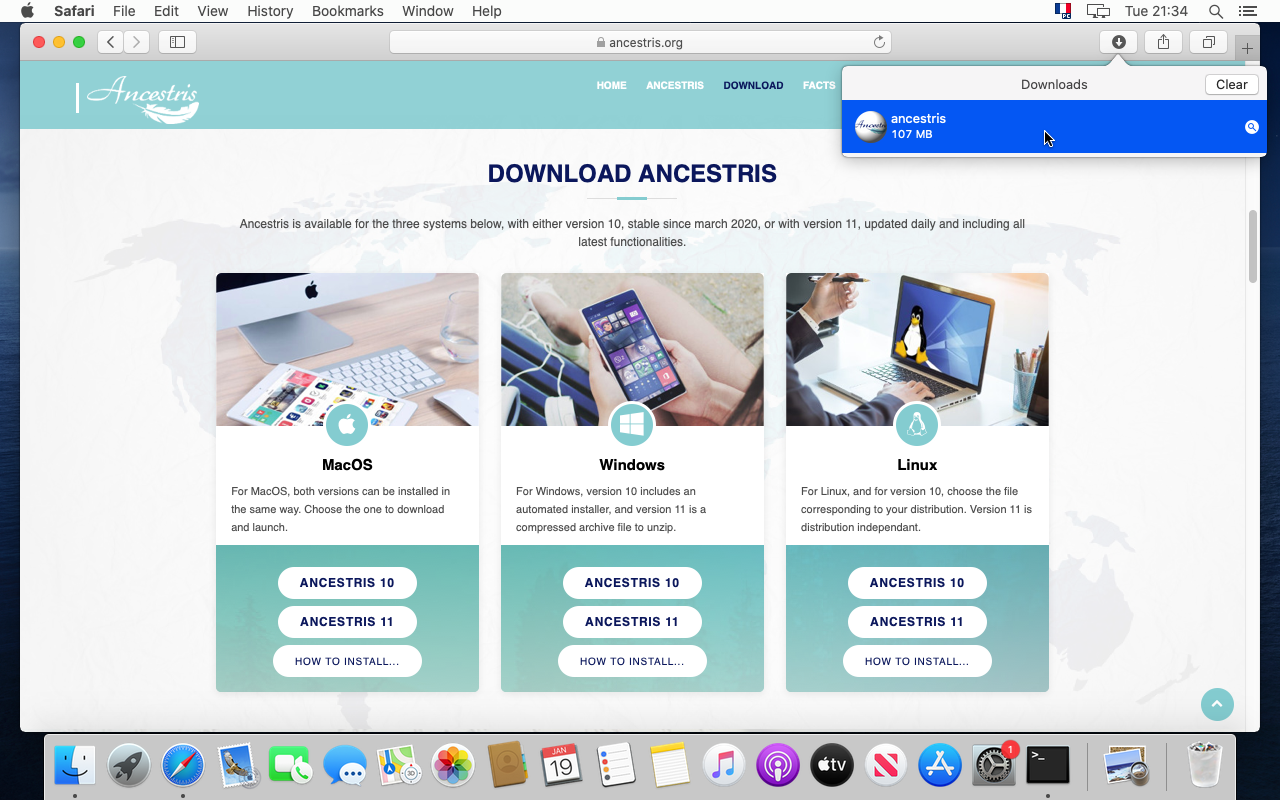
19. It is better to place your Ancestris application in a separate folder from your genealogy data.

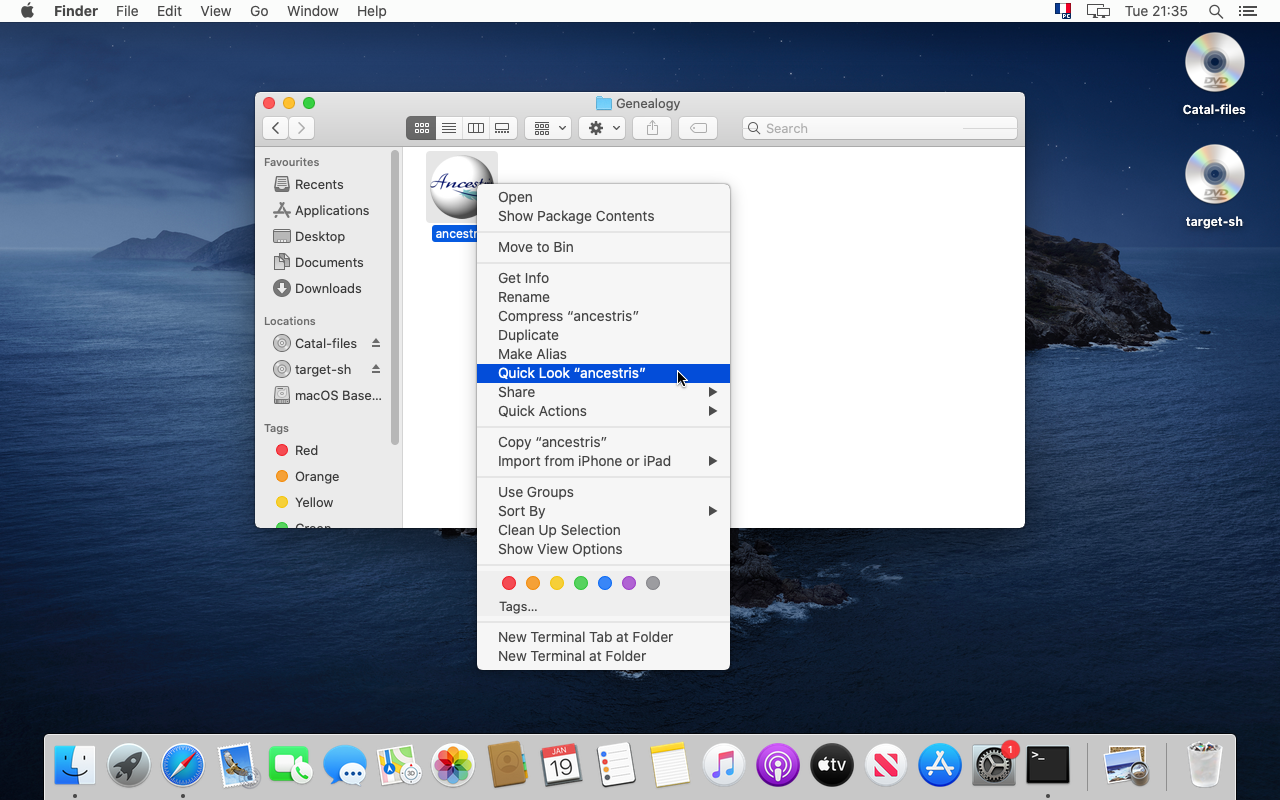
20. To make sure it is the version you expect, click on "Quick Look "Ancestris" from the context menu.
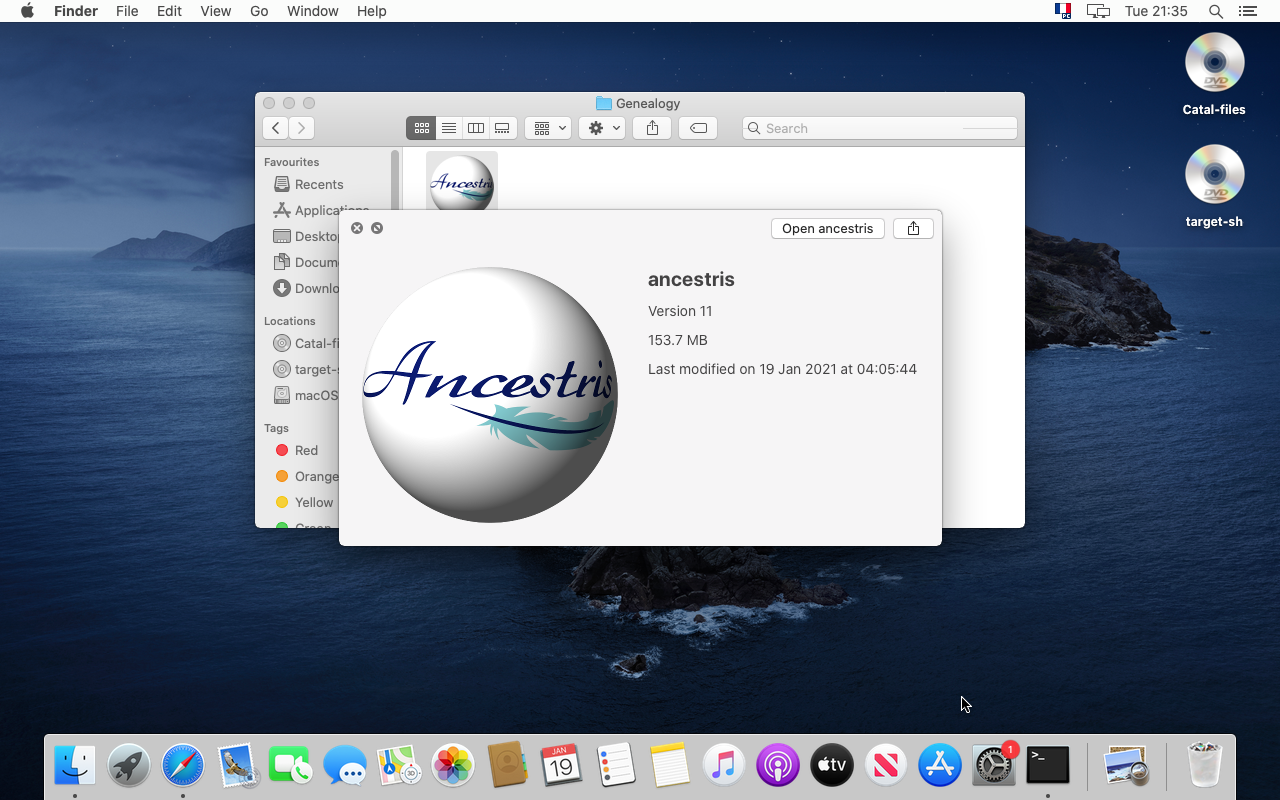
21. The application panel should tell you about the file version and date.
22. Click 'Open ancestris' or go back top your Genealogy folder and click on the icon to launch Ancestris.

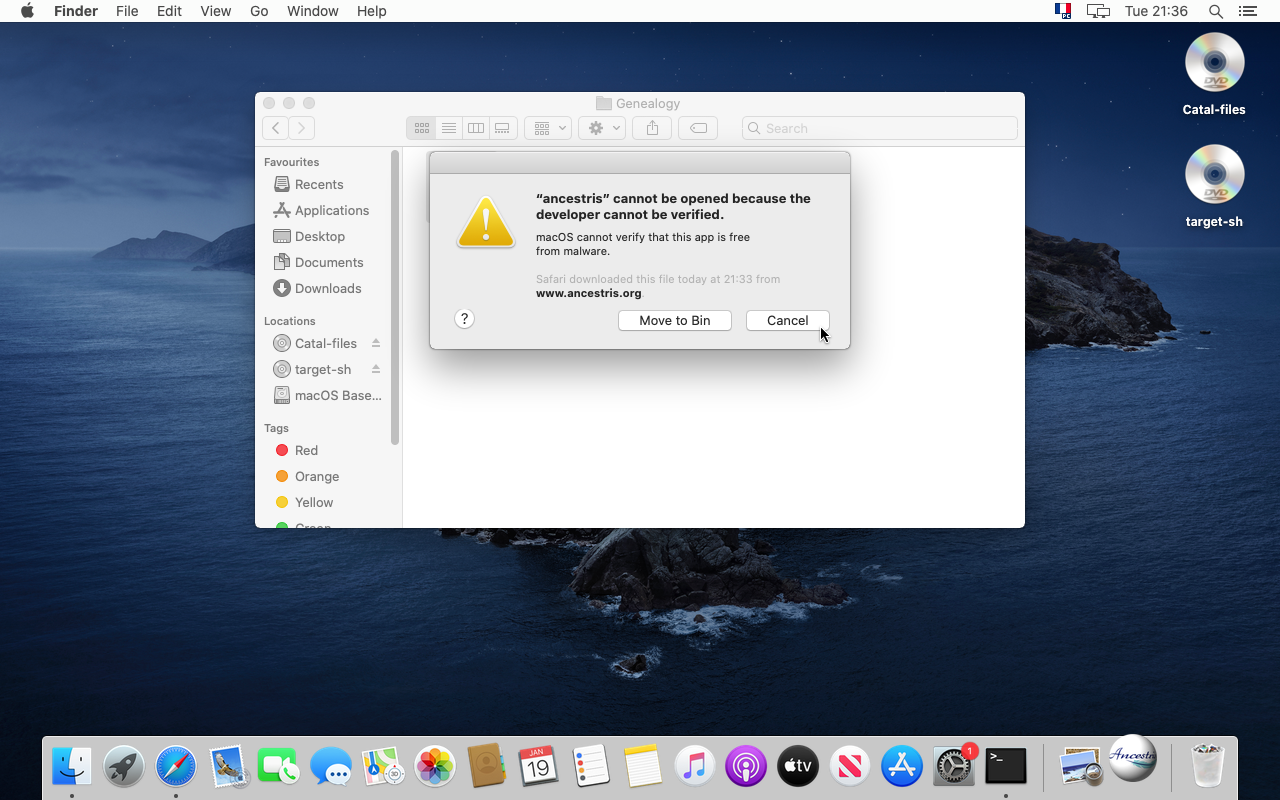
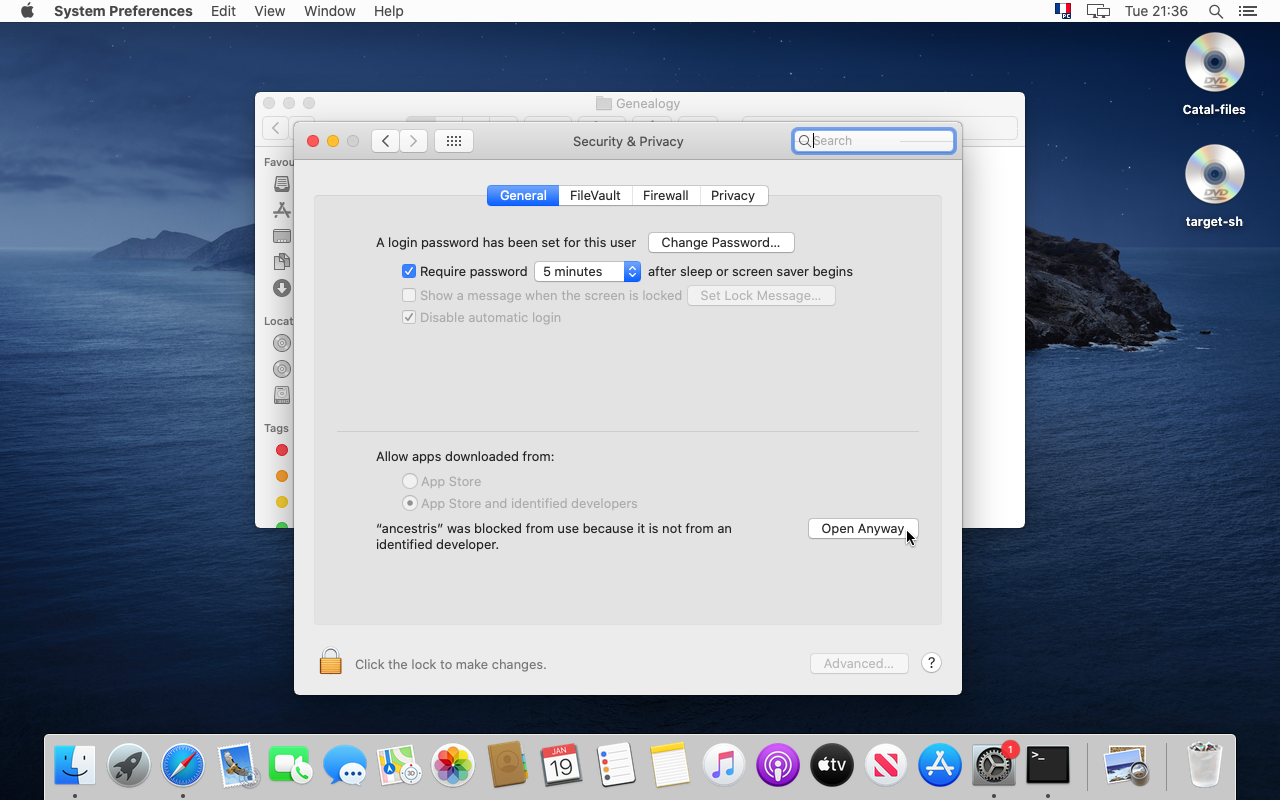
Confirmation of the security check
23. Ancestris starts but MacOS tells you it comes from an unverified developer. Not a problem. Ancestris is open source and does not have any malware. Let's authorize it.
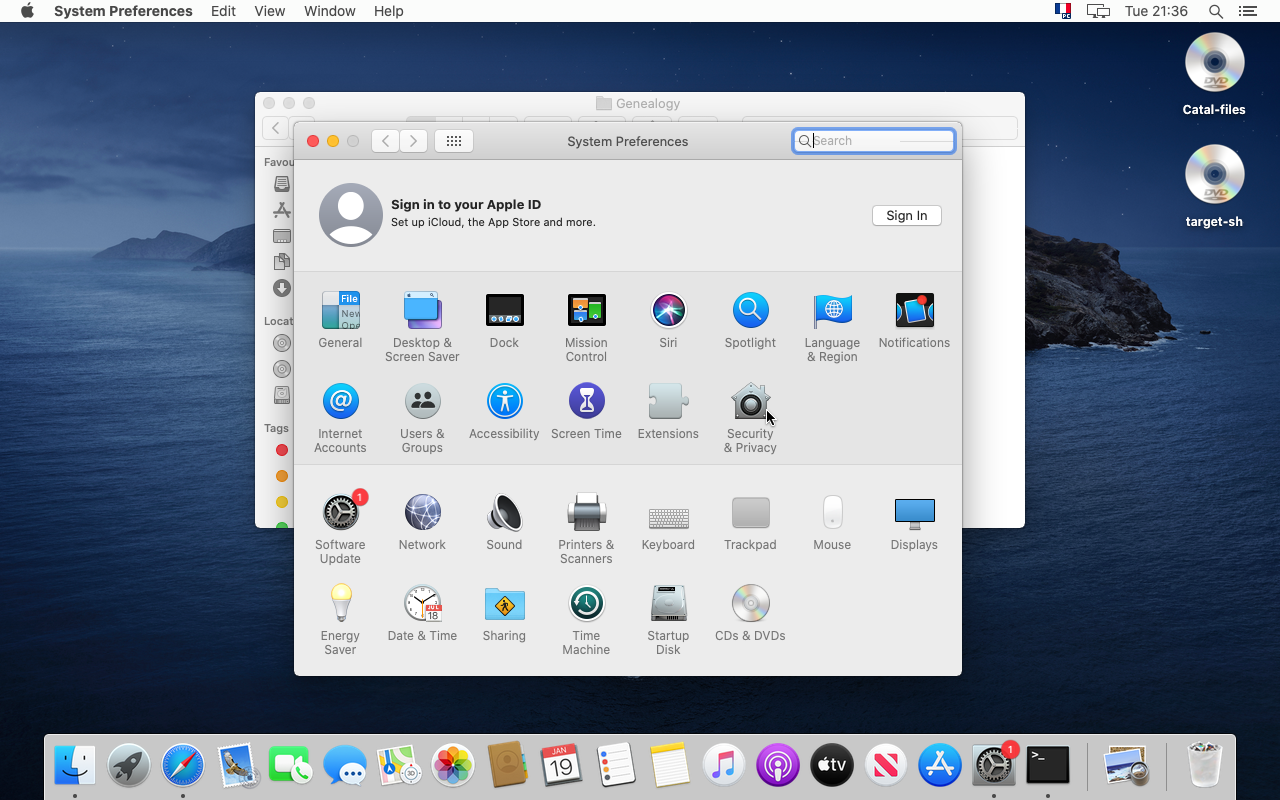
24. For that, go to the System Preferences

25. Click on "Security & Privacy"
26. Click on "Open anyway"
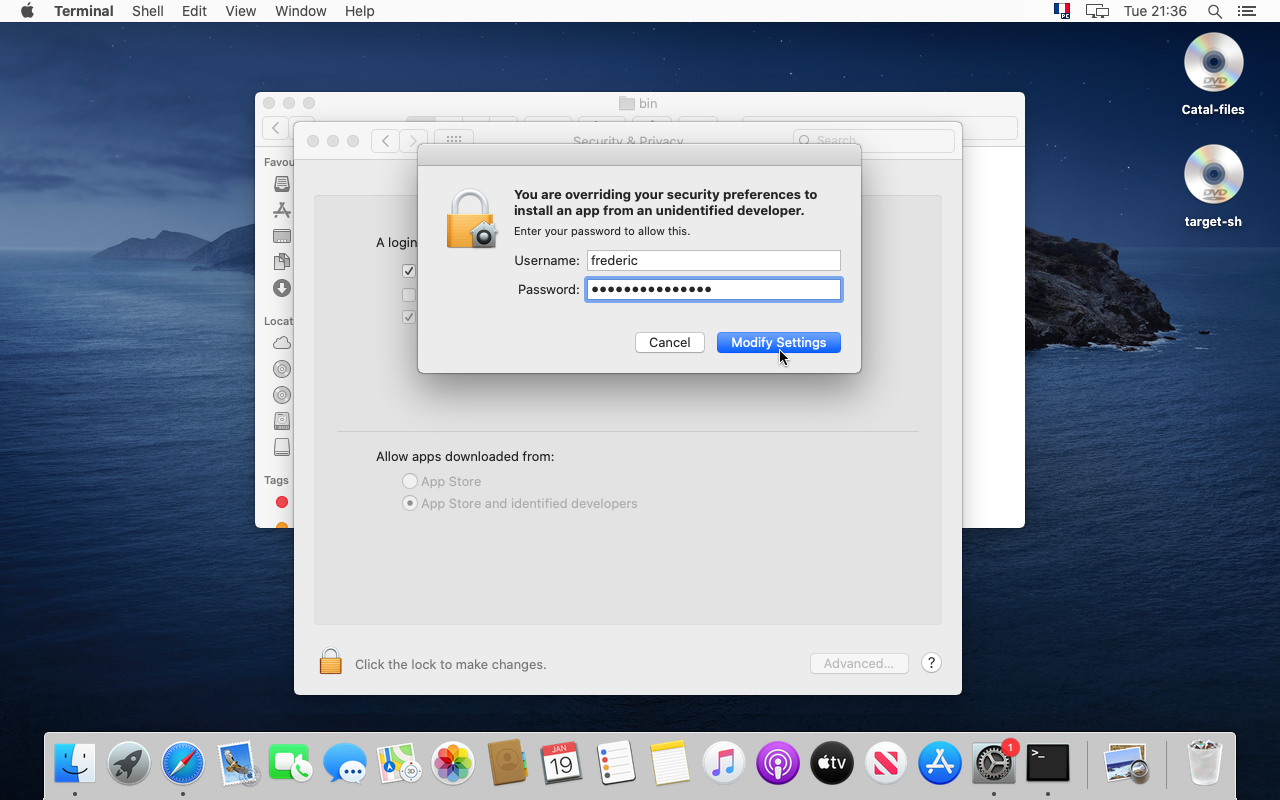
27. If it is the first time you do this, confirm with your password.
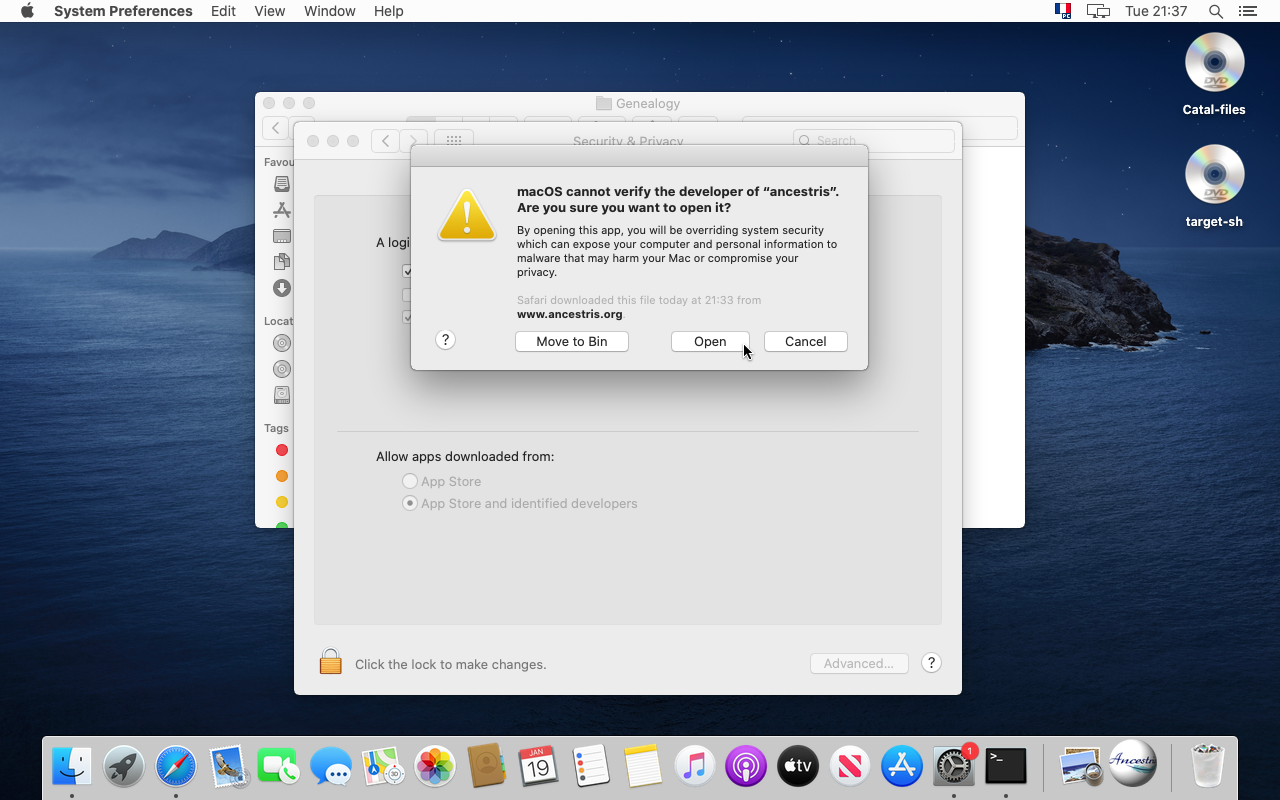
28. Yes, you are sure. Click "Open".
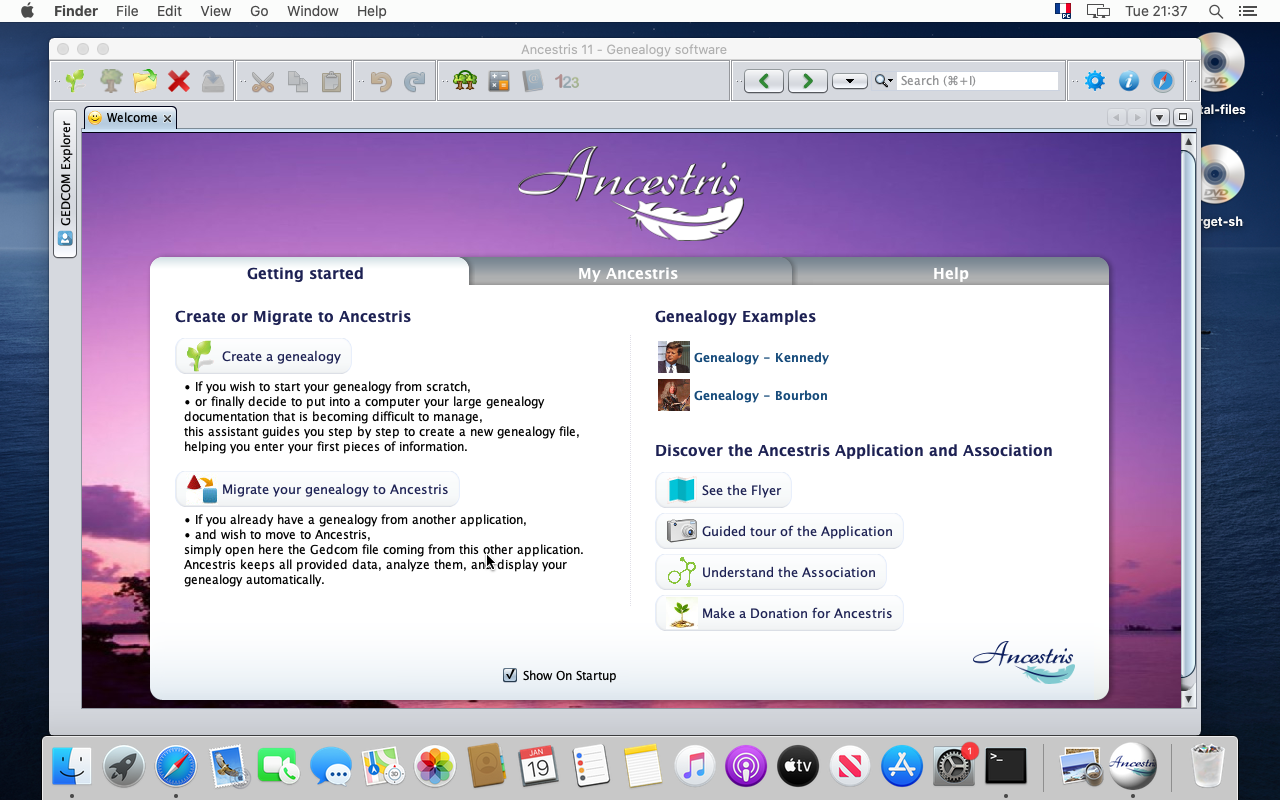
29. Finally, Ancestris starts.

30. You can see the Welcome window.
31. Please note that from the application Menu, you can access the Preferences and the "About Ancestris" panel.

Keep in dock
32. Let's keep the application in the Dock by clicking on the Ancestris icon in the dock panel.

33. Choose "Option" and "Keep in Dock".
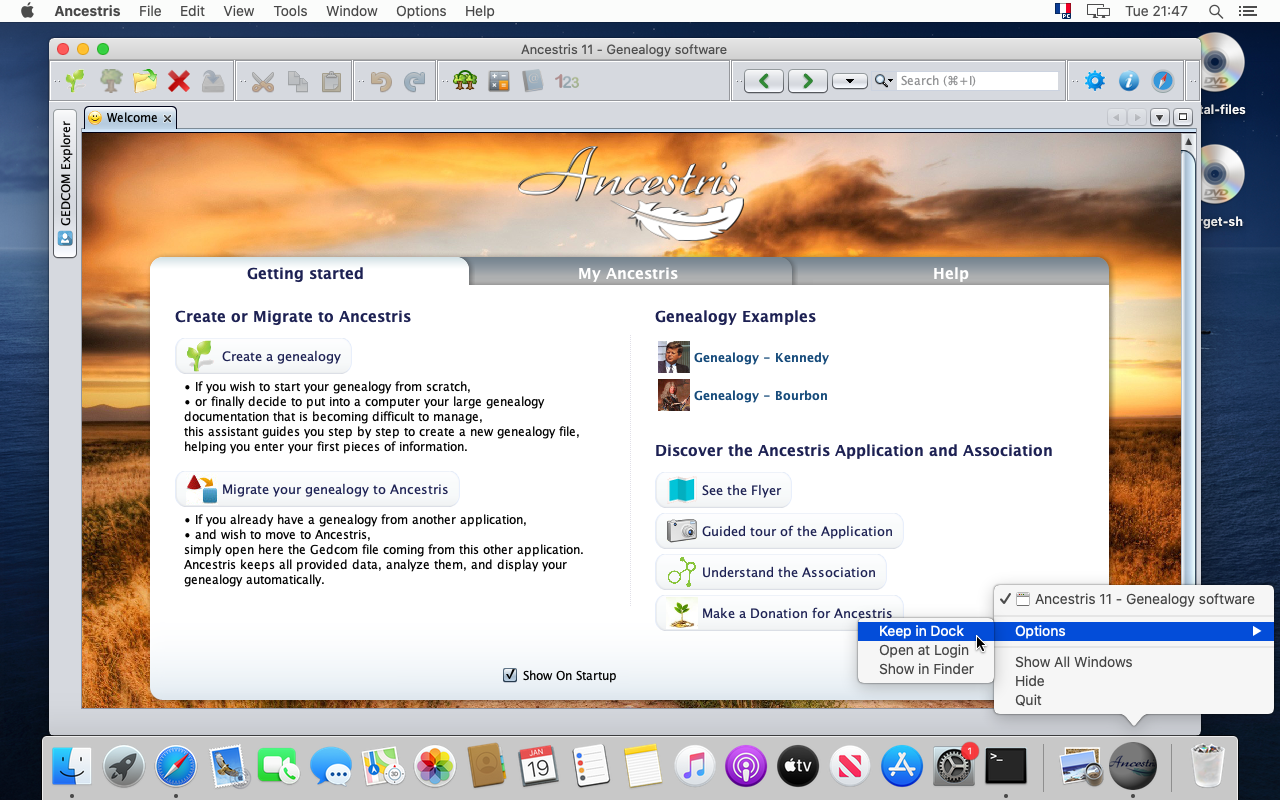
34. This is it. Ancestris is installed and in the Dock. Yessss !
