Step-by-step installation on MacOS
This page documents a detailed step-by-step installation of Ancestris on a MacOS system.
We will show an example that occurred on March 2024, of the installation of Ancestris version 12 on MacOS Sonoma.

Installation of Java
1. From the MacOS desktop...

2. Open a terminal and type "java -version" to check if Java is already installed or not.
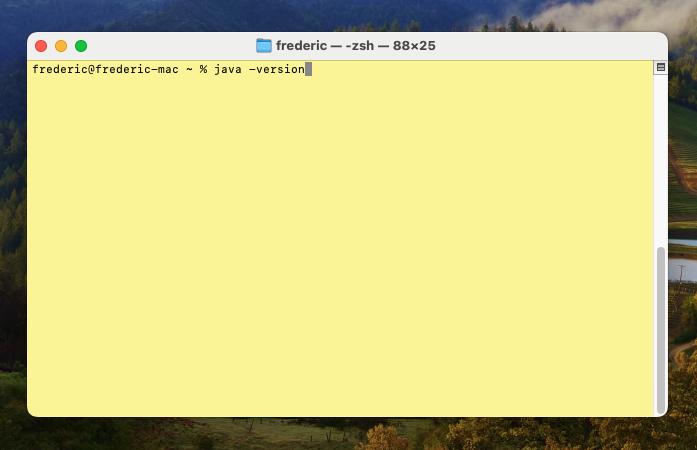
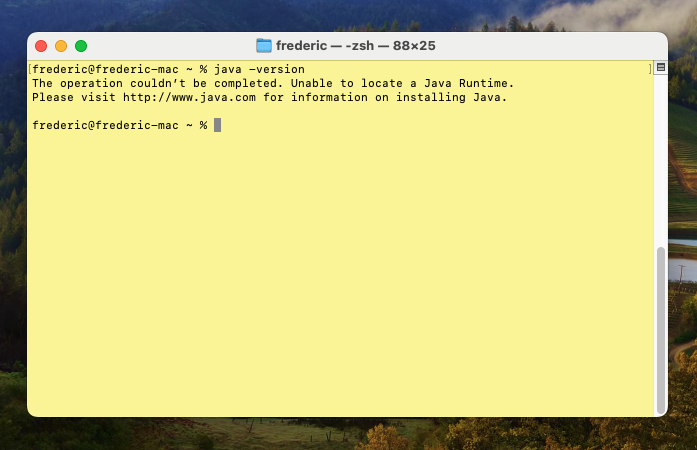
If Java is not installed, the response will indicate that Java cannot be located.
So install it by following these next steps.
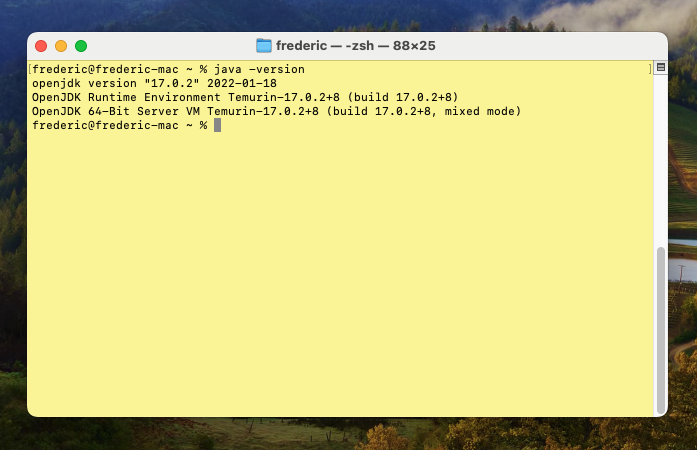
If java is installed, the response will indicate that Java is found and provide the version number. Here version 17 is installed.
In this case, all good, jump to step 11 to install Ancestris.
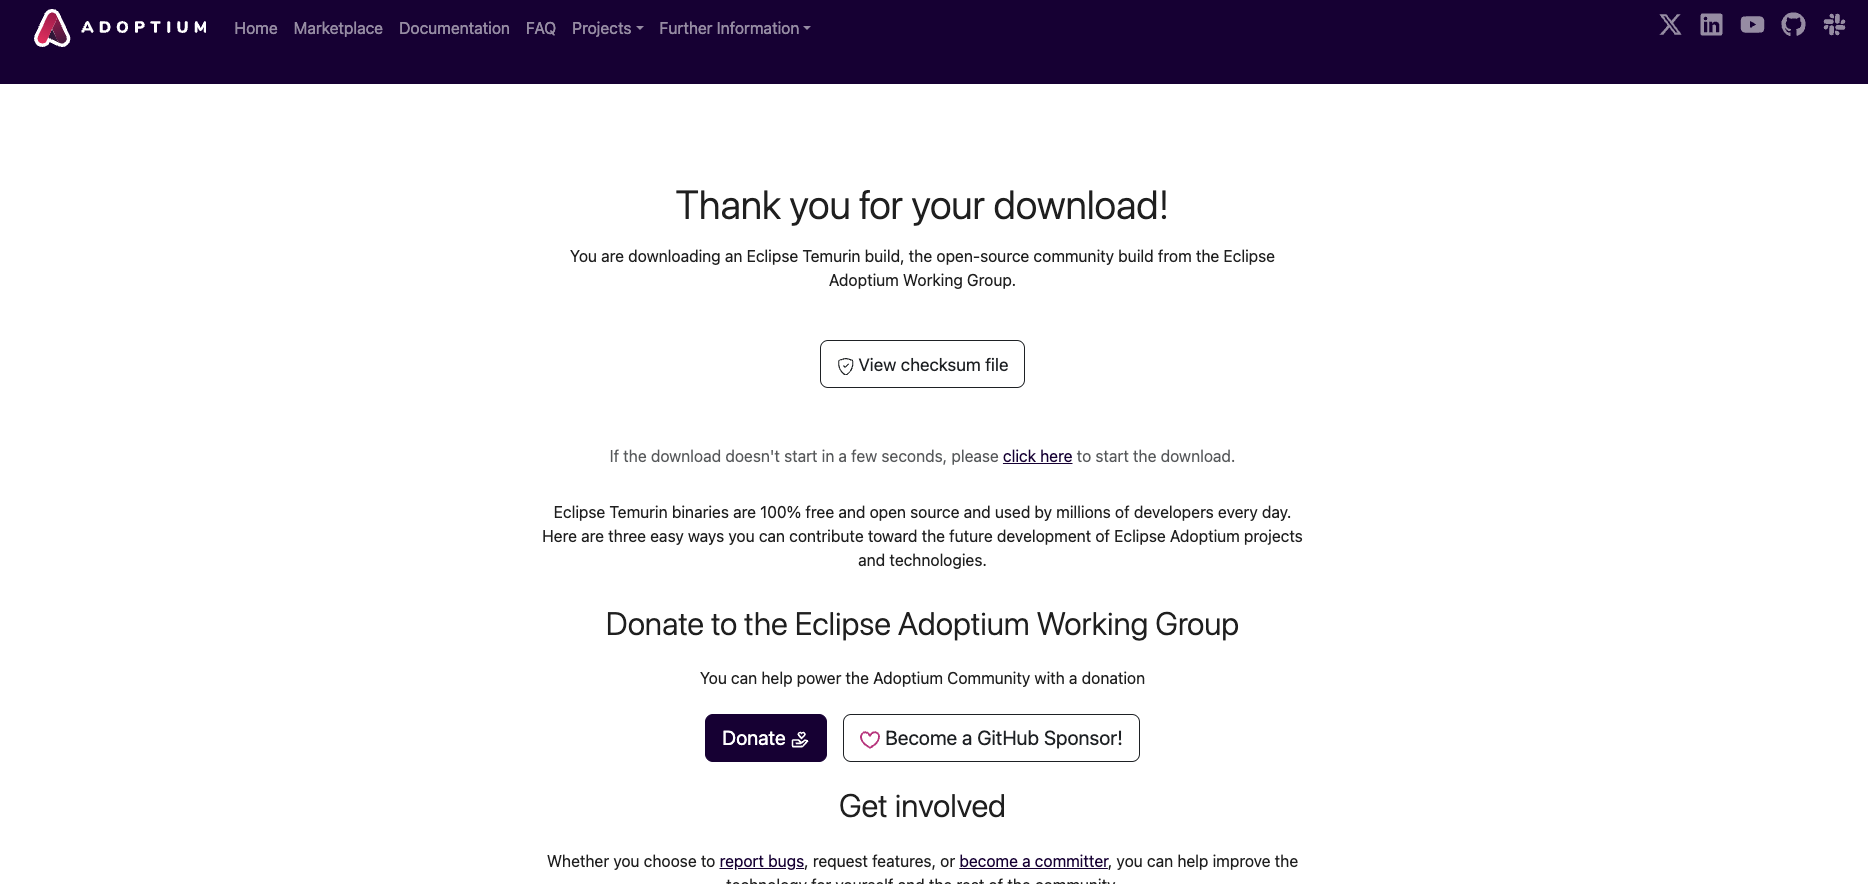
3. Install Java by going to the Adoptium web site.
Here Adoptium suggests to install the LTS (Long Term Support) release Java 21 for MacOS.
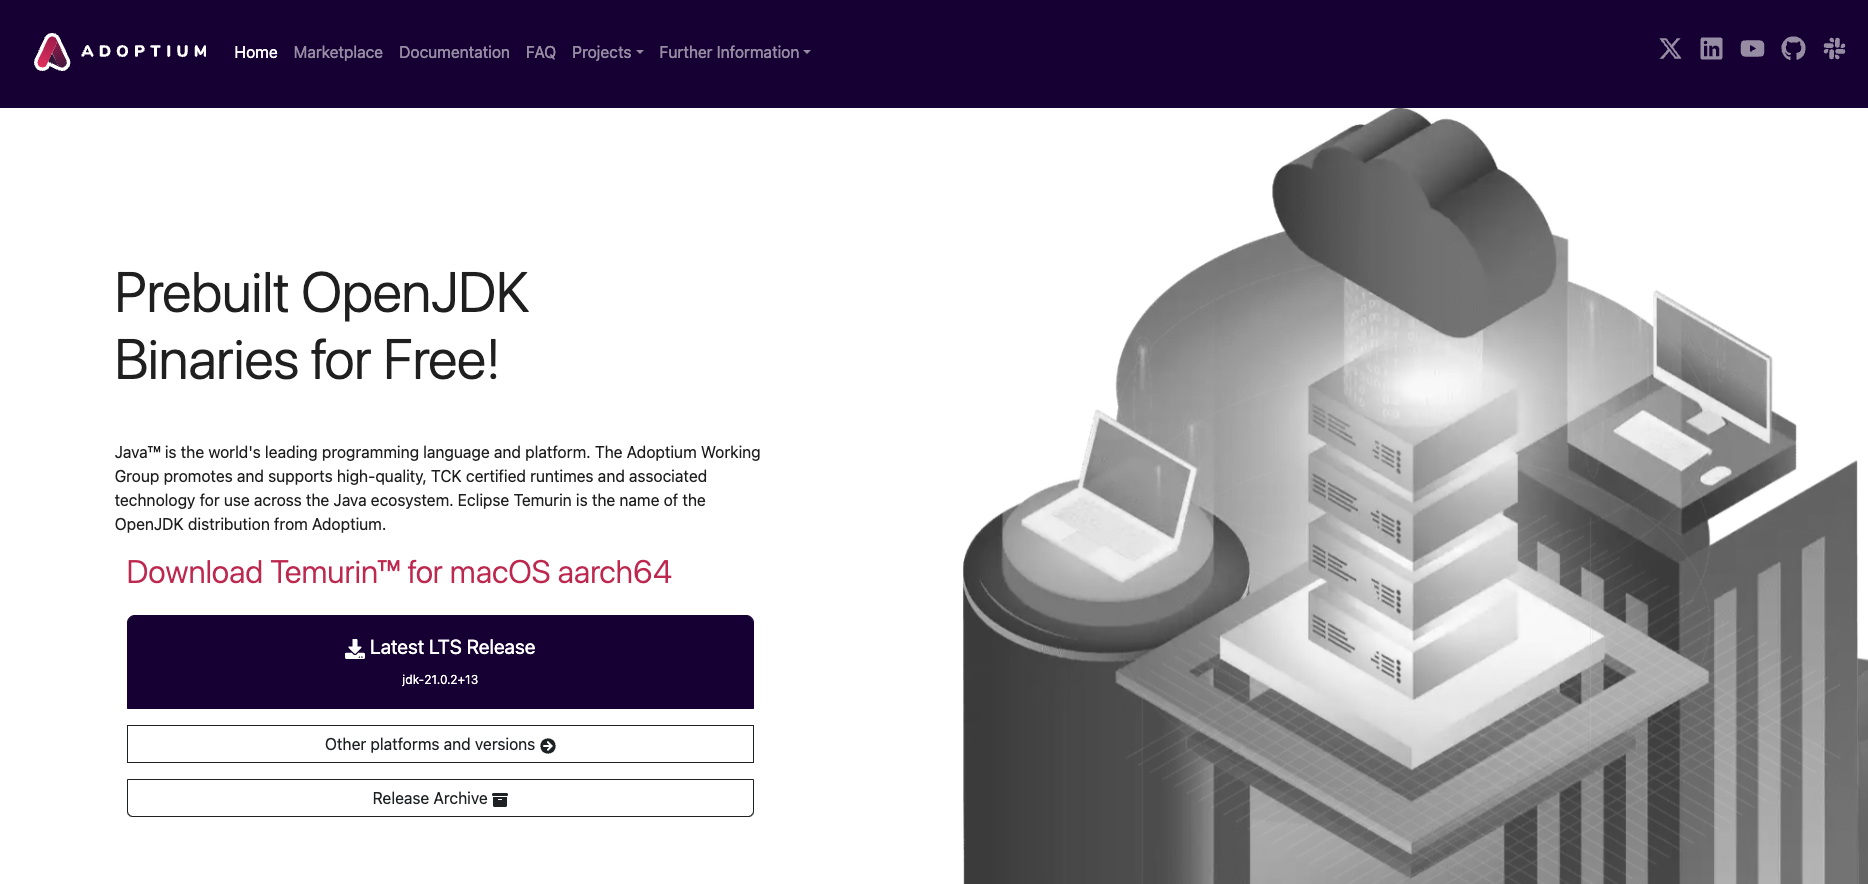
Click the "Latest LTS Release" button.
Note: If you want to install another version, click the button "Other platforms and versions".
You should see this page now.
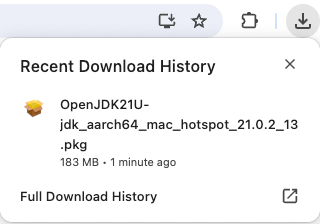
Downloading has started... Wait.
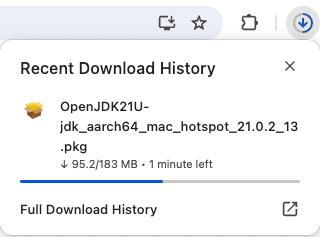
After a short moment, downloading is completed.
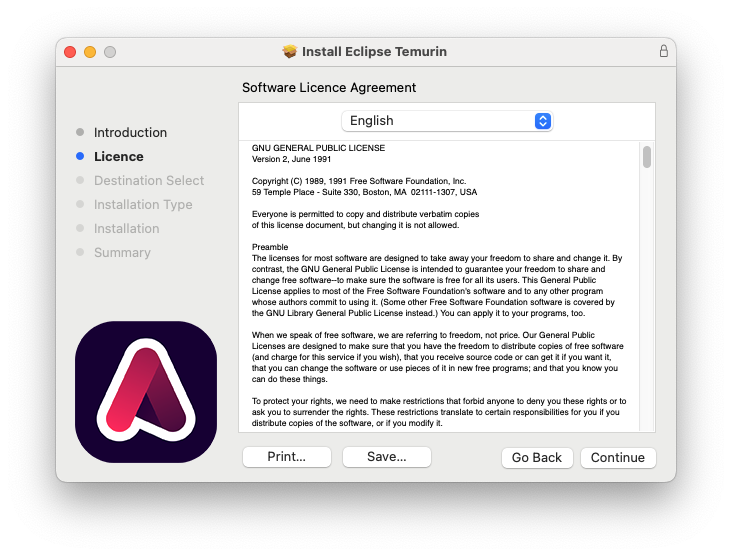
Launch the JDK package from this download popup. You should see this installation window.
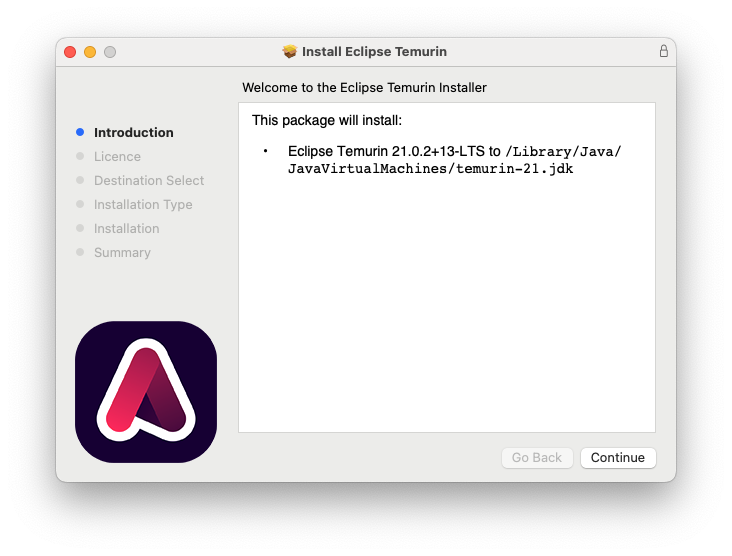
Click Continue.
Click Continue.
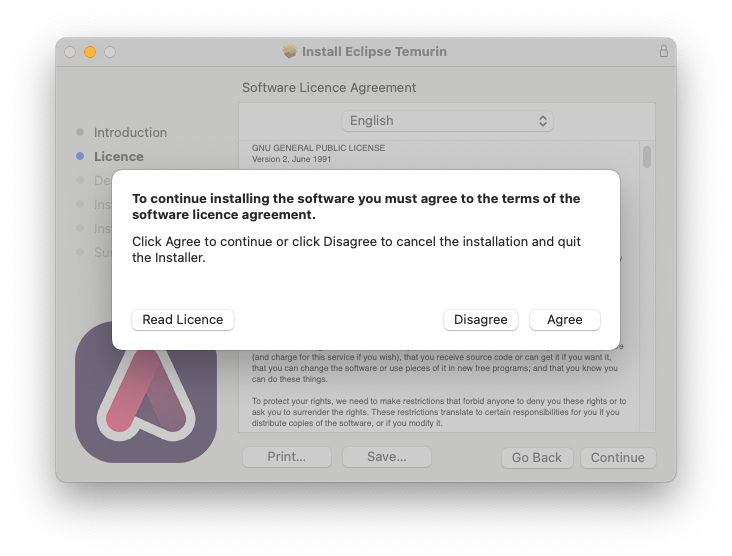
Click Agree.
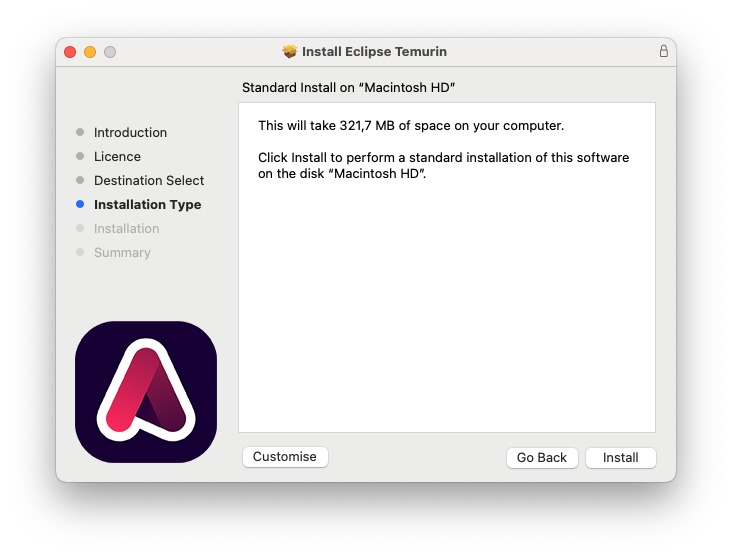
Click Install.
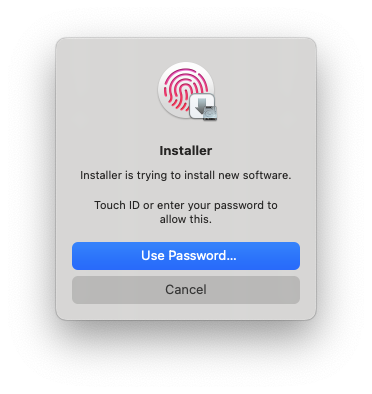
Validate with your fingerprint or enter your Mac password.

The installation starts.
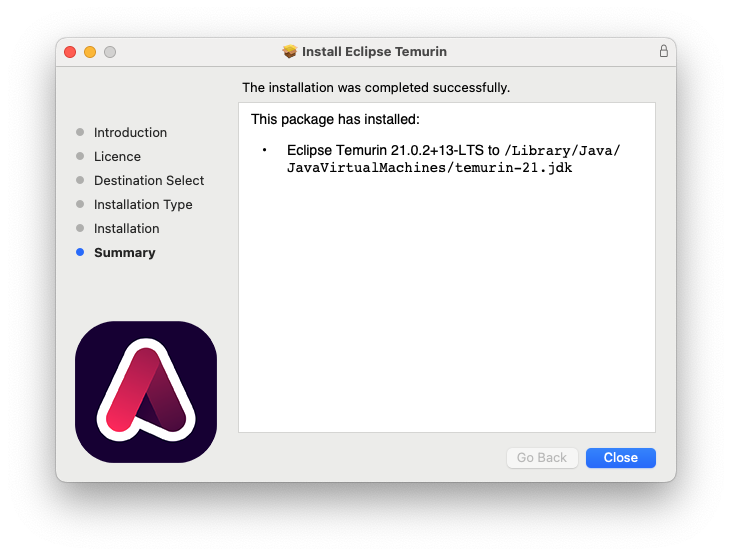
Installation is completed. It tells you where it has been installed.
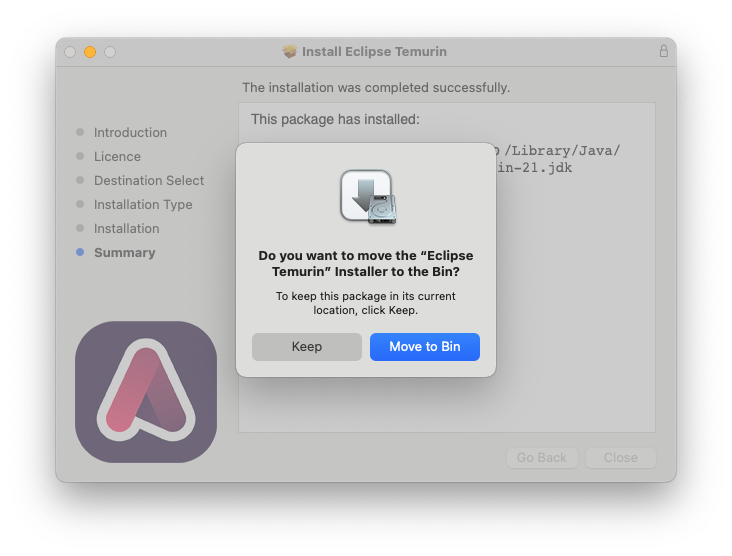
Finally, you are asked to Keep or Move the installation package to the bin. Do as you wish here.
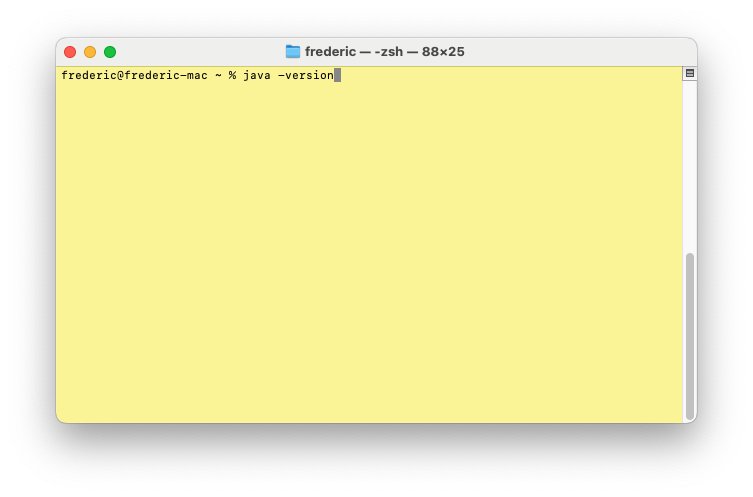
4. Check that Java now shows up in the Terminal window.
The following result should appear, indicating Java 21 is installed in our example.

Your are now done with the Java installation. Let's install Ancestris now.
Installation of Ancestris
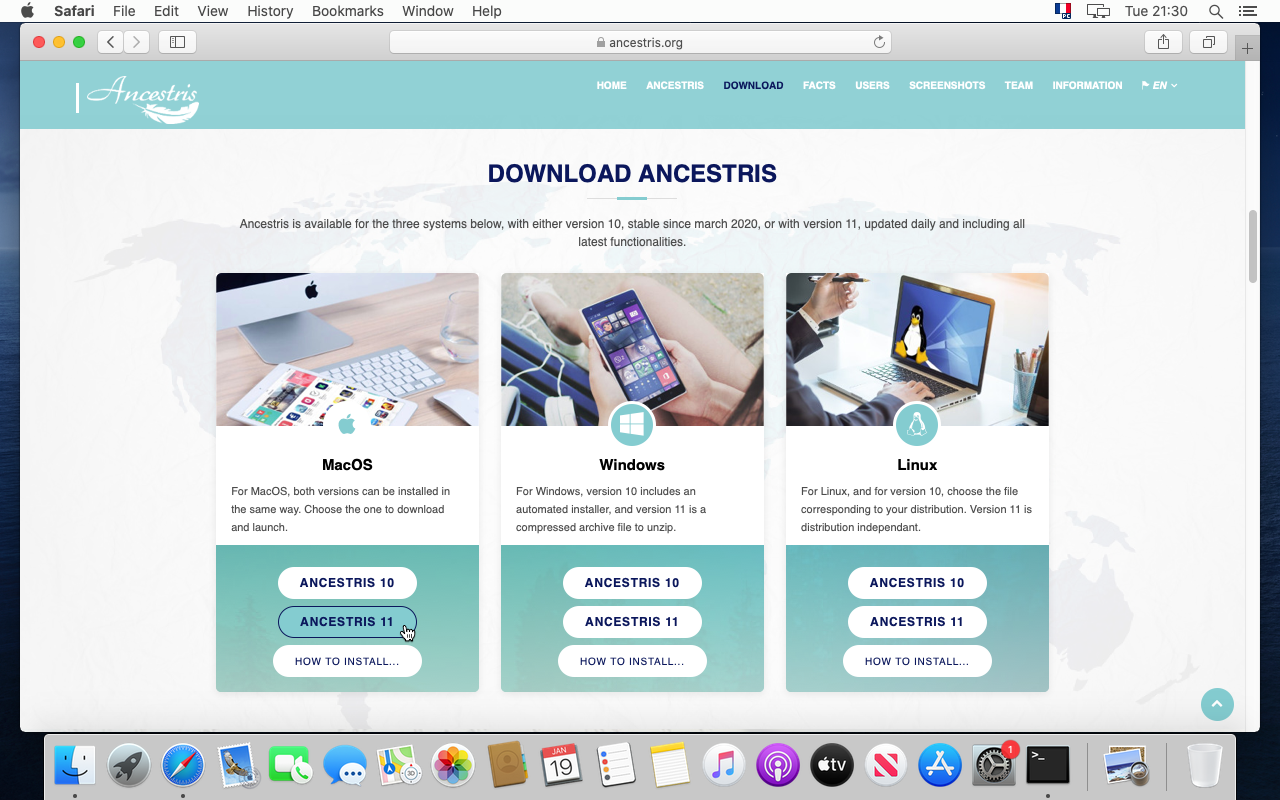
5. Go to the https://www.ancestris.org web site

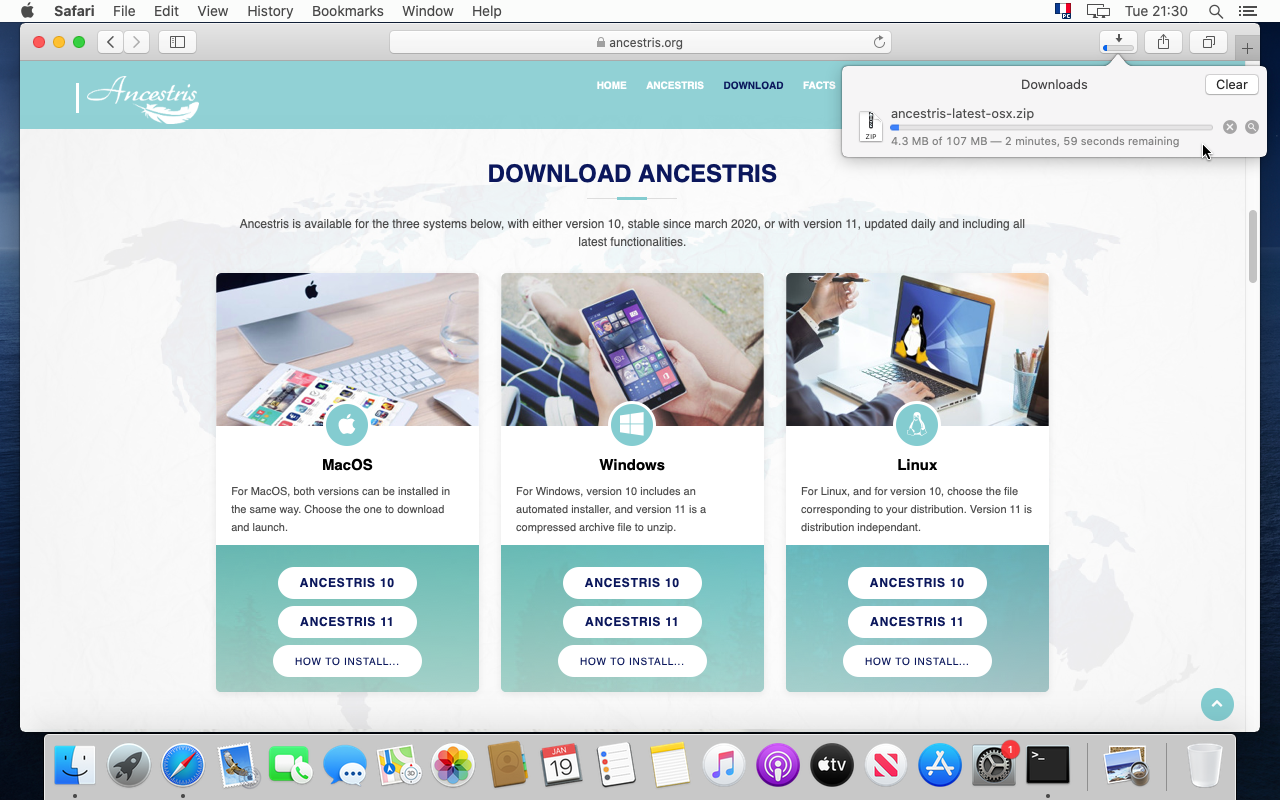
13. In the menu, click on DOWNLOAD. This will scroll down to the download section.

14. Click on the Ancestris 11 button of the MacOS panel.
15. Allow downloads from the Ancestris web site if this is the first time you do it.

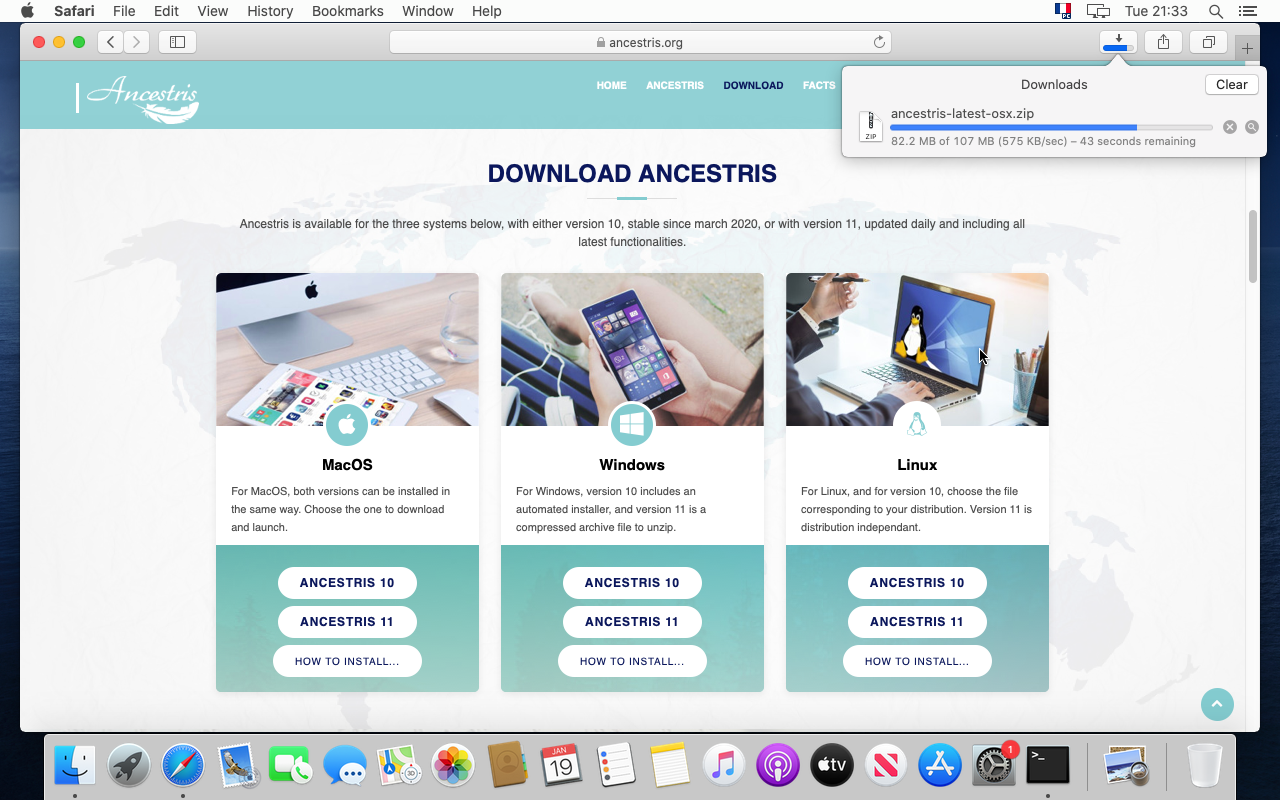
16. Downloading starts. It will take a couple of minutes.
17. Wait a bit more ... we said a couple of minutes !
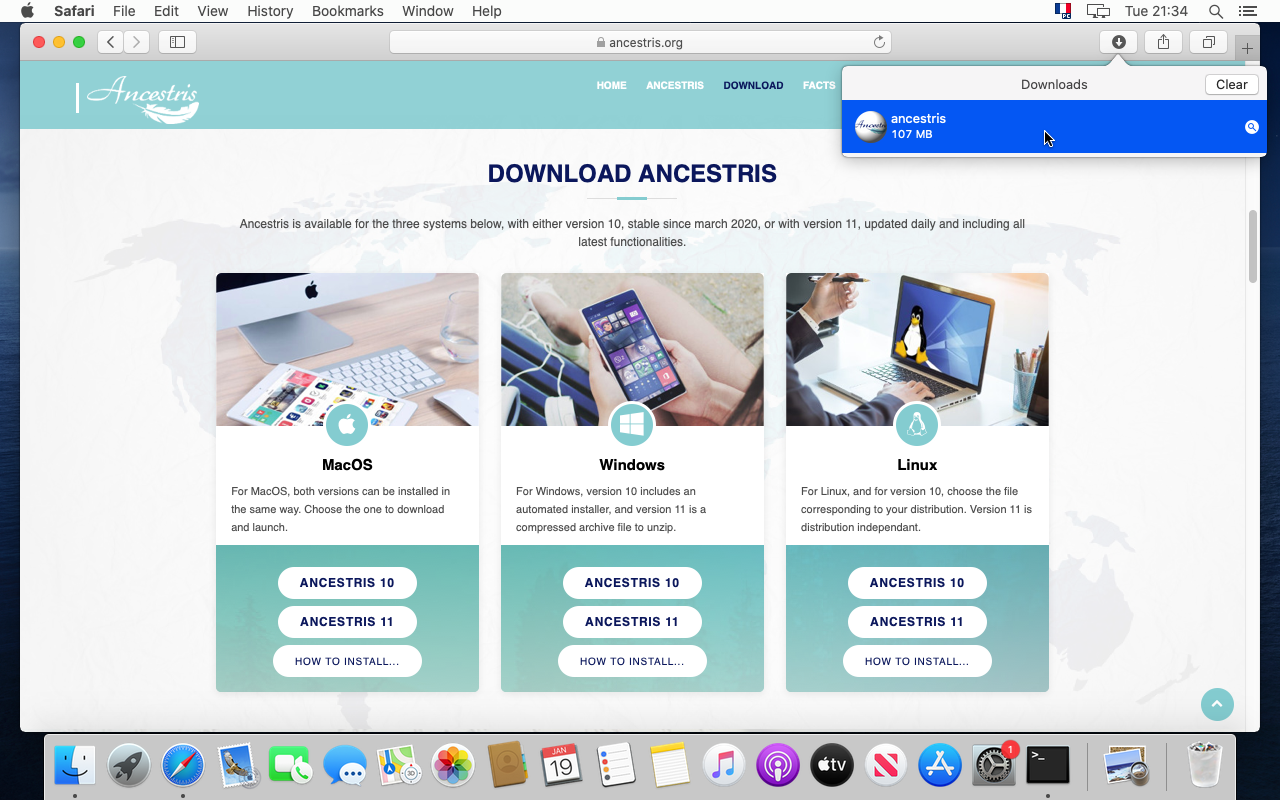
18. Once complete, move the file to your genealogy folder.
If you have downloaded the stable version of Ancestris, just click on the Ancestris package and it will install itself in the /Applications folder. Then skip to step 29.
Steps 19 to 28 are for the daily version of Ancestris only, which does not included in a package.
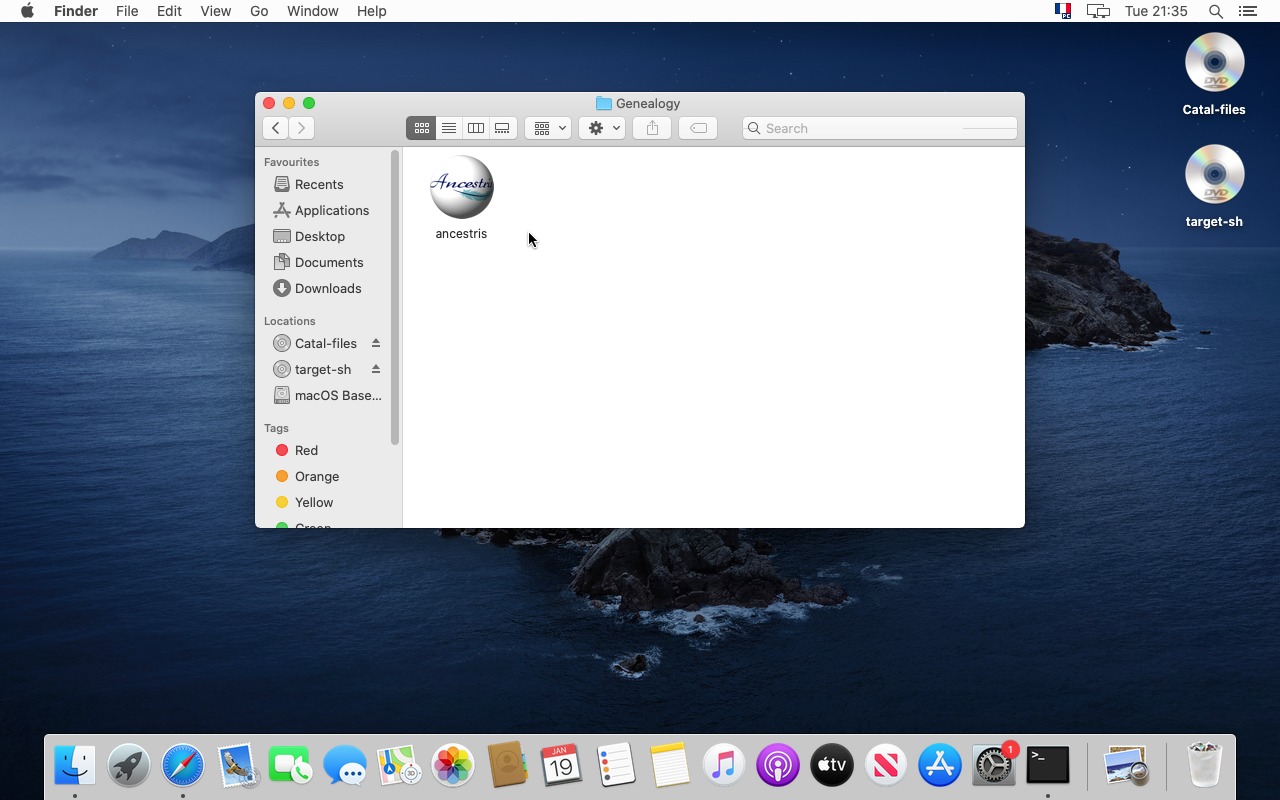
19. It is better to place your Ancestris application in a separate folder from your genealogy files.
- You may for instance place Ancestris in a
Documents/Genealogy folder. - And you may place later your genealogy data in a folder such as
{Home}/Public/Genealogy Files/
Do not place your genealogy files in the Documents, Desktop or Downloads folders, or underneath them. MacOS will not let you see them from Ancestris as a security check for non-signed application like Ancestris.
20. To make sure it is the version you expect, click on "Quick Look "Ancestris" from the context menu.
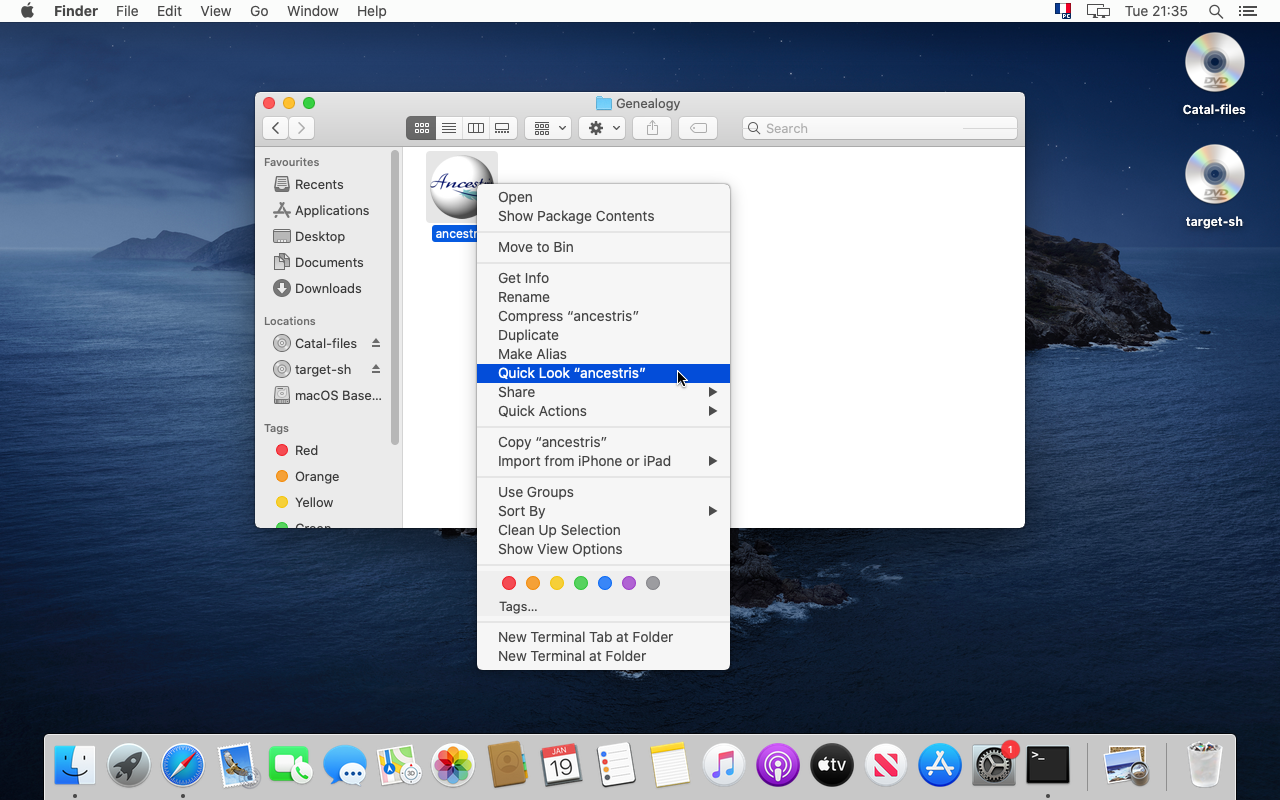
21. The application panel should tell you about the file version and date.
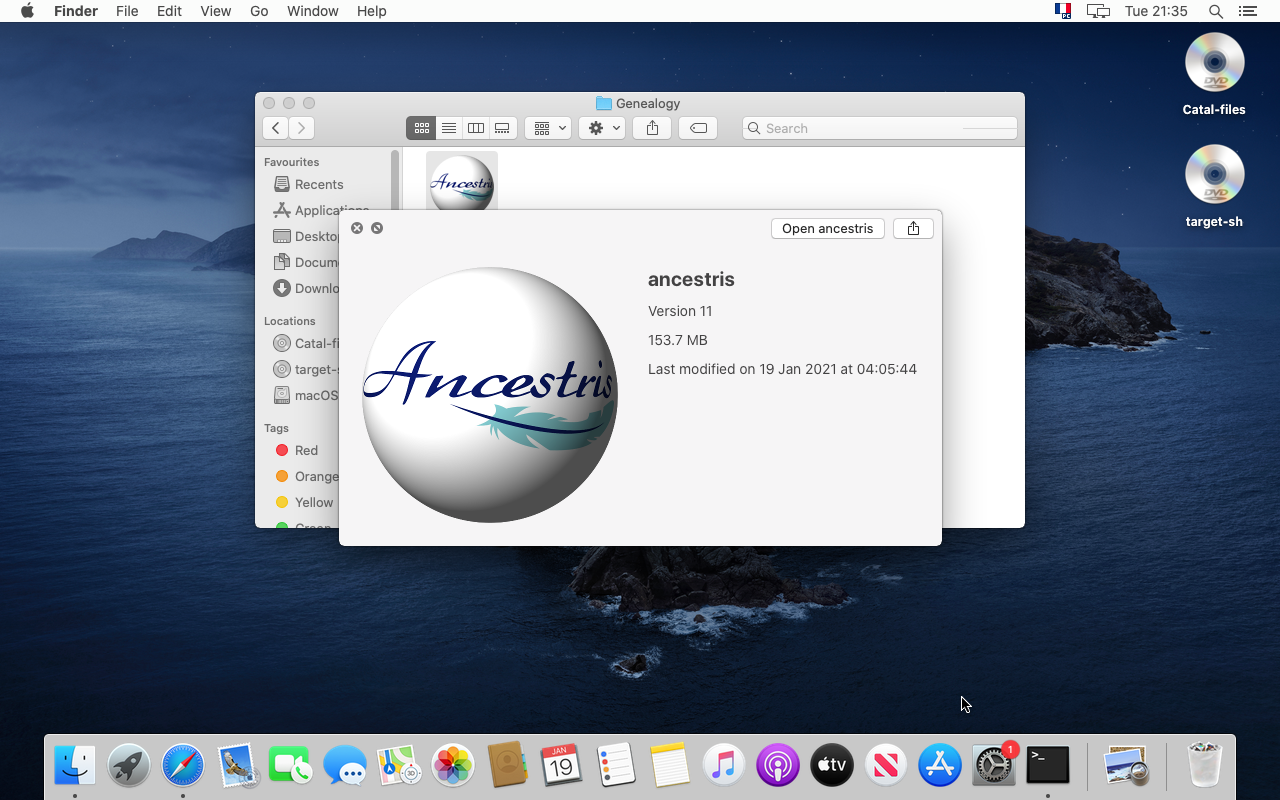
22. Click 'Open ancestris' or go back top your Genealogy folder and click on the icon to launch Ancestris.

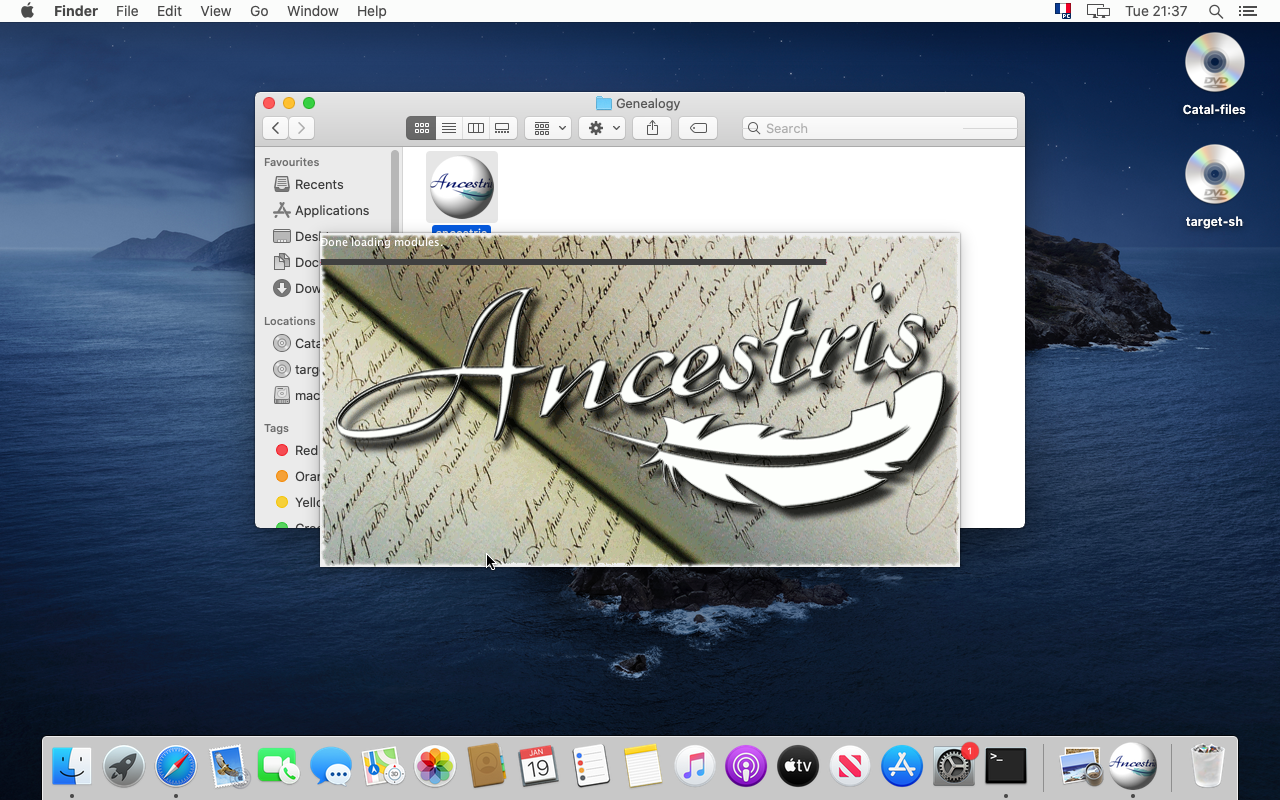
29. Ancestris starts.
30. You can see the Welcome window.
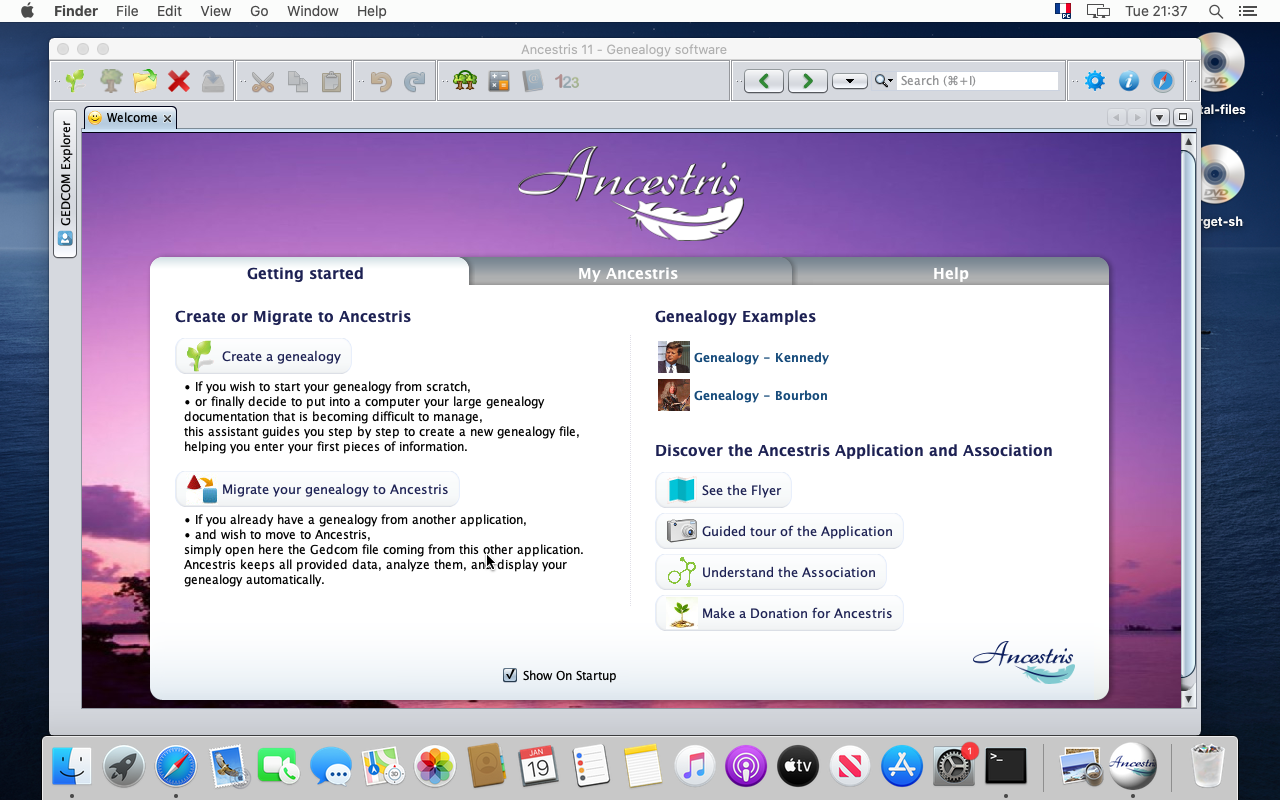
31. Please note that from the application Menu, you can access the Preferences and the "About Ancestris" panel.
