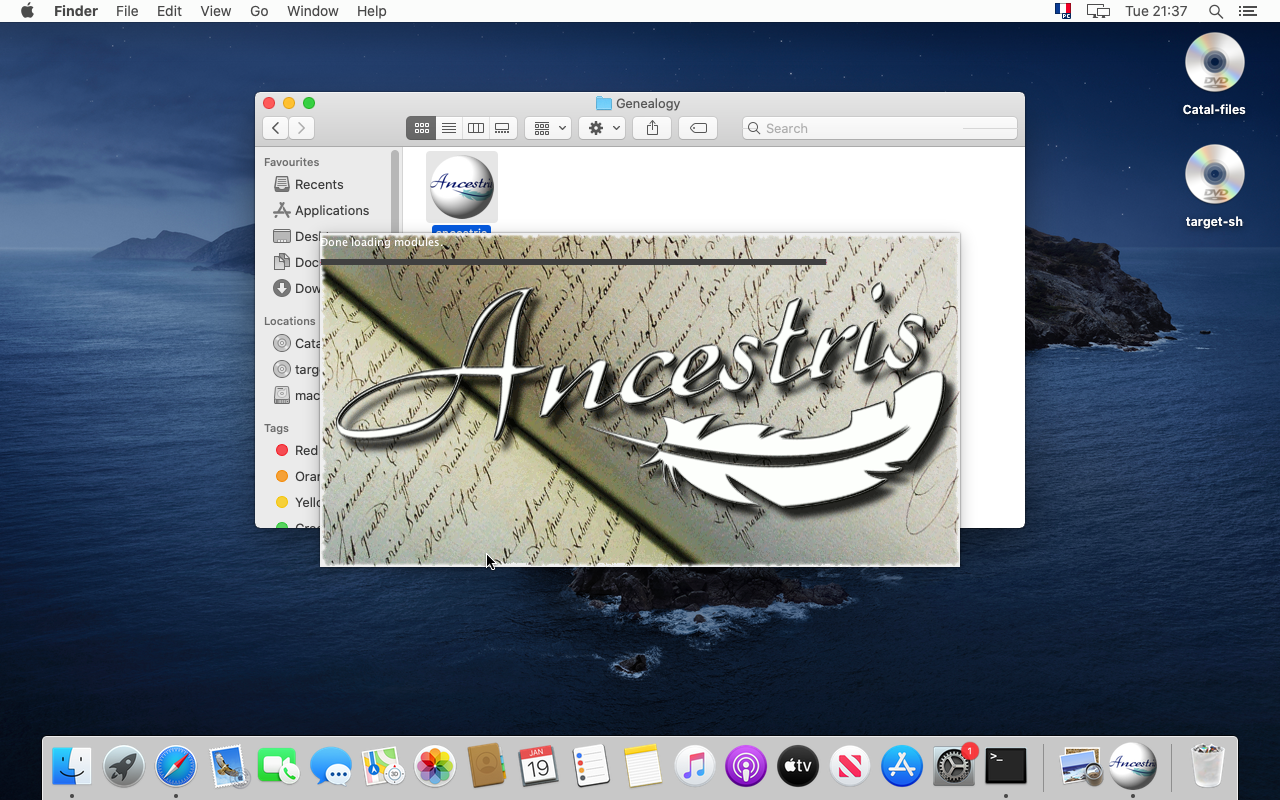
Trin-for-trin installation på MacOS
ThisDenne pageside documentsviser adig detaileddetaljeret, step-by-stephvordan du trin-for-trin installerer Ancestris på din MacOS.
Her kommer et eksempel som forekom i januar 2021, installation of Ancestris on a MacOS system.
We will show an example that occurred on January 2021, of the installation ofaf Ancestris version 11 onpå MacOS Catalina.
TheseDisse stepstrin includeindeholder the following:følgende:
- Installation
ofaf Javawhichsomwasikkenotalleredealreadyvarinstalledinstalleretonpå Catalina - Download
ofaf Ancestris version 11from the securefra Ancestrisweb sitehjemmeside ConfirmationBekræftelseofafthesikkerhedscheck,securitydercheck to allowgiver Ancestristoadgangruntilevenatthoughkøre,itselvomcomesdetfromkommeranfraunidentifiedendeveloperuidentificeret udbyderLaunchStartofaf AncestrisCreationOprettelseofafagenvejDock icon oftil Ancestris
PleaseSkærmbillederne notevist thatundervejs thekan screenshotsse shownlidt hereanderledes mightud lookhos different from those of the current Ancestris web site or the current Ancestris software version.dig.
Special notebemrækning fortil usersbrugere ofaf MacOS Big Sur: pleasefælg followtrinene thenedenfor stepsog belowlæs andderefter then,den pleasespecifikke dosektion readi thisbunden specificaf sectiondenne at the bottom of this page.side.
Installation ofaf Java
1. From theFra MacOS desktop.skrivebord...
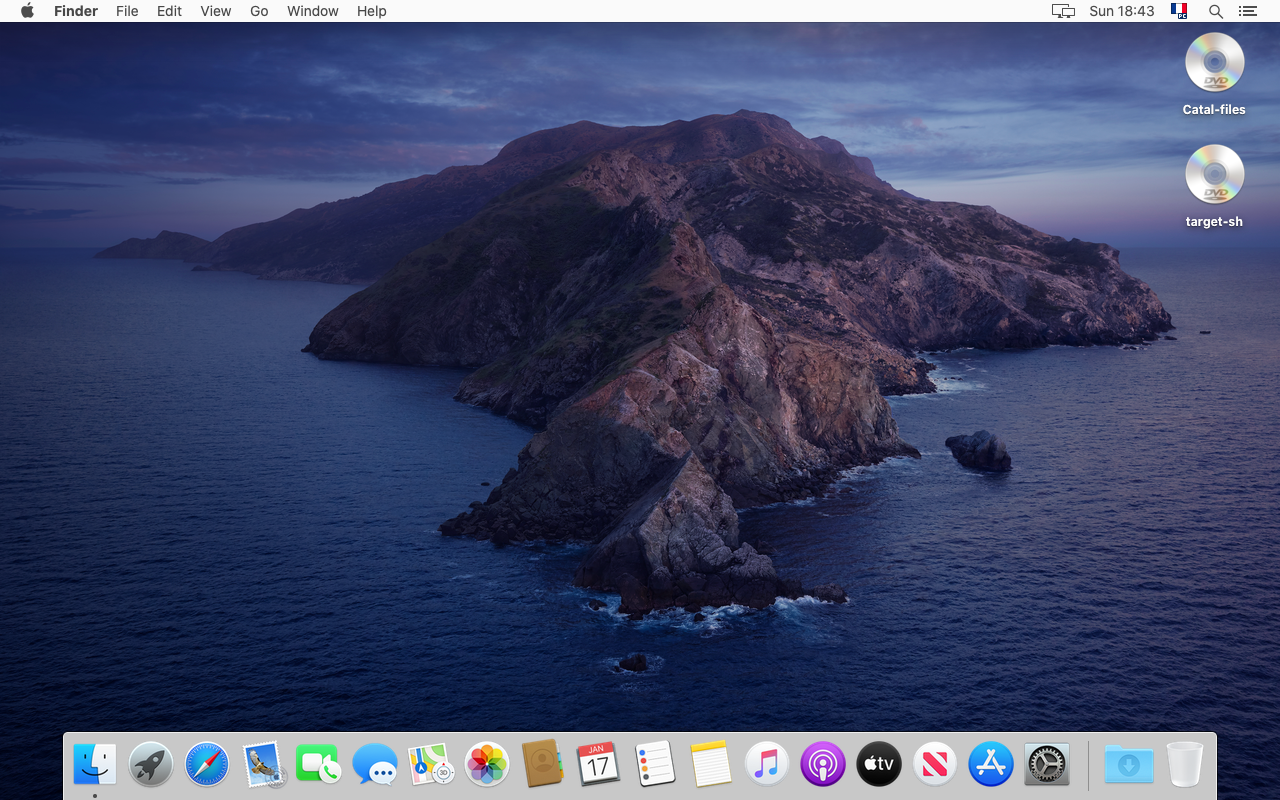
2. OpenÅben aen terminal andog typeskriv "java -version"
IfHvis Java isikke noter installed,installeret, avil popupet popop window willforeslå suggestat toinstallere installdet. it. ClickKlik "MoreMere Info...".
IfHvis Java javaer isinstalleret, installed,kan youdu cangå directlydirekte go totil screenpunkt 11.

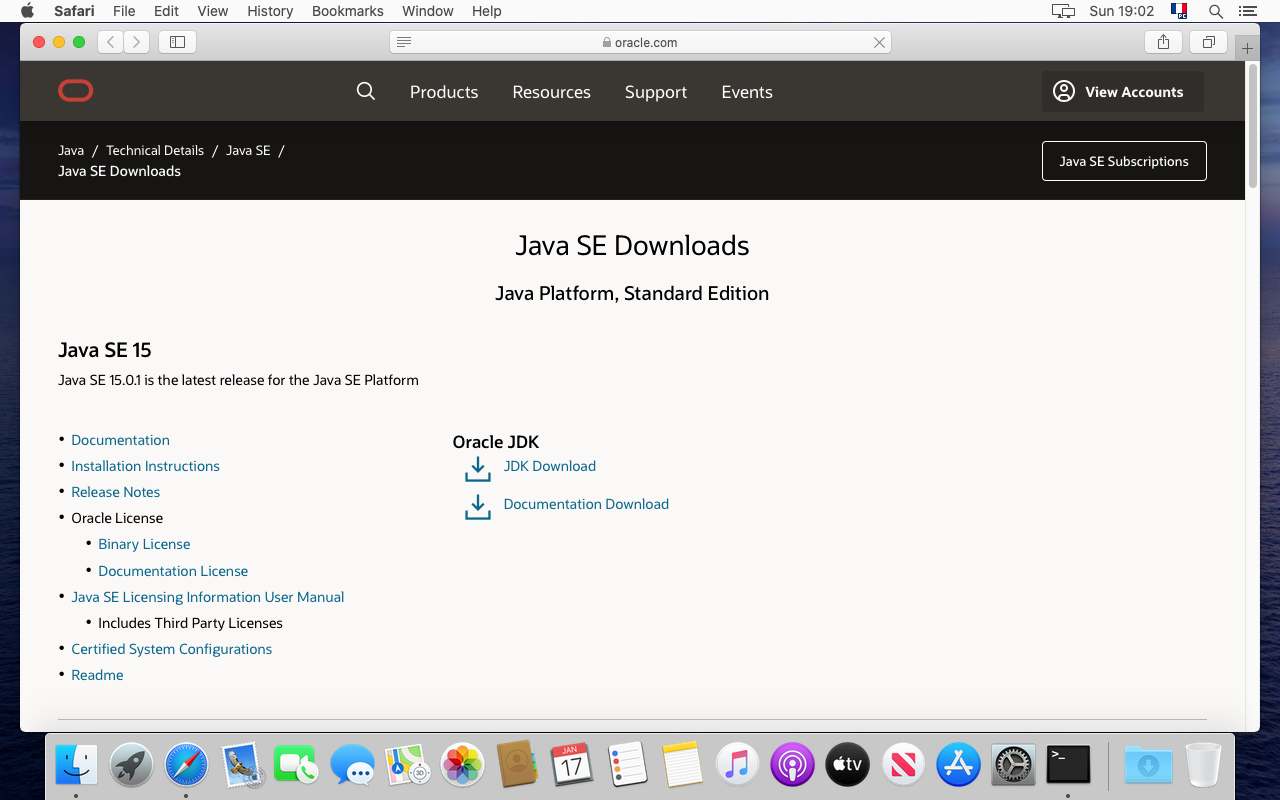
3. YouDu areer onpå theJavas Javahjemmeside. webKlik site. Click påon "JDK Download"
WeVi cankan seese, from the web site thatat Java 15 wasforeslås. suggested.Lad Letos usinstallere installdenne thatversion, versionselvom evenvi though we recommend to useanbefaler version 8 oreller 1111, whichsom areer long terme versionslangtidsversioner (seese requiredkrævet configurationopsætning).
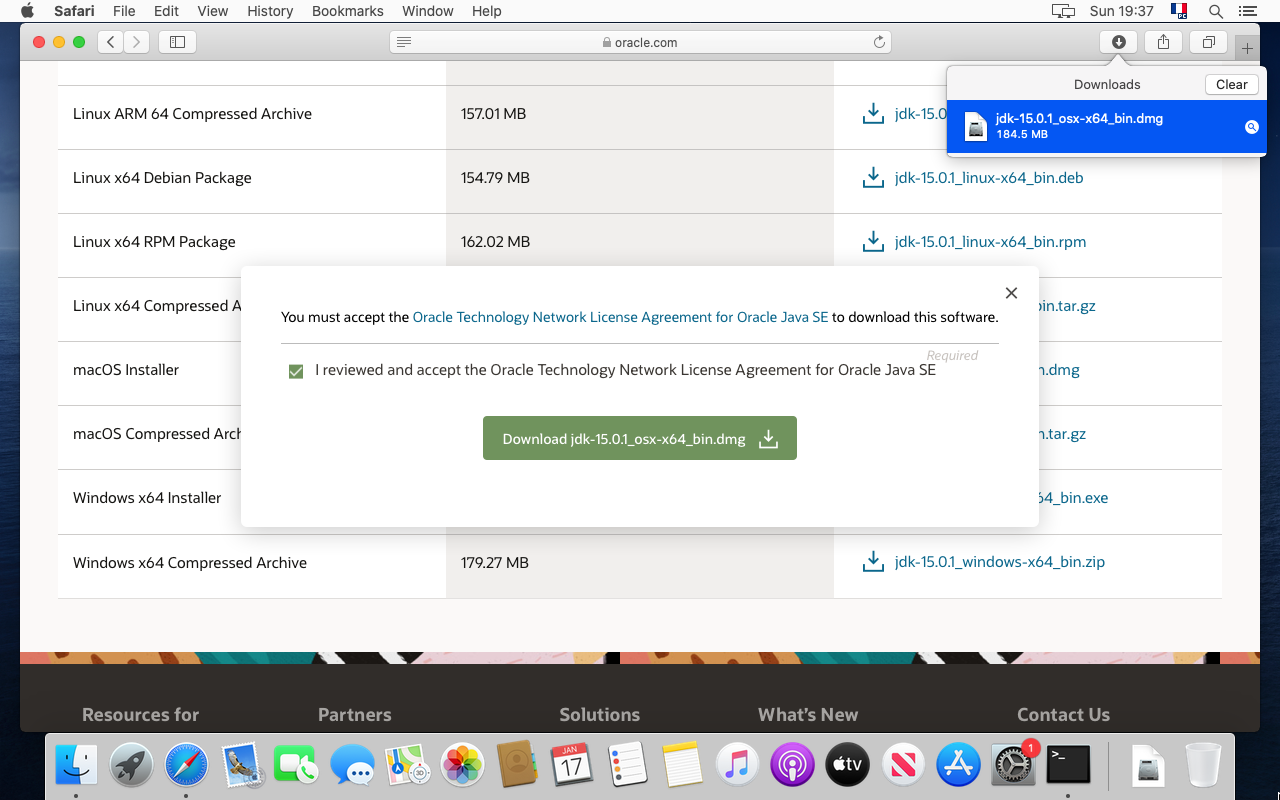
4. GoGå downned to thetil "macOSMacOS Installer" linelinjen andog clickklik on thepå ".dmg' filefilen
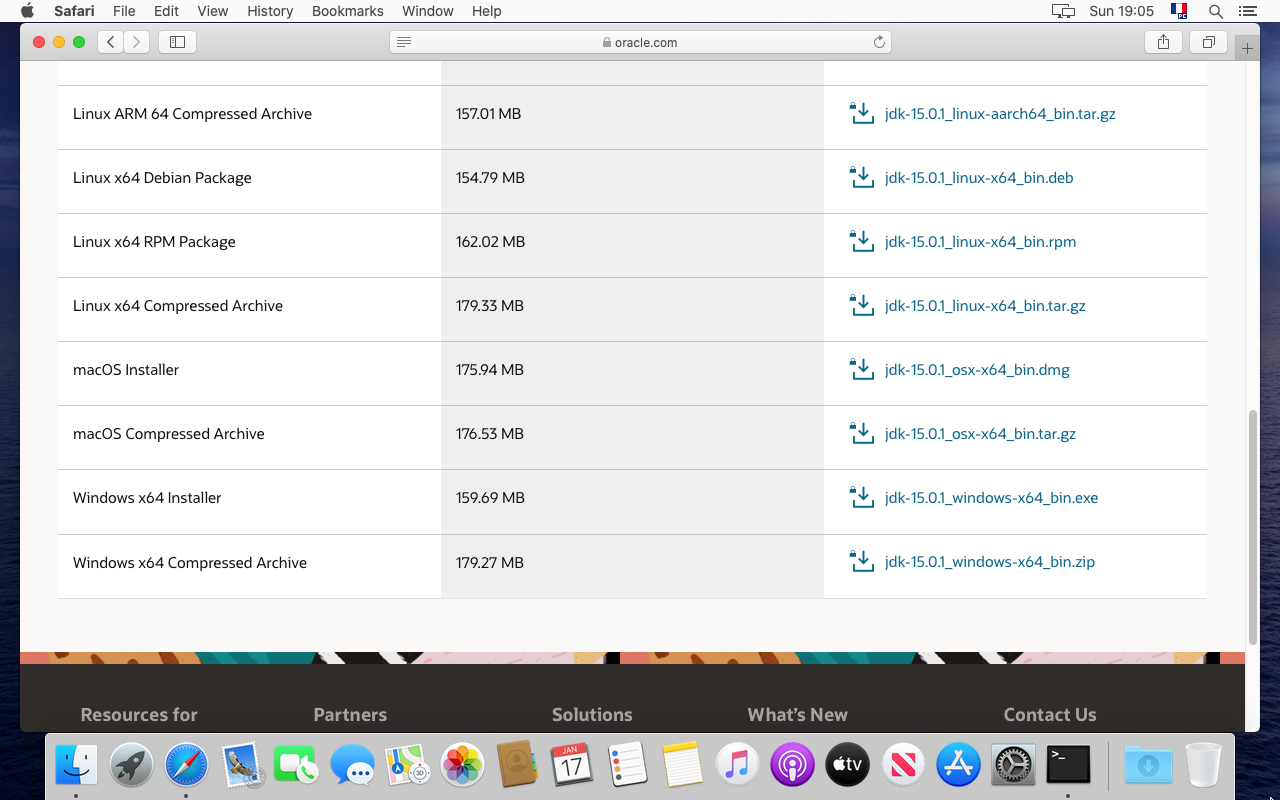
5. ClickKlik onpå theden greengrønne download button.knap.

6. DownloadingDownload starts.starter, vent... Wait.

7. DownloadingDownload iser completed.færdig. OpenÅben theDownload Downloadsmappen folderfor toat checkse out the file.filen.
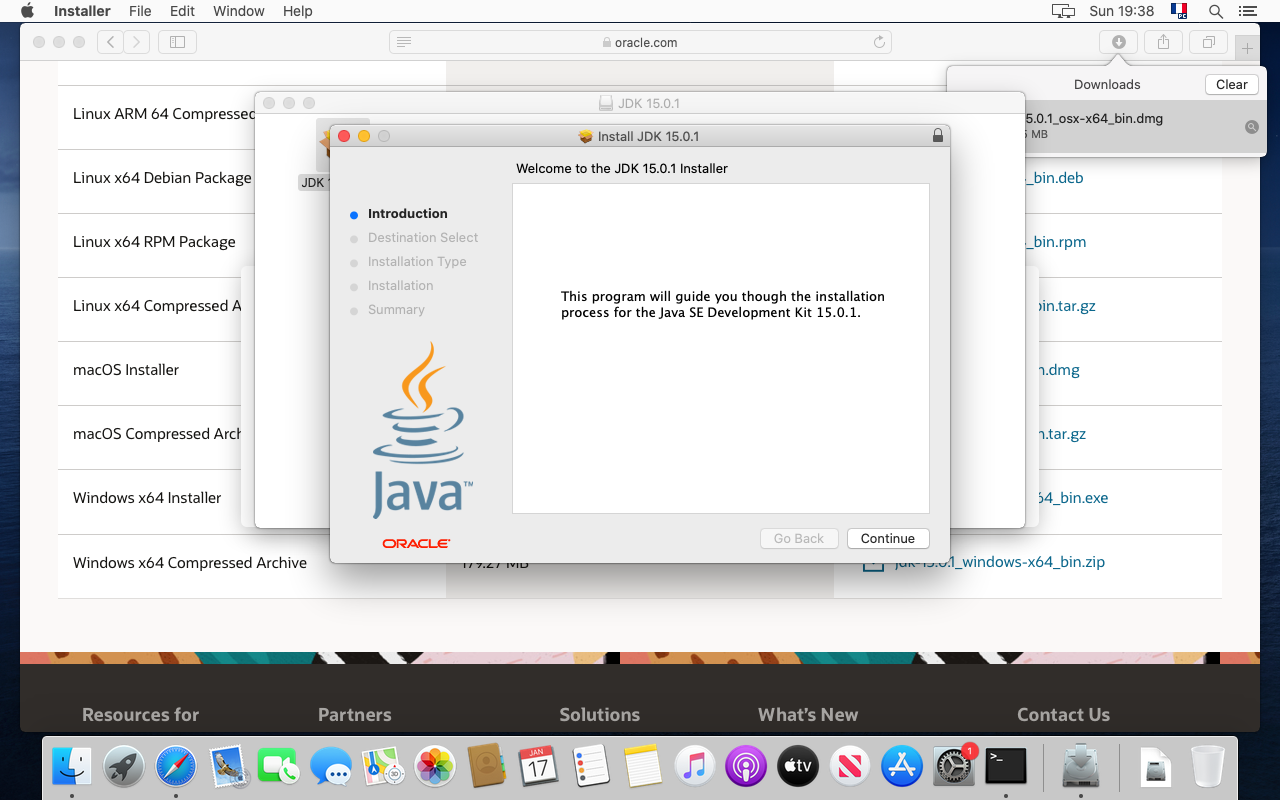
8. DoubleDobbeltklik click on thepå JDK package.pakken.

9. The JDK installerinstallerer. starts.Følg Just follow the steps.trinene.
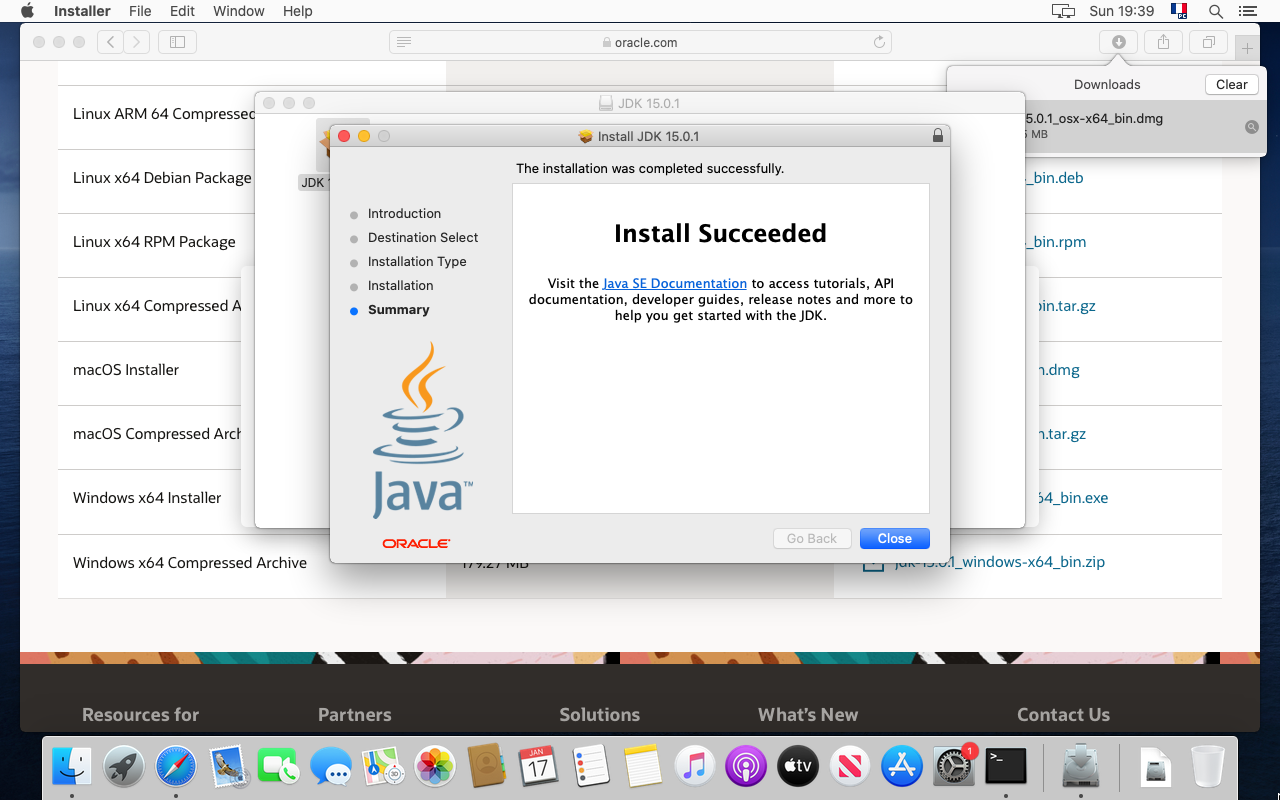
10. TheInstallationen installationbør shouldvære bei successful.orden. CloseLuk the window.vinduet.
11. ThenSkriv type againigen "java -version" ini the terminal.terminalen.
TheFølgende followingresultat resultbør shouldkomme appear,frem indicatingog indikere, at Java 15 iser installed in our example.installeret.

Your are now done with the Java installation. Let's install Ancestris now.
Installation ofaf Ancestris
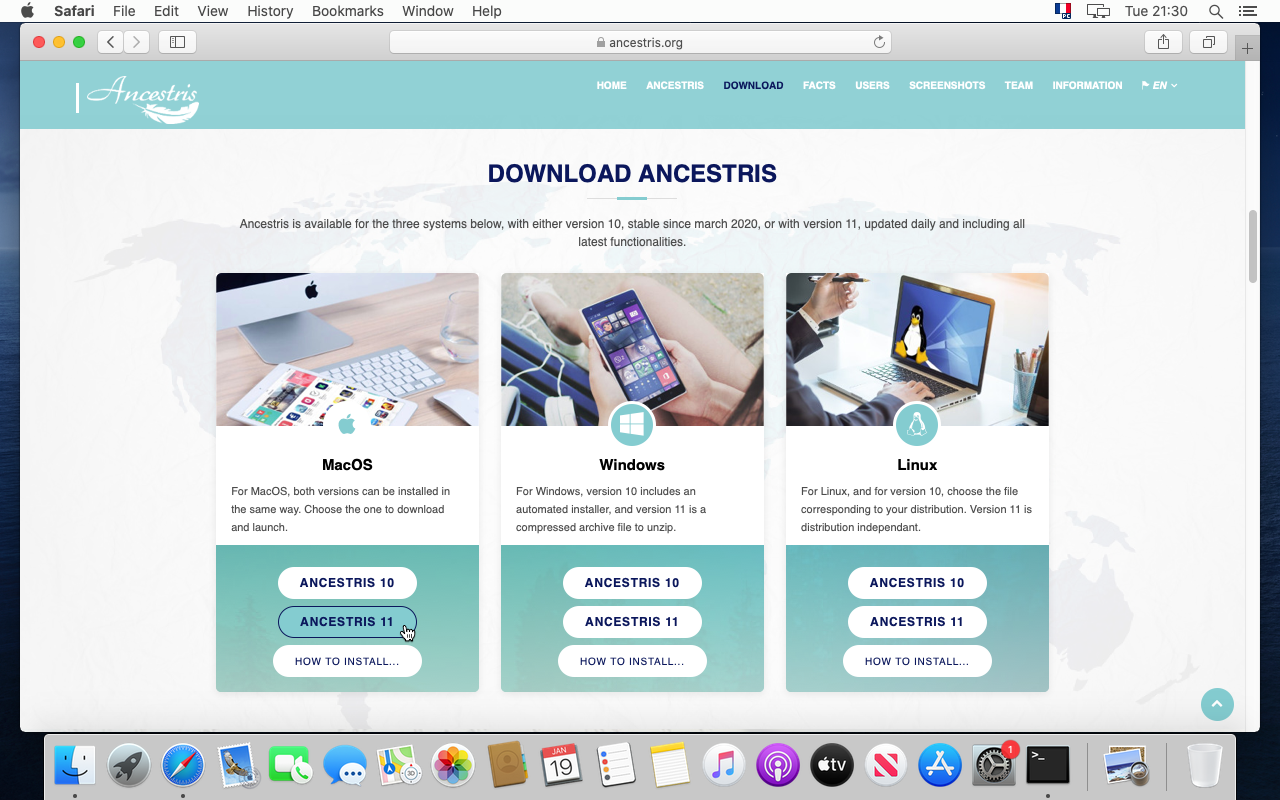
12. GoGå to thetil https://www.ancestris.org web site

13. InVælg themenuen menu, click on DOWNLOAD. This will scroll down to the download section.DOWNLOAD

14. ClickKlik on thepå Ancestris 11 buttonknappen of theunder MacOS panel..
15. AllowTillad downloads from thefra Ancestris webhjemmesiden, sitehvis ifdet thiser isførste thegang firstdu timegør you do it.det.

16. DownloadingDownload starts.starter. ItDet willtager takeet apar couple of minutes.minutter.
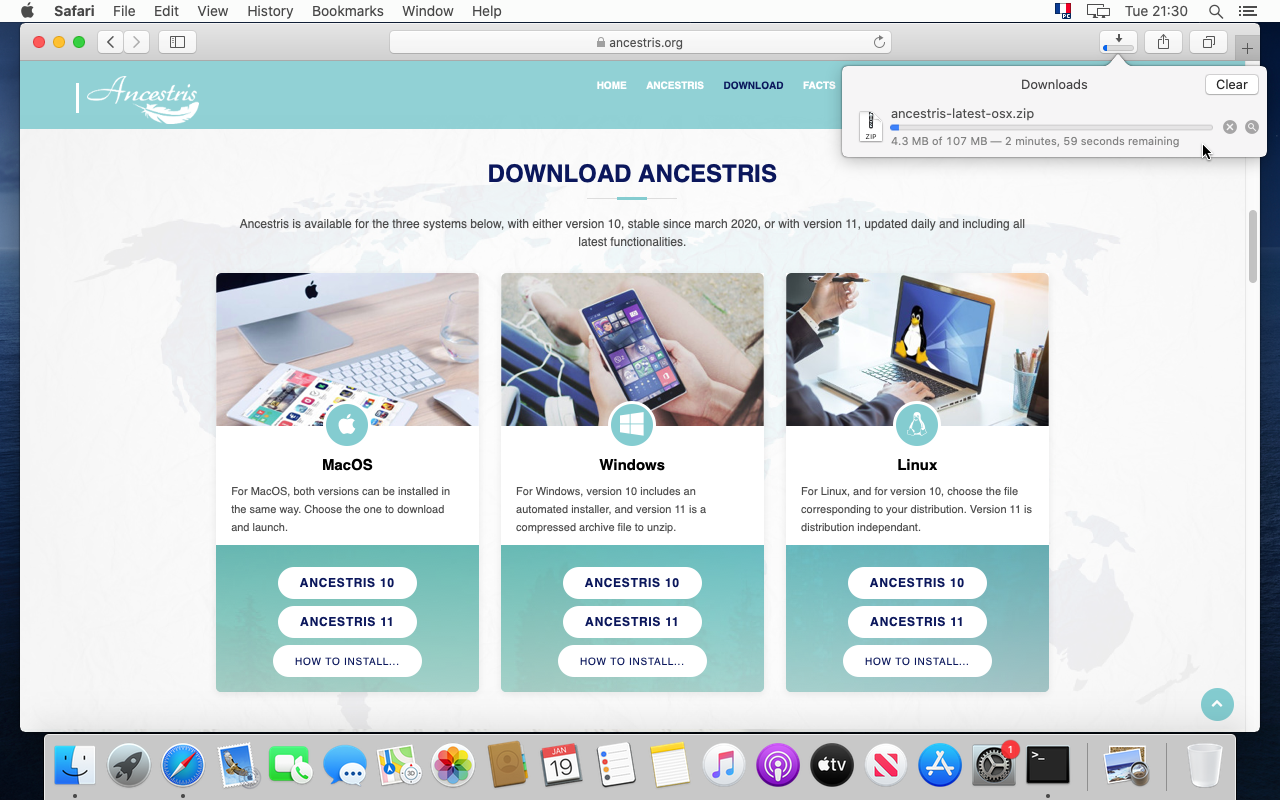
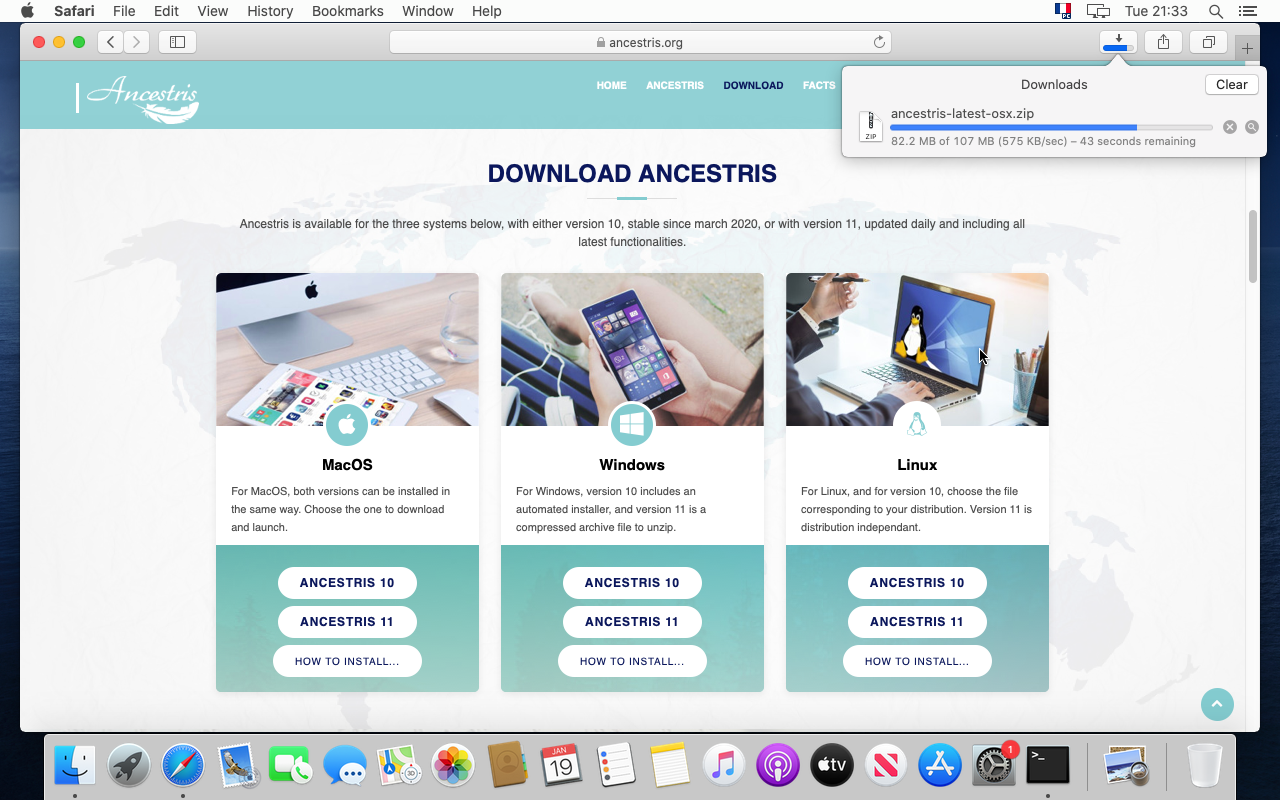
17. WaitVent alidt bit more .længere... wevi saidsagde aet couplepar of minutes minutter!!
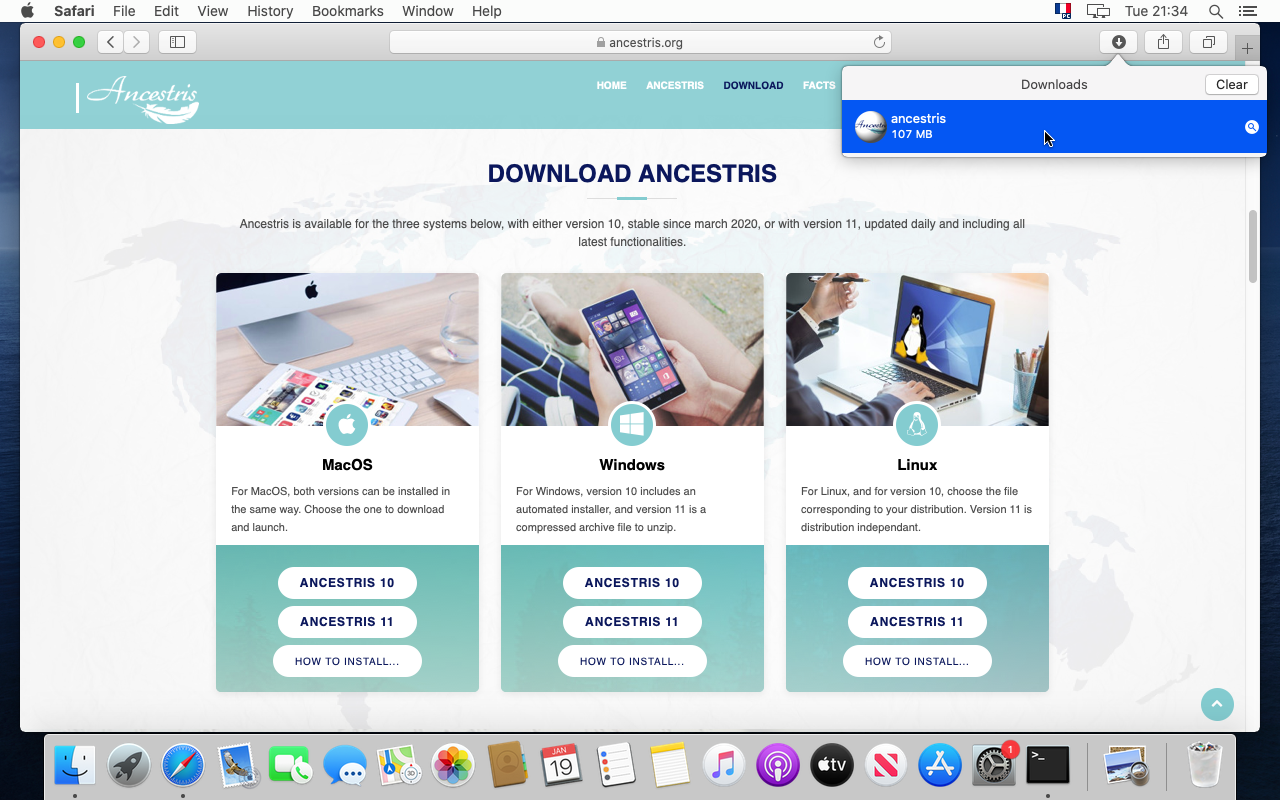
18. OnceNår complete,installationen moveer thefærdig, fileflyt tofilerne yourtil genealogydin folder.slægts-mappe.
19. ItDet iser betterbedre toat place yourplacere Ancestris applicationprogrammet ini aen separateseparat foldermappe fromfra yourdine genealogy files.slægtsfiler.
YouGemmay for instance placef.eks. AncestrisiniamappenDocuments/Genealogy folder.Dokumenter/Slægt.AndOgyoudumaykanplacesenerelaterlæggeyourdinegenealogydatafilerdataiinmappena folder such as{Home}/Home/Public/Genealogy Files/
DoPlacér notikke placedine yourslægtsfiler genealogyi filesDokumenter. inSkrivebord the Documents, Desktop oreller Downloads folders,mapperne oreller underneathi them.undermapper dertil. MacOS willvil notikke letlade youdig seese themdem fromfra Ancestris aspå agrund securityaf checket sikkerhedscheck for non-signedikke-autoriserede applicationprogrammer likesom Ancestris.
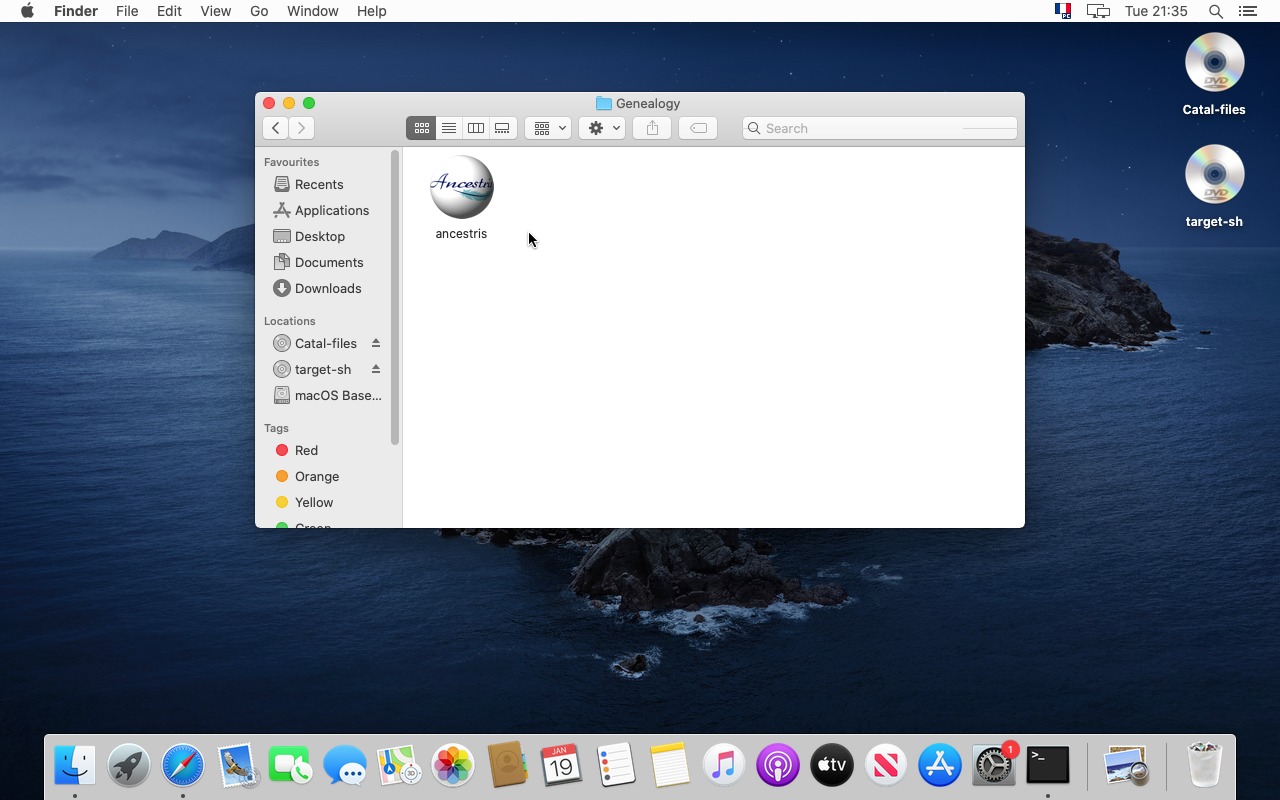
20. ToVær makesikker surepå, itat isdu thehar versionfået youden expect,version, clickdu onforventede, klik på "Quick Look "Ancestris" fromfra the context menu.contextmenuen.
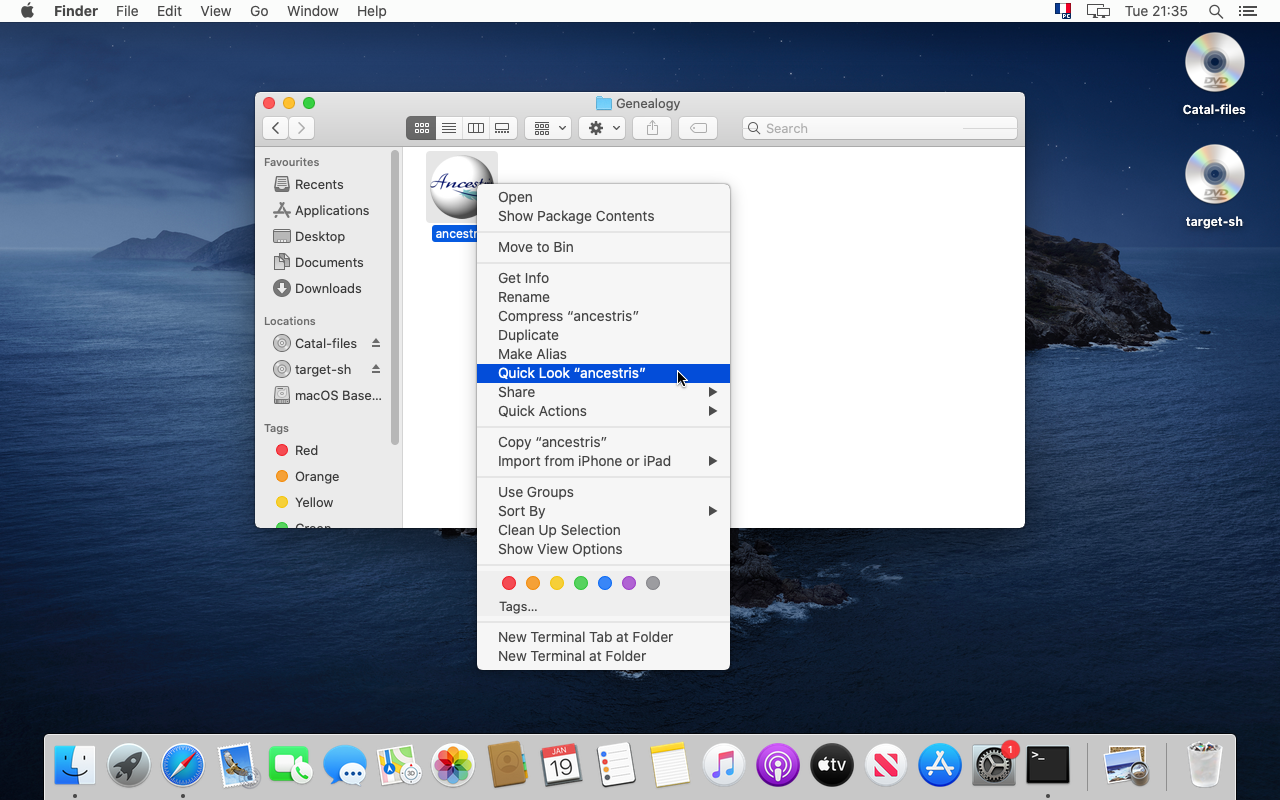
21. TheProgrampaneletburde applicationfortælle panel should tell you about the filedig version andog date.dato.
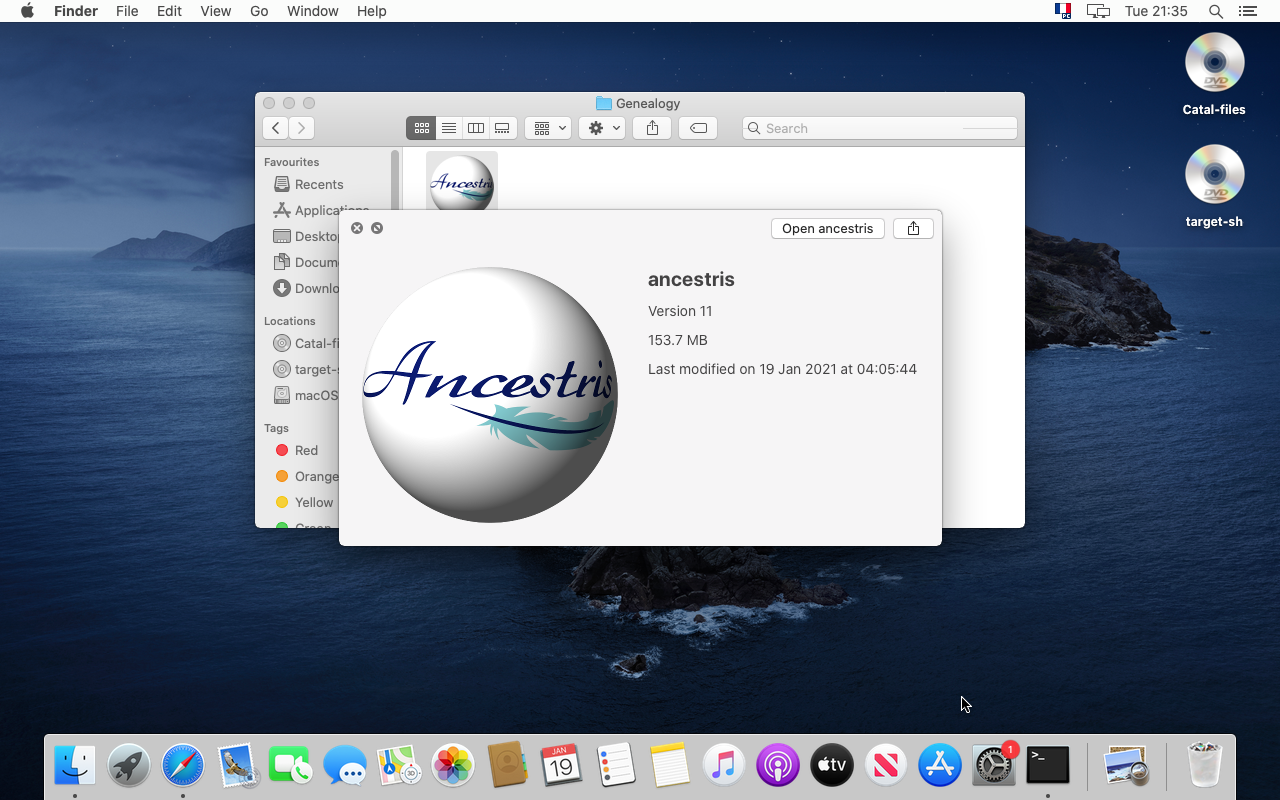
22. ClickKlik på 'OpenÅben ancestris' oreller gogå backtilbage toptil yourSlægtsmappen Genealogyog folderklik andpå clickikonet onfor theat icon to launchstarte Ancestris.

ConfirmationBekræftelse ofaf the security checksikkerhedscheck
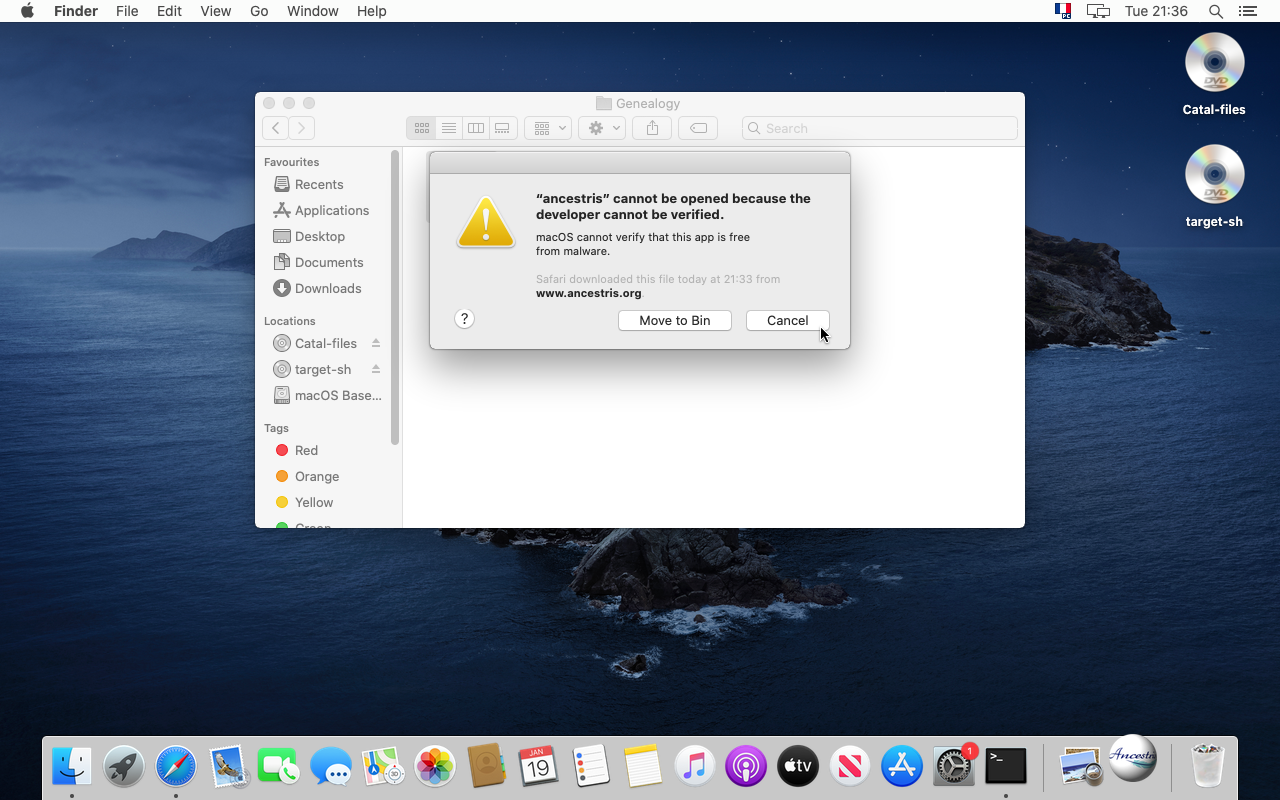
23. Ancestris startsstarter, butmen MacOS tellsfortæller youdig, itat comesprogrammet fromkommer anfra unverifieden developer.uautoriseret Notudvikler. aIkke noget problem. Ancestris iser openet sourceopen-source-program andog doeshar notikke havenoget any'snavs. malware.Lad Let'sos authorizeautorisere it.det.
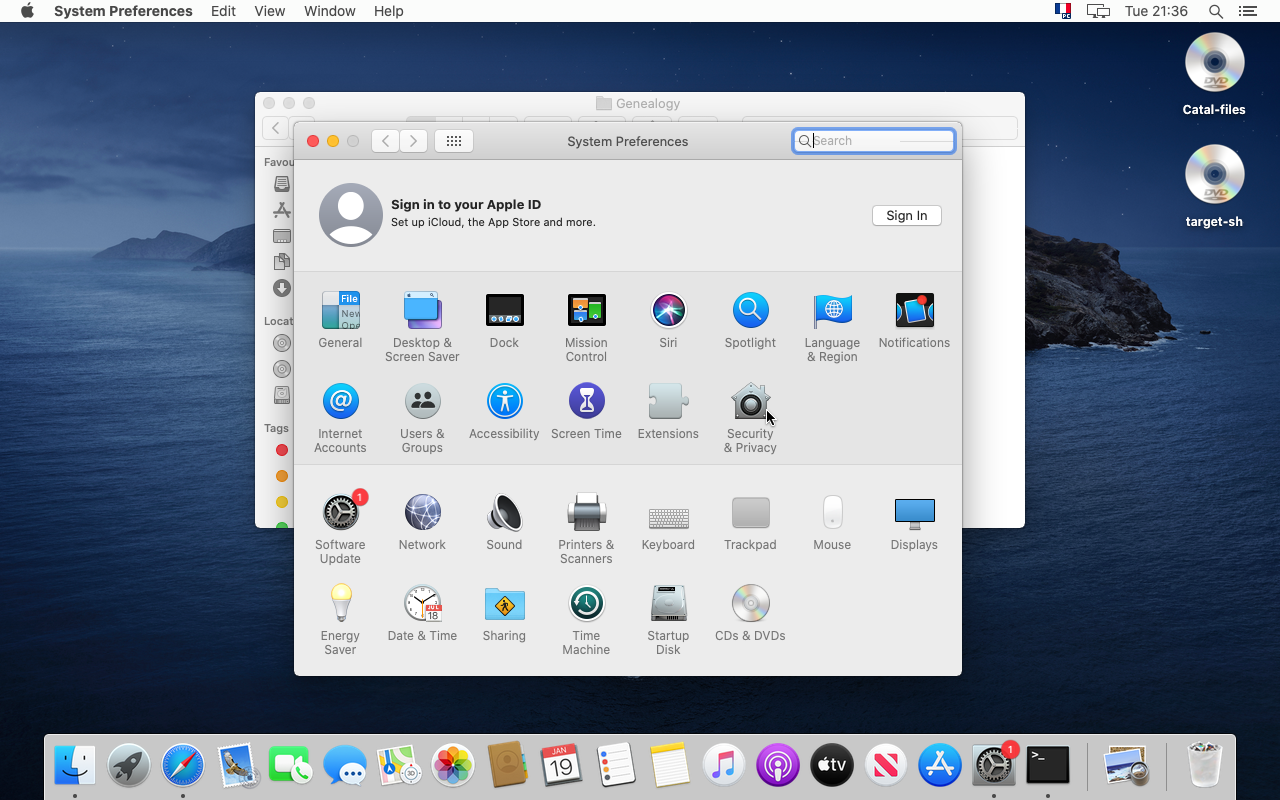
24. ForSå that, go to thetil System Preferences
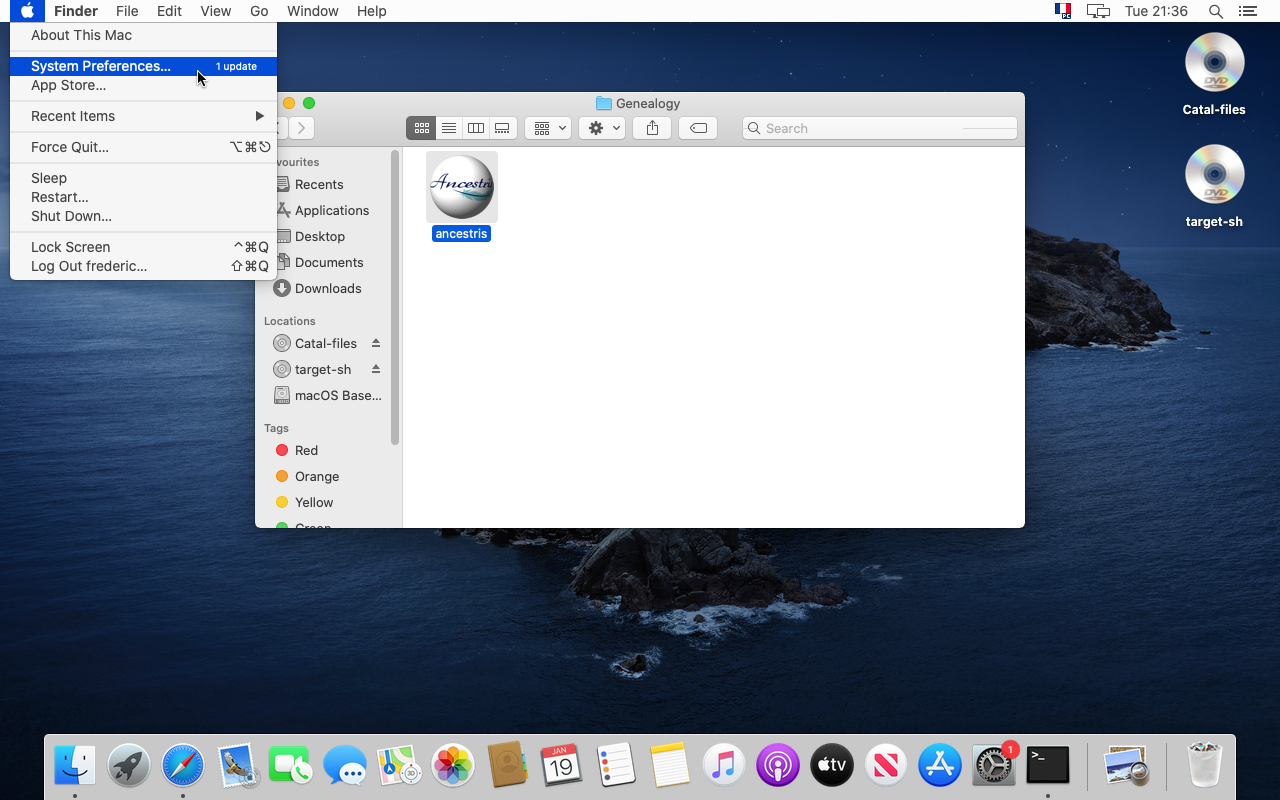
25. ClickKlik onpå "Security & Privacy"
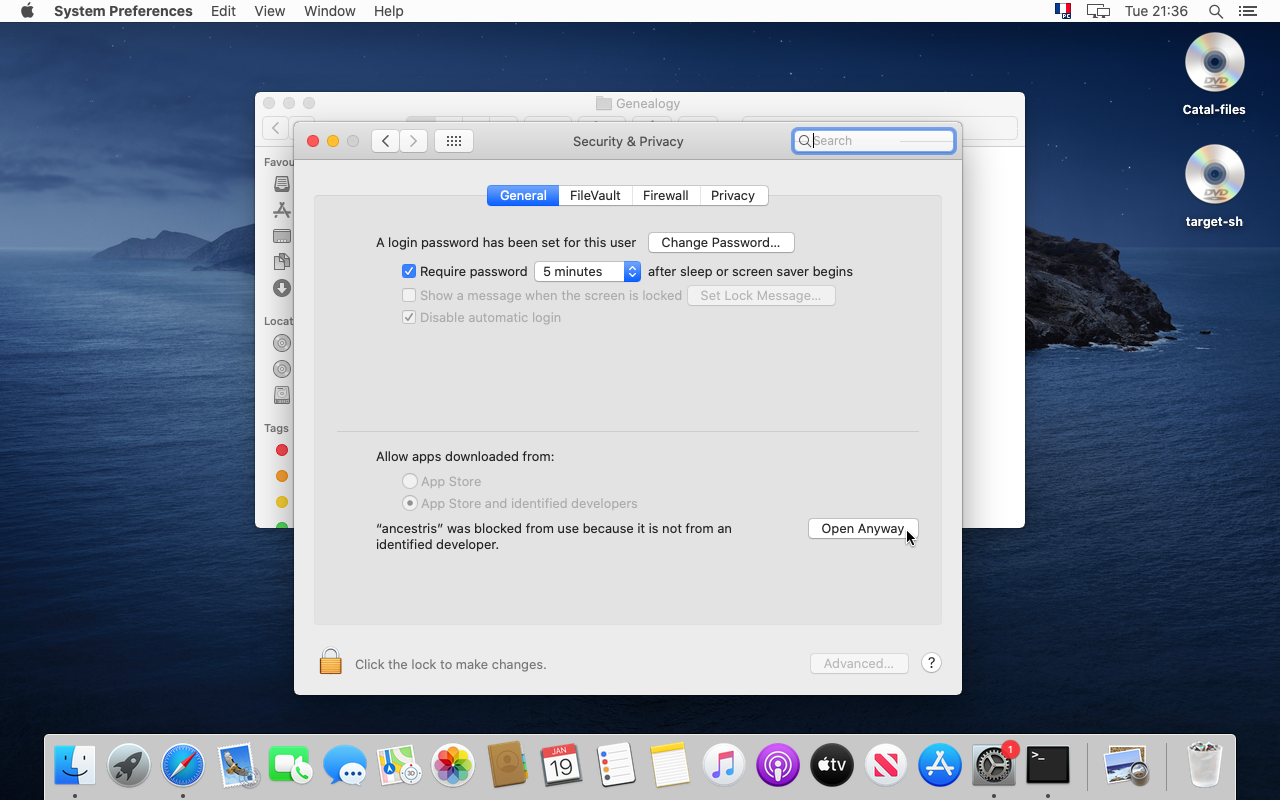
26. ClickKlik onpå "OpenÅben anyway"alligevel"
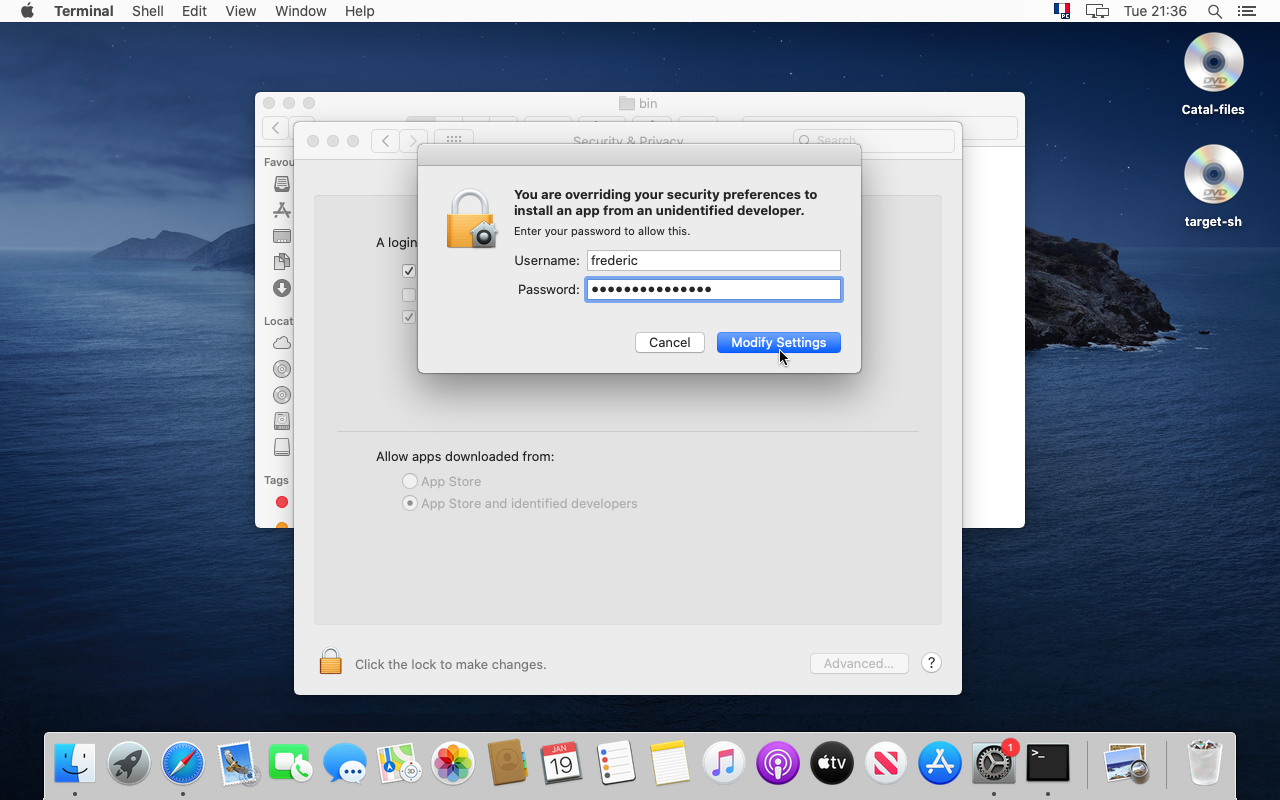
27. IfHvis itdet iser theførste firstgang timedu yougør dodette, this,bekræft confirmmed with yourdit password.
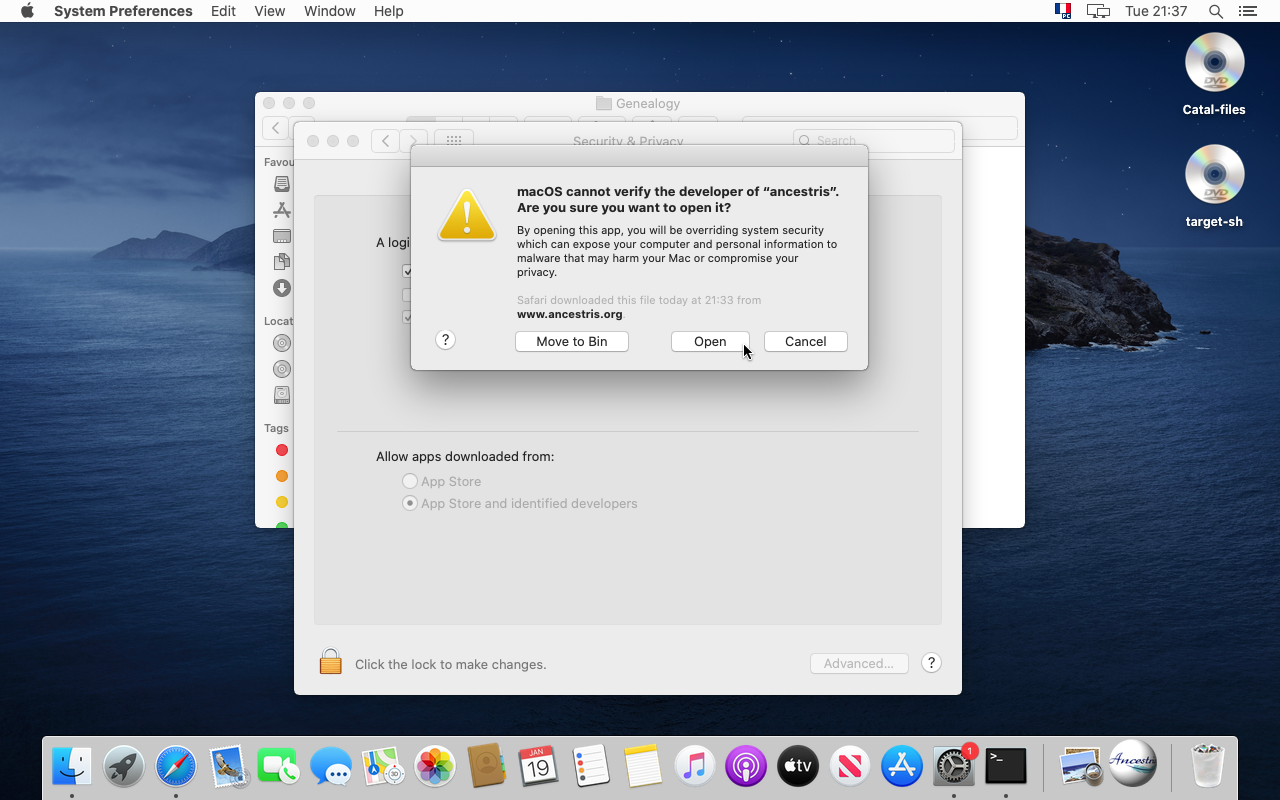
28. Yes,Ja, youdu areer sure.sikker, Clickklik "Open"på 'Åben'.
29. Finally,Endelig, Ancestris starts.starter.
30. YouDu cankan seenu these Welcome window.velkomstvinduet.
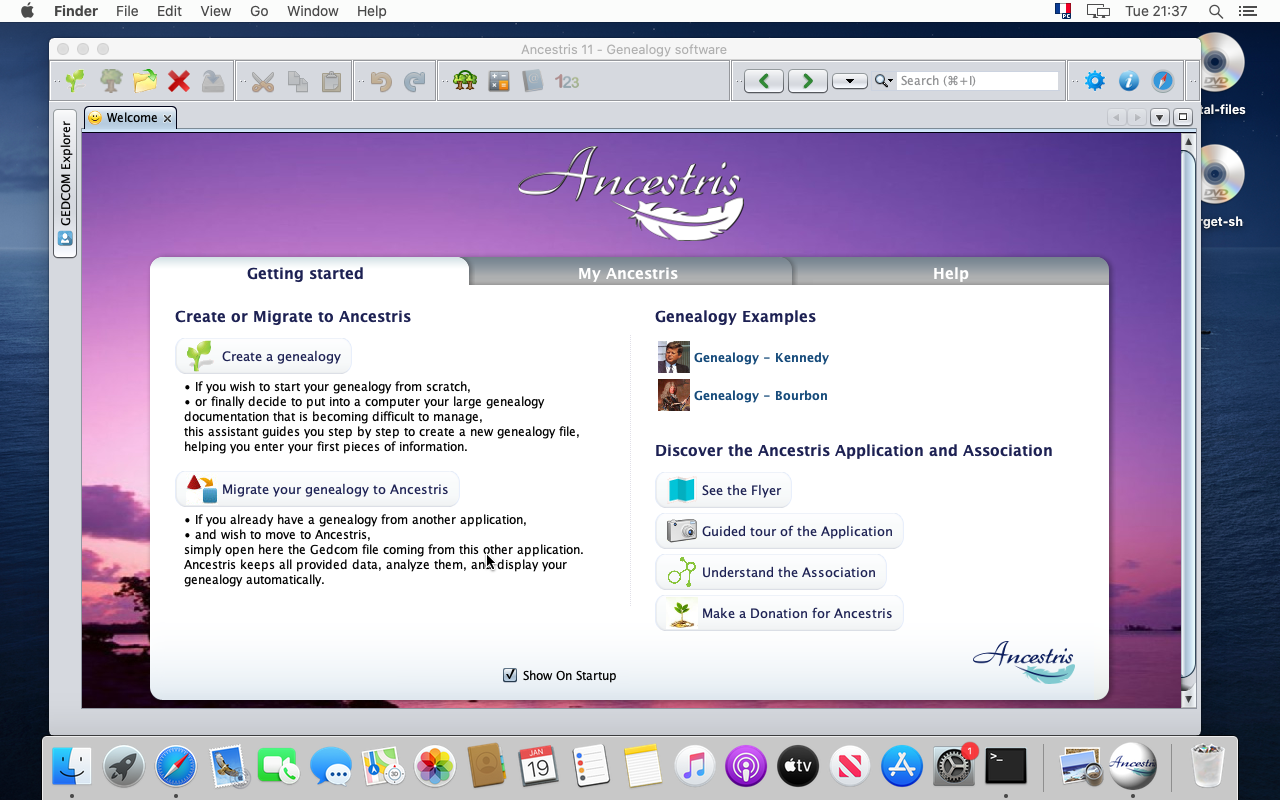
31. PleaseBemærk notevenligst, thatat fromdu fra the application Menu,Menu youkan cantilgå accessopsætning the Preferences and theog "AboutOm Ancestris" panel.panelet.

KeepGenvej ini dockdock-linjen
32. Let'sLad keepos thelave applicationen ingenvej thei Dock byved clickingat onklikke thepå AncestrisAncestrisikonet icon in the dock panel.idockpanelet.

33. ChooseVælg "Option"Valg" andog "KeepBevar ini Dock".
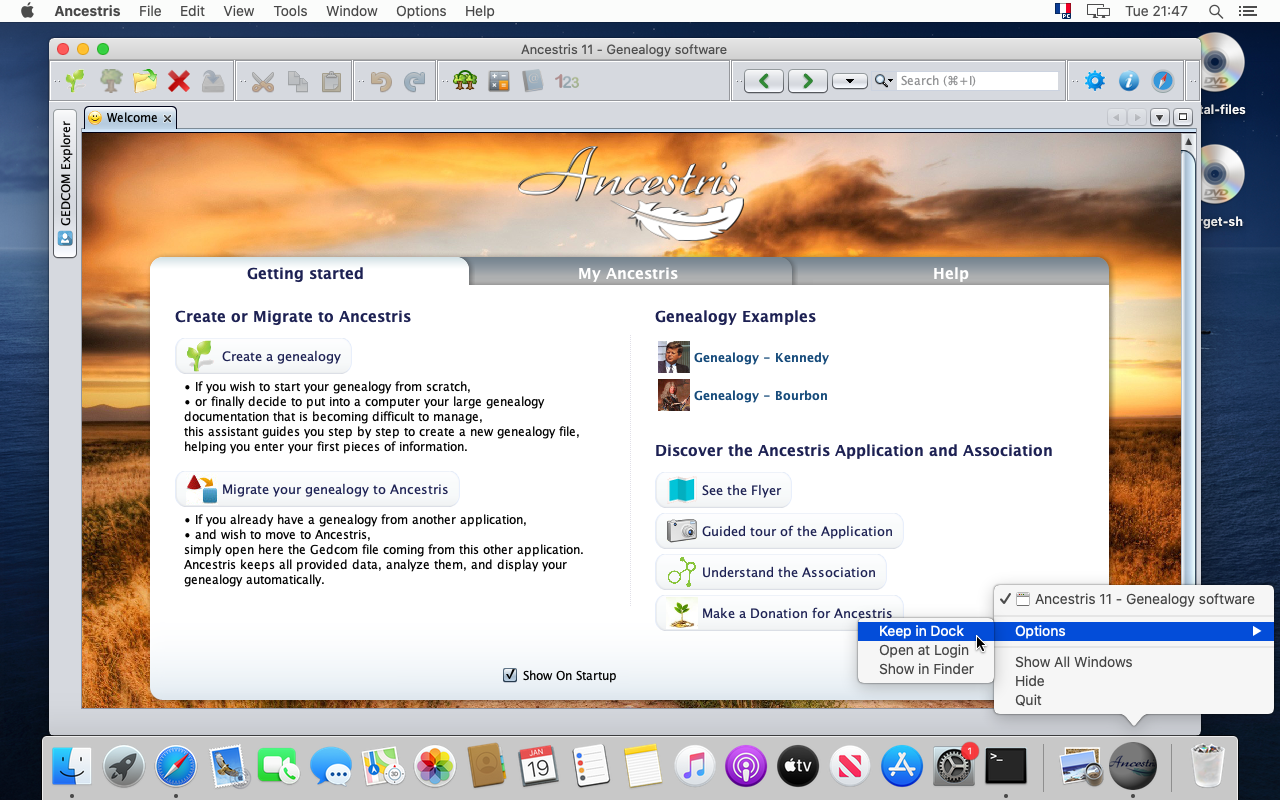
34. ThisDet isvar it.det. Ancestris iser installedinstalleret andog in thei Dock. Yessss !Yessss!
Special note for usersbrugere ofaf MacOS Big Sur
There are additional steps for MacOS Bug Sur users, in case Ancestris does not start after the installation above:
- It might be necessary to store Gedcom files in another folder than the 'Documents', 'Desktop' and 'Downloads' folders. For instance, you can use the "Public" folder.
- Indeed, for security reasons, MacOS might prevent access to these folders by non-signed applications.
- It can also happen that an error message "Wrong line n° null" is displayed when opening a Gedcom file that is placed under one of these folders.
- It might be also necessary to specify the path to the java version in the ancestris configuration file. This is explained below.
Please follow these additional steps to specify the path to the java version in the ancestris configuration file:
Basic principles:
- The configuration file is here :
${HOME}/Library/Application Support/ancestris/trunk/etc/ancestris.conf - Java's location is given by the following line command :
/usr/libexec/java_home -V
These are the steps.
1. Open a terminal, and check and copy the location of the installed java version
- Type /usr/libexec/java_home -V on ther command line and press Enter
- You shoud see the path of the installed java version.
- Select the line indicating the path, and click on the mouse to copy it in the clipboard. This line could be different in your case.
- Here it is
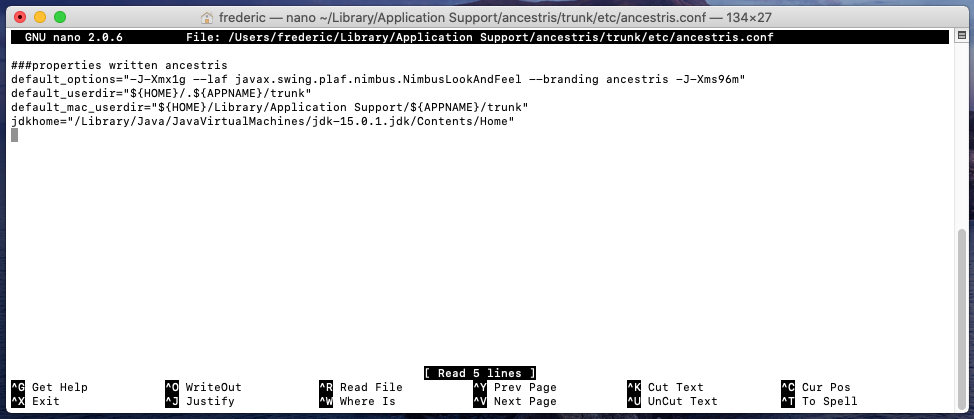
/Library/Java/JavaVirtualMachines/jdk-15.0.1.jdk/Contents/Home
- Here it is

2. Open the editor on the Ancestris configuration file
- Type the following command:
nano ${HOME}/Library/'Application Support'/ancestris/trunk/etc/ancestris.conf

3. The nano editor opens and shows the content of the Ancestris configuration file
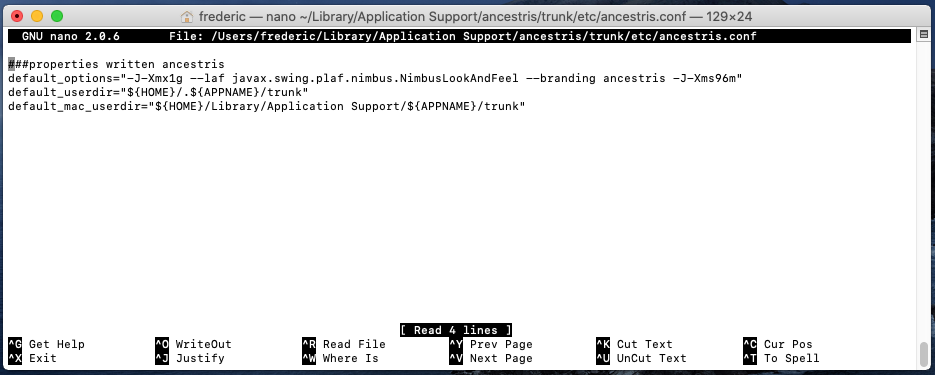
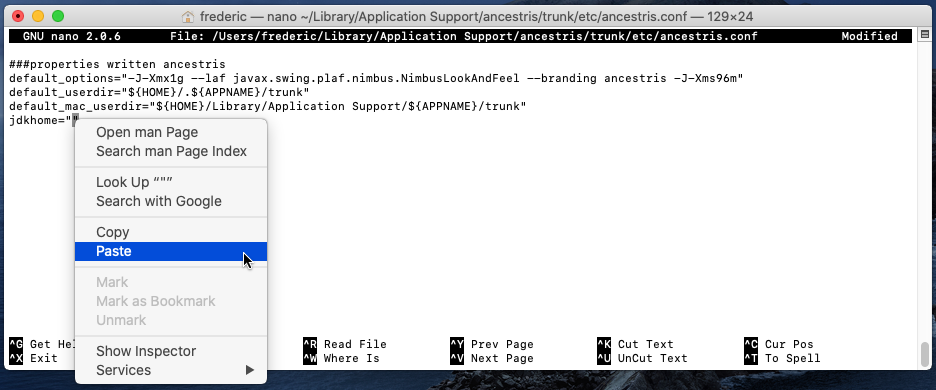
4. Add - or modify - the line that says jdkhome="" and paste the java path between the double quotes
- Add the line if it does not exist
- Or update it otherwise. Make sure in this case that there is no pond sign "#" at the beggining of the line, your change would not be taken into account.
5. Exit and save your change
6. Check that the Ancestris configuration file has your change, and start Ancestris.
- Type the command starting with "
cat ${home}/..." below. - The terminal displays the configuration file with the added line.

The configuration file is updated. You can start Ancestris and Ancestris should find java.