Instalación paso a paso en MacOS
Esta página documenta una instalación detallada paso a paso de Ancestris en un sistema MacOS.
Mostramos un ejemplo ocurrido en enero de 2021, de la instalación de Ancestris versión 11 en MacOS Catalina.
Estos pasos incluyen lo siguiente:
- Instalación de Java que aún no estaba instalado en Catalina
Descarga de Ancestris versión 11 del sitio web seguro de Ancestris - Confirmación del control de seguridad para permitir que Ancestris se ejecute aunque provenga de un desarrollador no identificado
- Lanzamiento de Ancestris
- Creación de un icono de muelle de Ancestris
Tenga en cuenta que las capturas de pantalla que se muestran aquí pueden ser diferentes de las del sitio web actual de Ancestris o de la versión actual del software de Ancestris.
Nota especial para MacOS Big Sur:
- A partir de esta versión de MacOS, puede ser necesario especificar la ruta a la versión de java en el archivo de configuración de ancestris (consulte la sección correspondiente en esta documentación)
- Por razones de seguridad, puede que sea necesario almacenar archivos Gedcom en otra carpeta que no sea la carpeta 'Documentos'
Instalación de Java
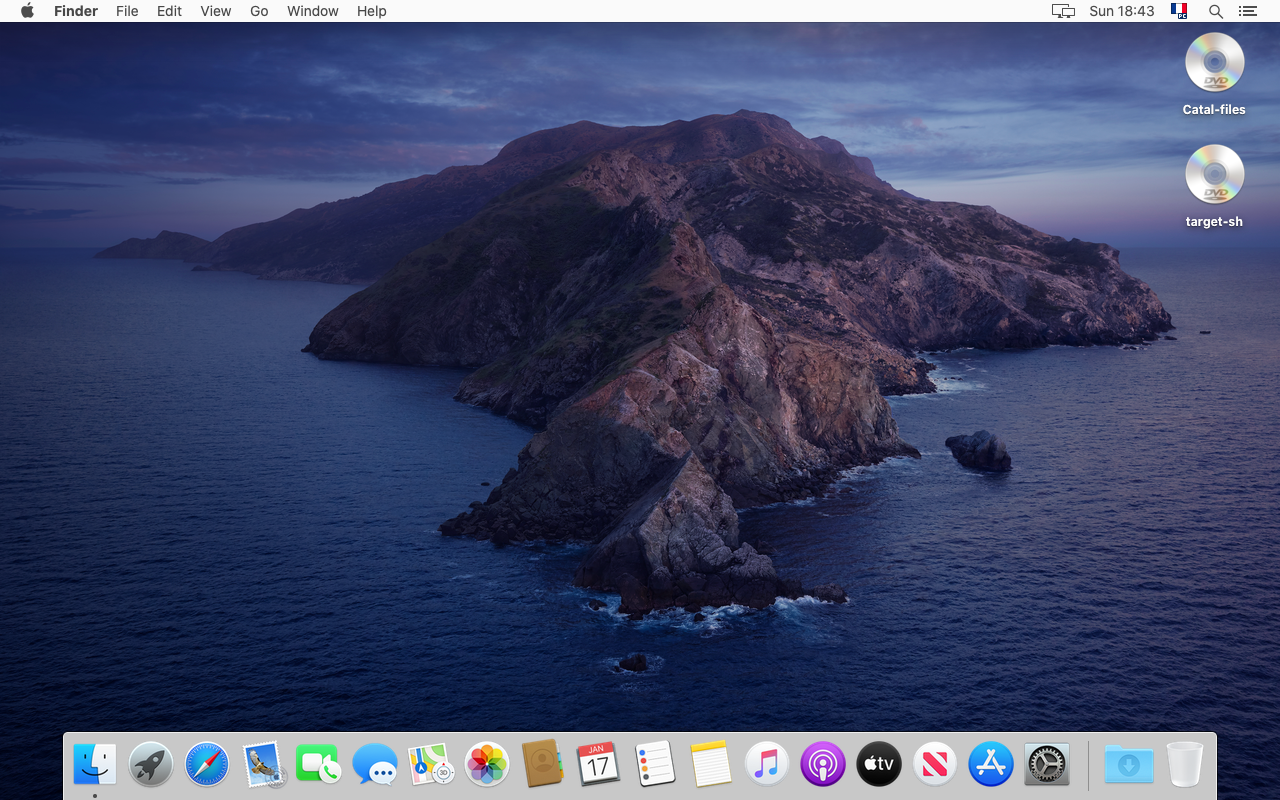
1. Desde el escritorio de MacOS ...
2. Abra un terminal y escriba "java -version"
Si Java no está instalado, una ventana emergente le sugerirá instalarlo. Haga clic en "Más información ...".
Si java está instalado, puede ir directamente a la pantalla 11.

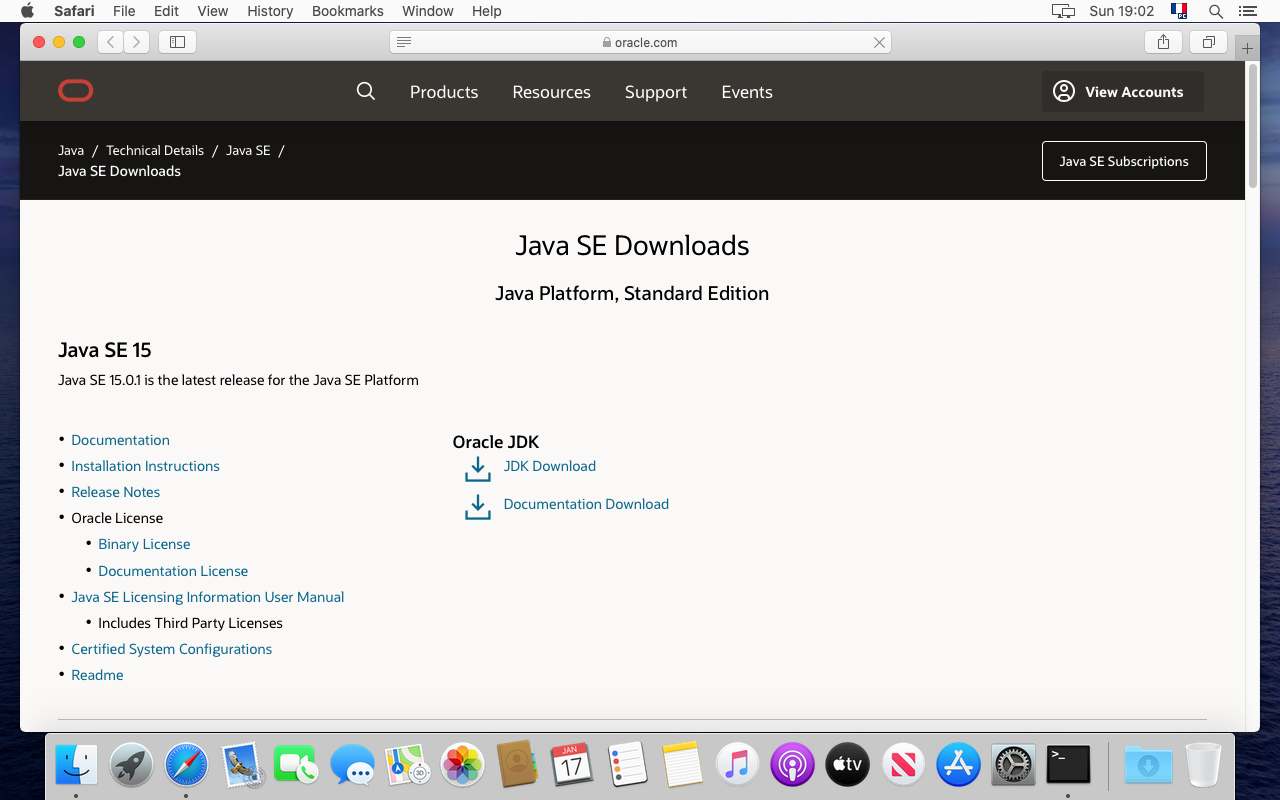
3. Estás en el sitio web de Java. Haga clic en "Descargar JDK"
Podemos ver en el sitio web que se sugirió Java 15. Instalemos esa versión aunque recomendamos usar la versión 8 u 11 que son versiones de largo plazo (ver configuración requerida).
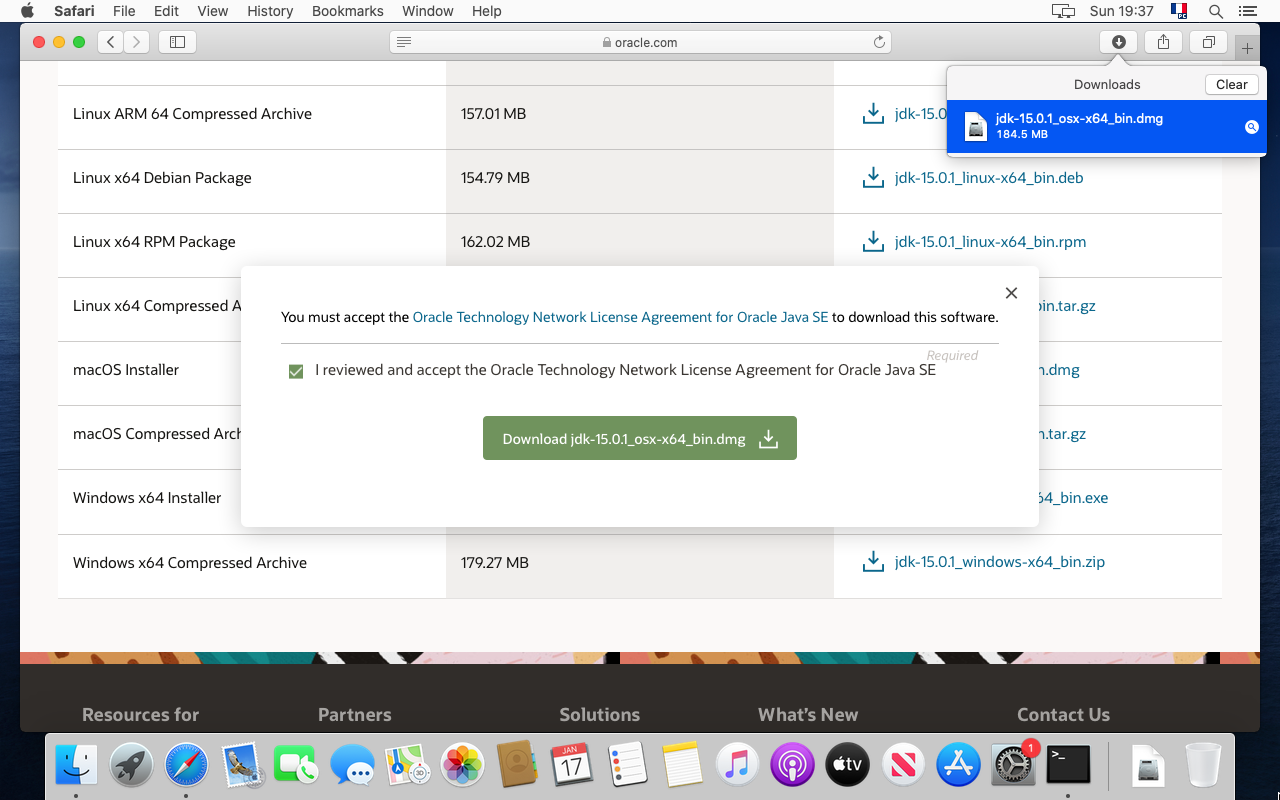
4. Go down to the "macOS Installer" line and click on the ".dmg' file

5. Click on the green download button.

6. Downloading starts... Wait.

7. Downloading is completed. Open the Downloads folder to check out the file.
8. Double click on the JDK package.

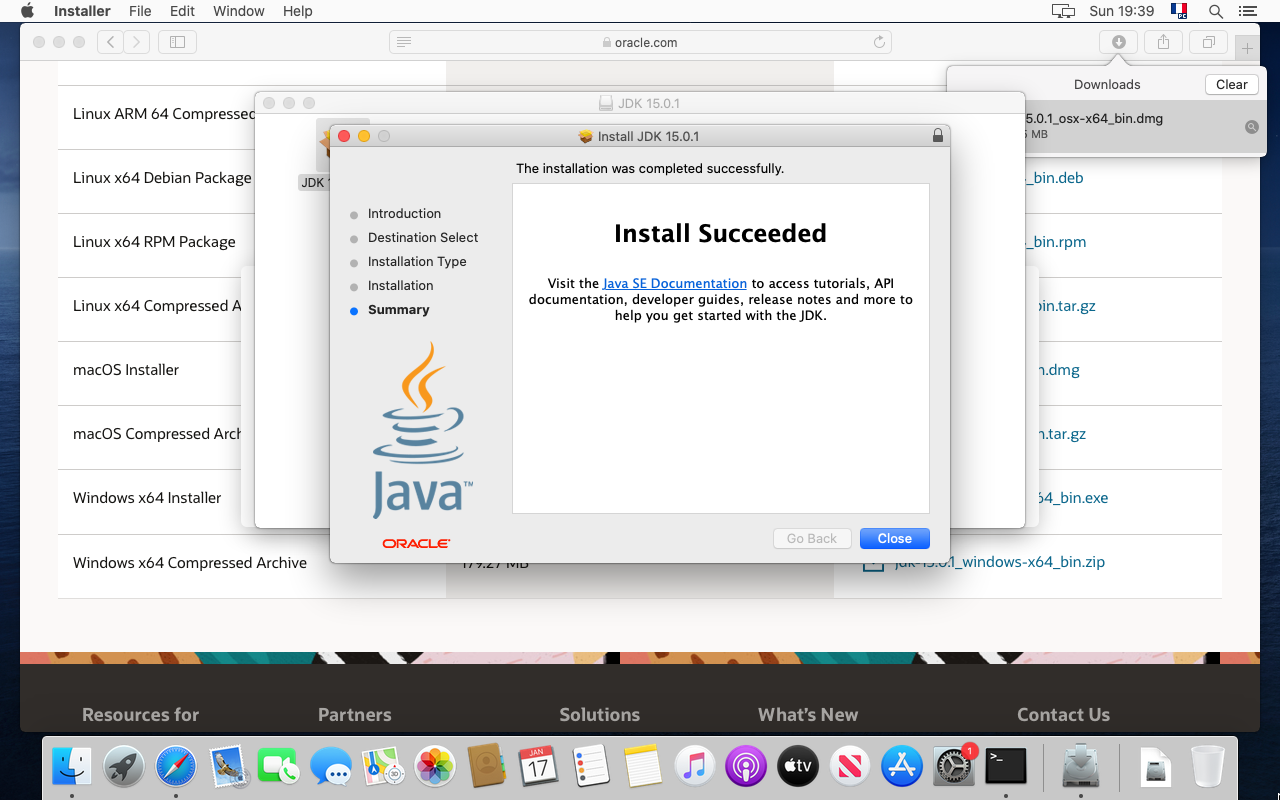
9. The JDK installer starts. Just follow the steps.

10. The installation should be successful. Close the window.
11. Then type again "java -version" in the terminal.
The following result should appear, indicating Java 15 is installed in our example.

Your are now done with the Java installation. Let's install Ancestris now.
Installation of Ancestris
12. Go to the https://www.ancestris.org web site

13. In the menu, click on DOWNLOAD. This will scroll down to the download section.

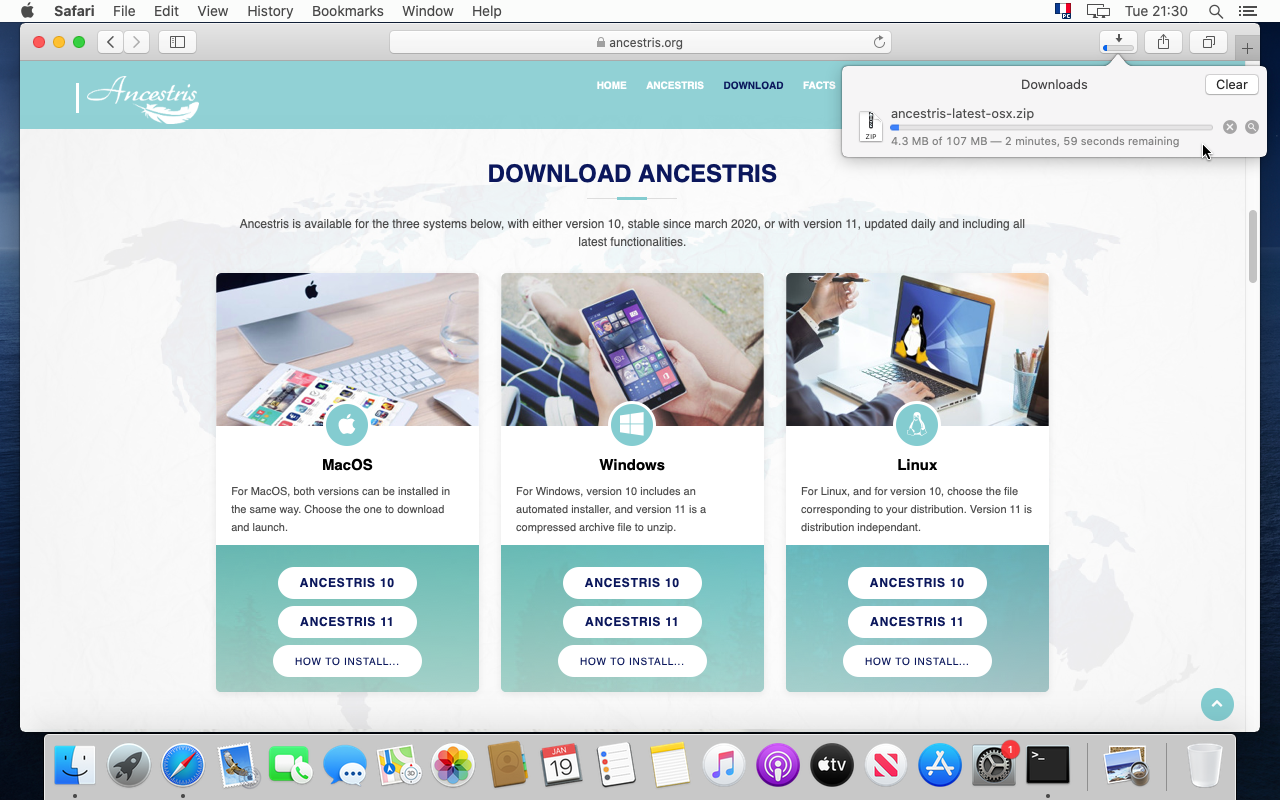
14. Click on the Ancestris 11 button of the MacOS panel.

15. Allow downloads from the Ancestris web site if this is the first time you do it.

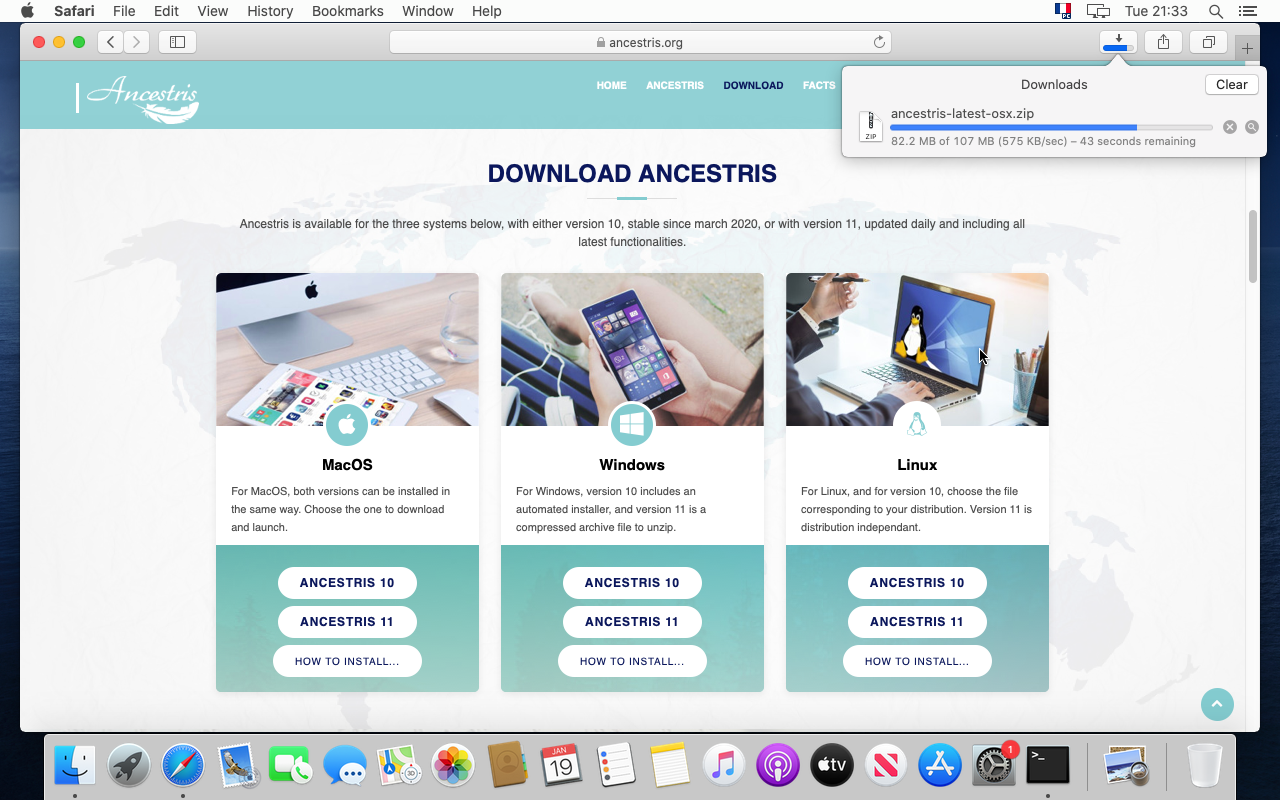
16. Downloading starts. It will take a couple of minutes.
17. Wait a bit more ... we said a couple of minutes !
18. Once complete, move the file to your genealogy folder.
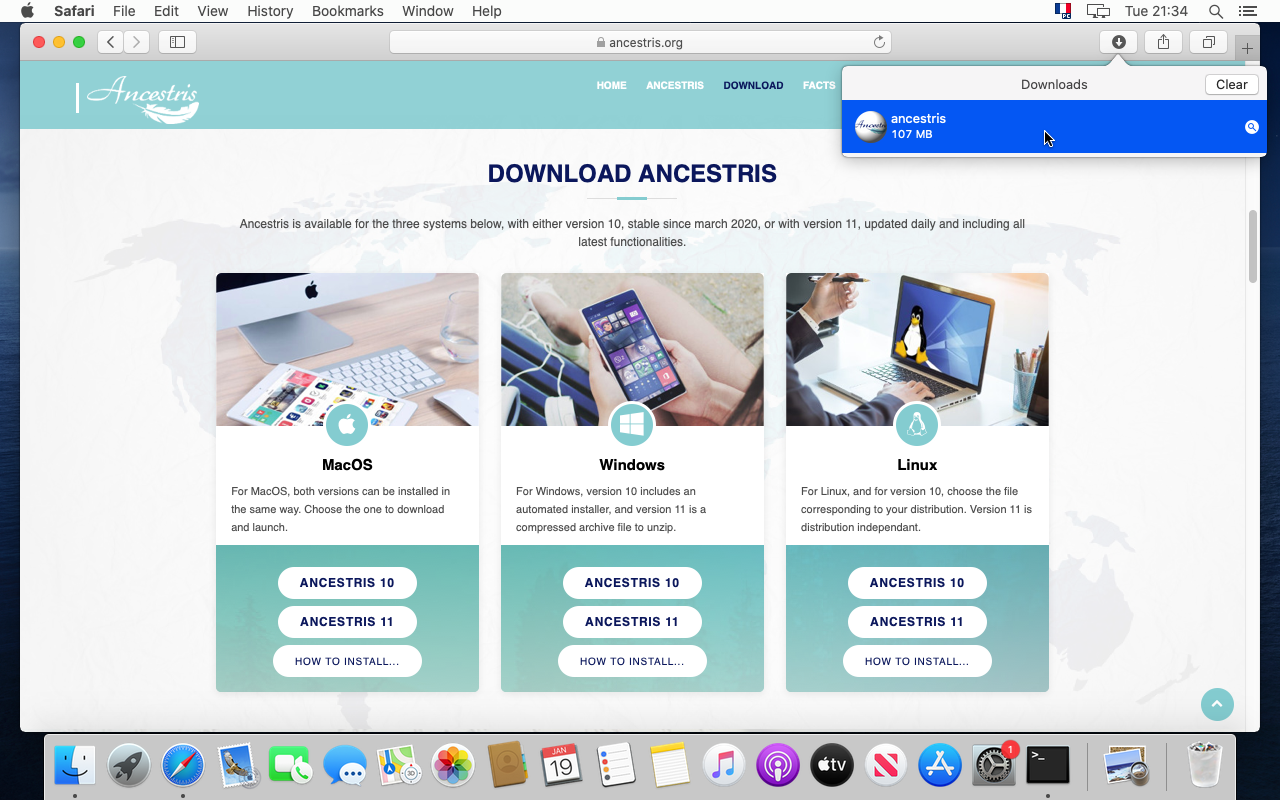
19. It is better to place your Ancestris application in a separate folder from your genealogy data.

20. To make sure it is the version you expect, click on "Quick Look "Ancestris" from the context menu.
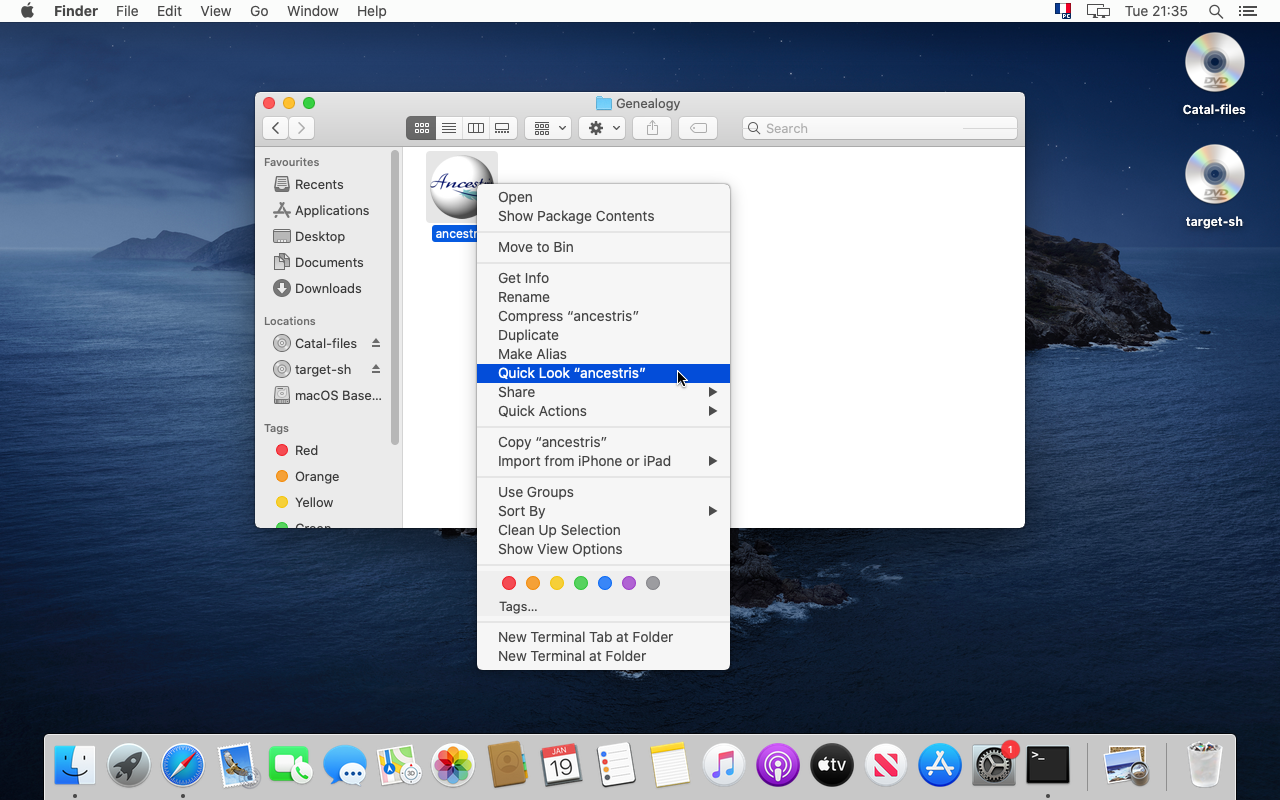
21. The application panel should tell you about the file version and date.
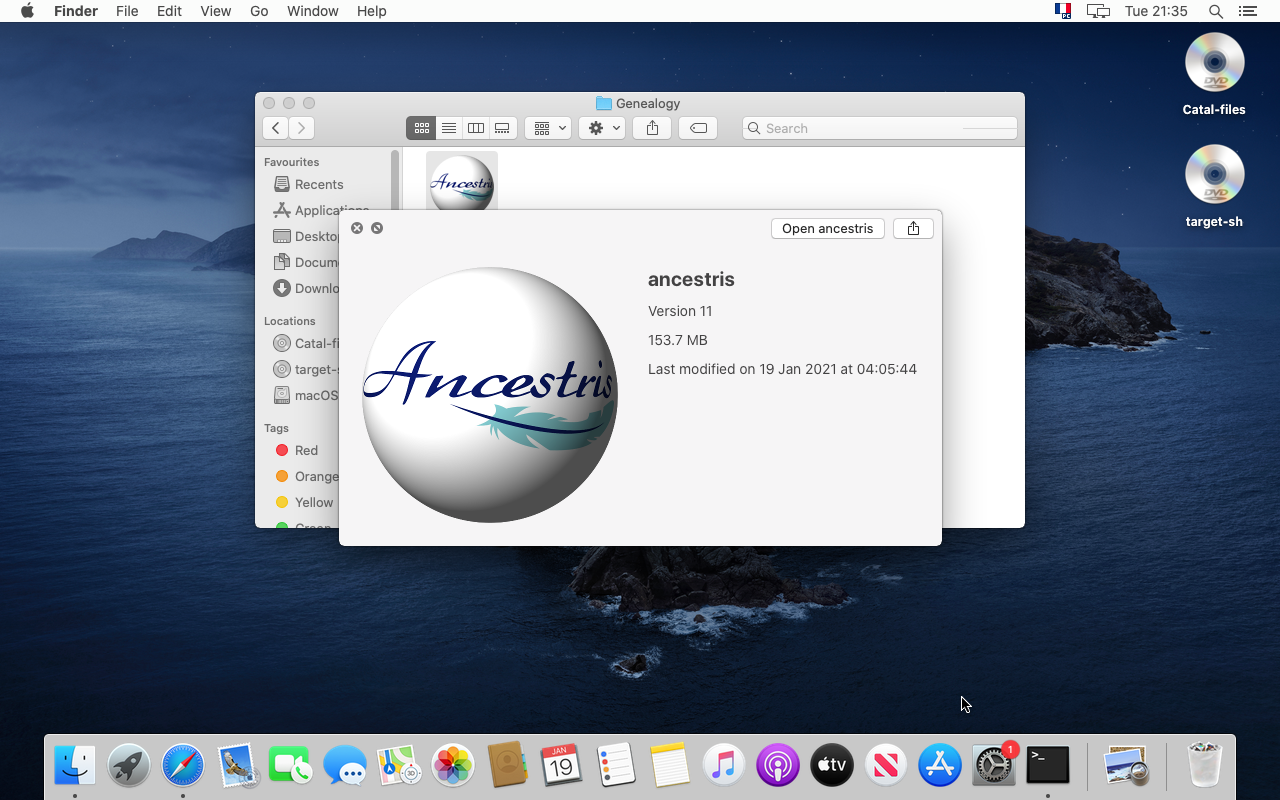
22. Click 'Open ancestris' or go back top your Genealogy folder and click on the icon to launch Ancestris.

Confirmation of the security check
23. Ancestris starts but MacOS tells you it comes from an unverified developer. Not a problem. Ancestris is open source and does not have any malware. Let's authorize it.
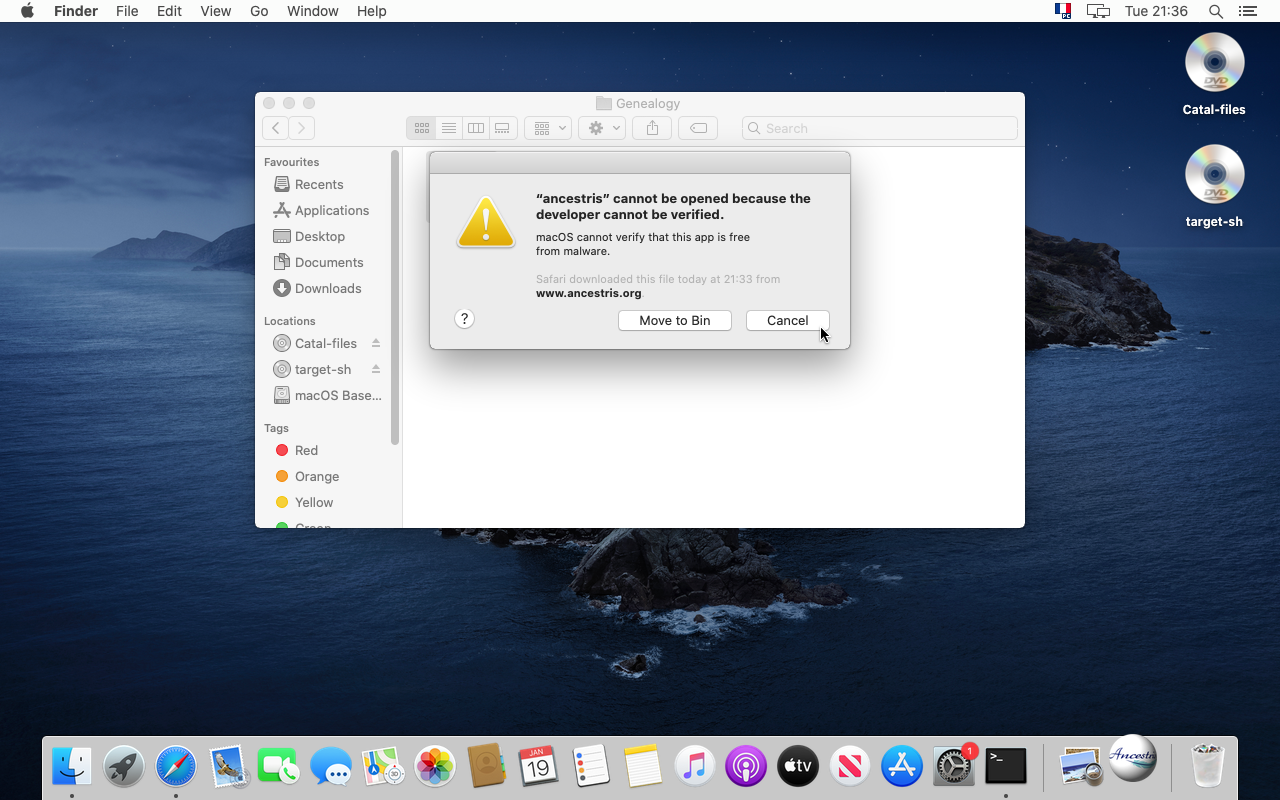
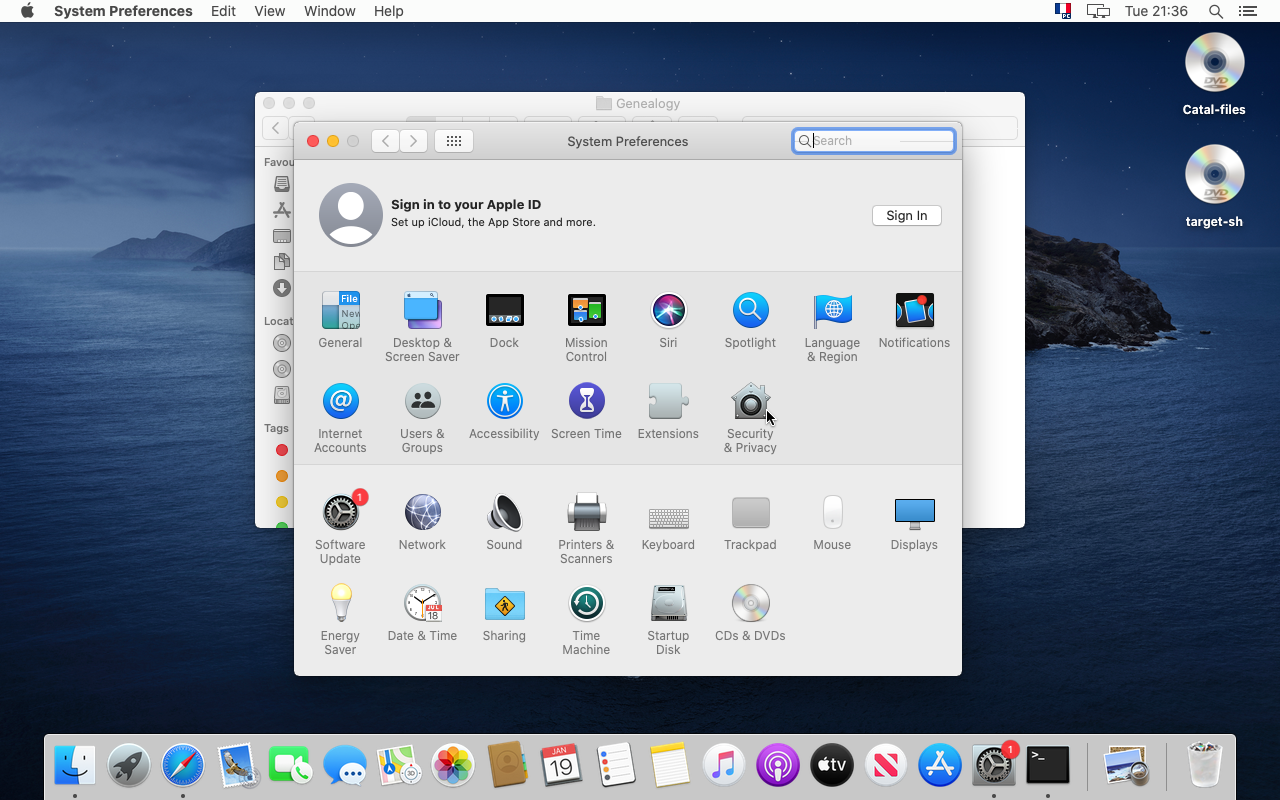
24. For that, go to the System Preferences

25. Click on "Security & Privacy"
26. Click on "Open anyway"
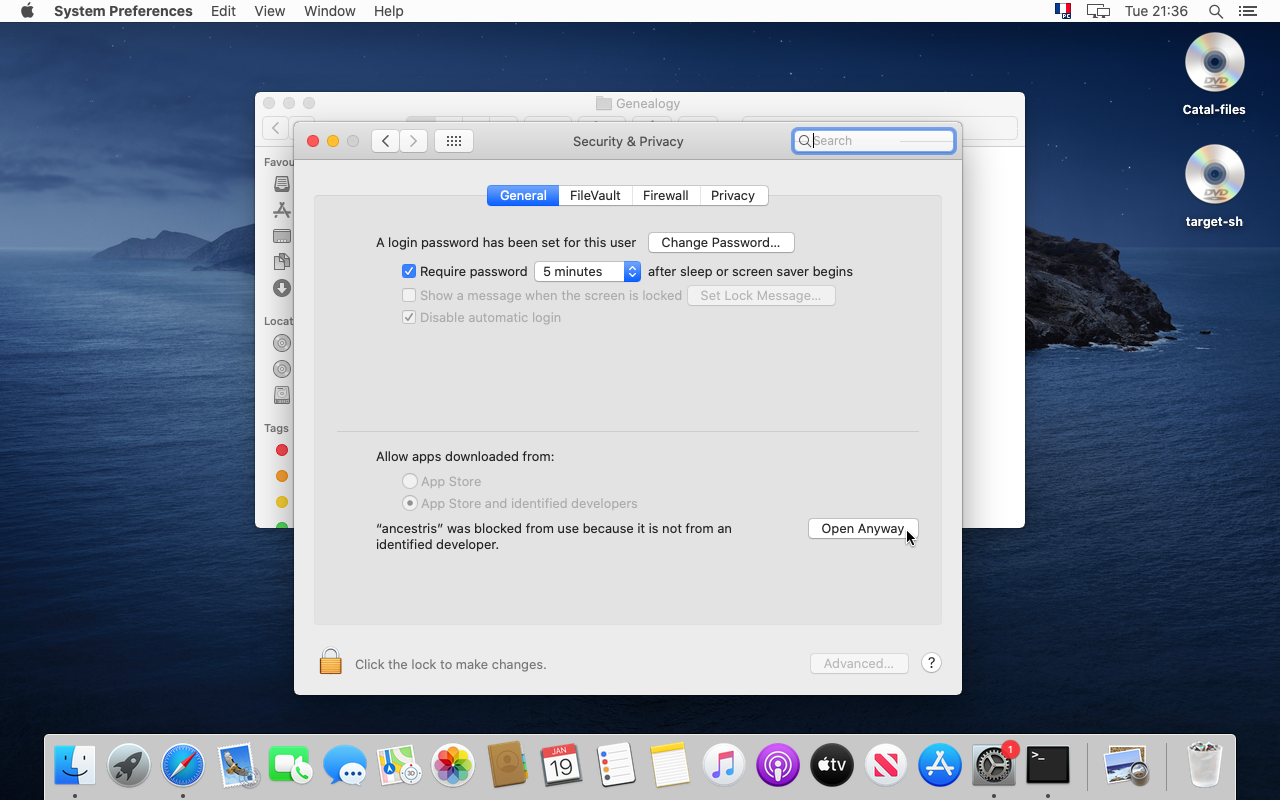
27. If it is the first time you do this, confirm with your password.
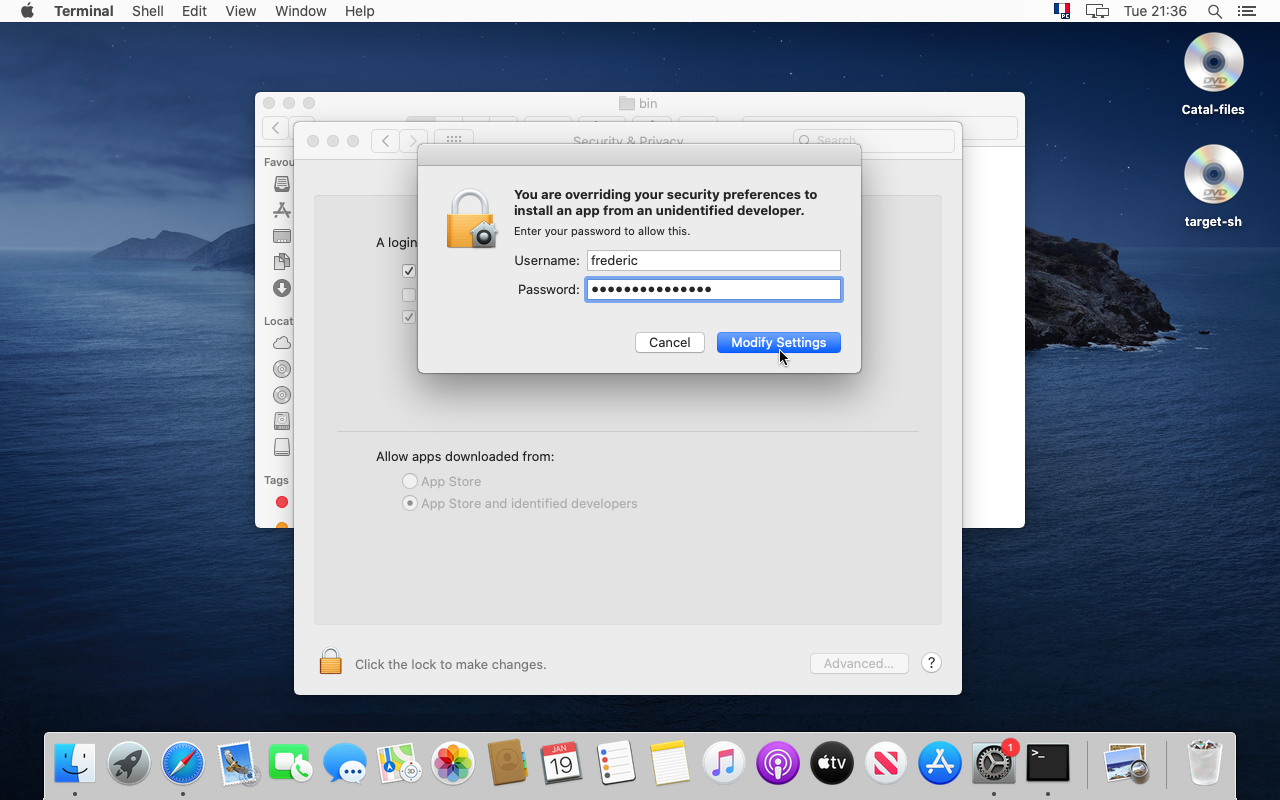
28. Yes, you are sure. Click "Open".
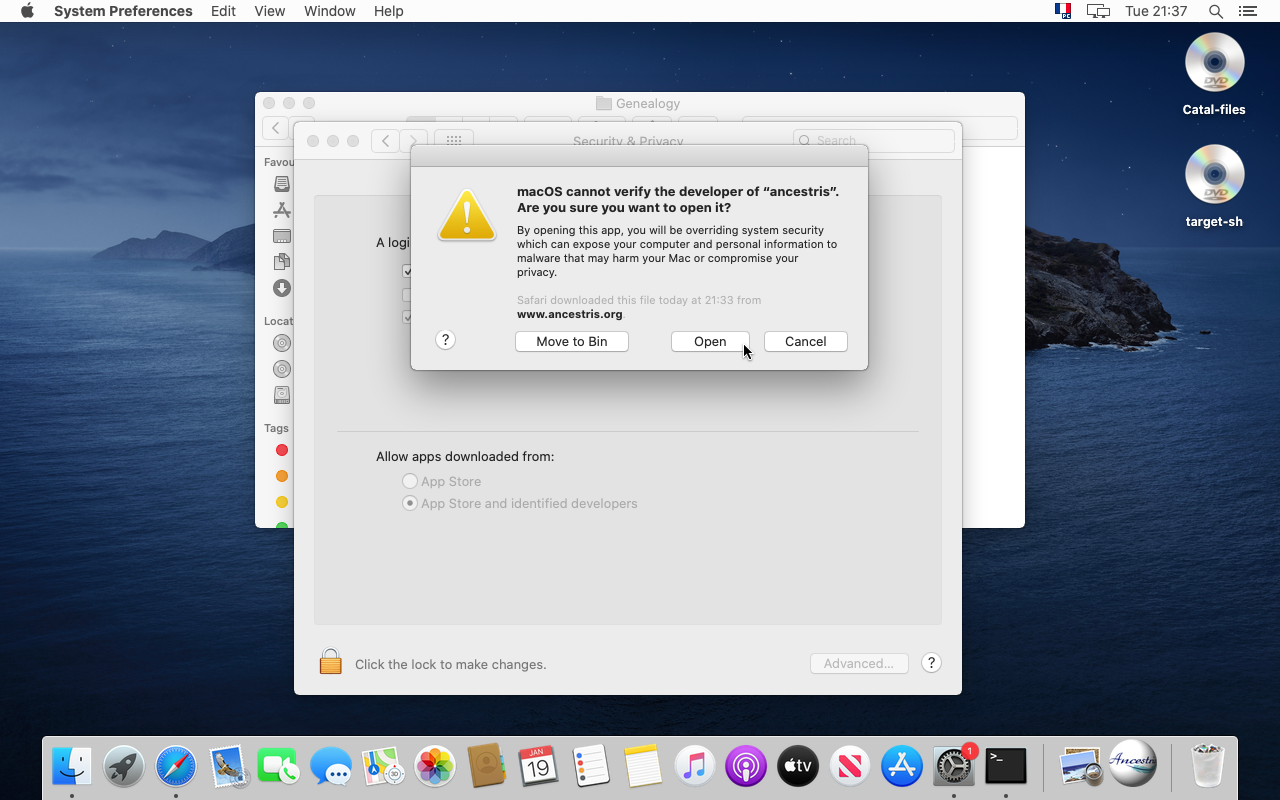
29. Finally, Ancestris starts.

30. You can see the Welcome window.
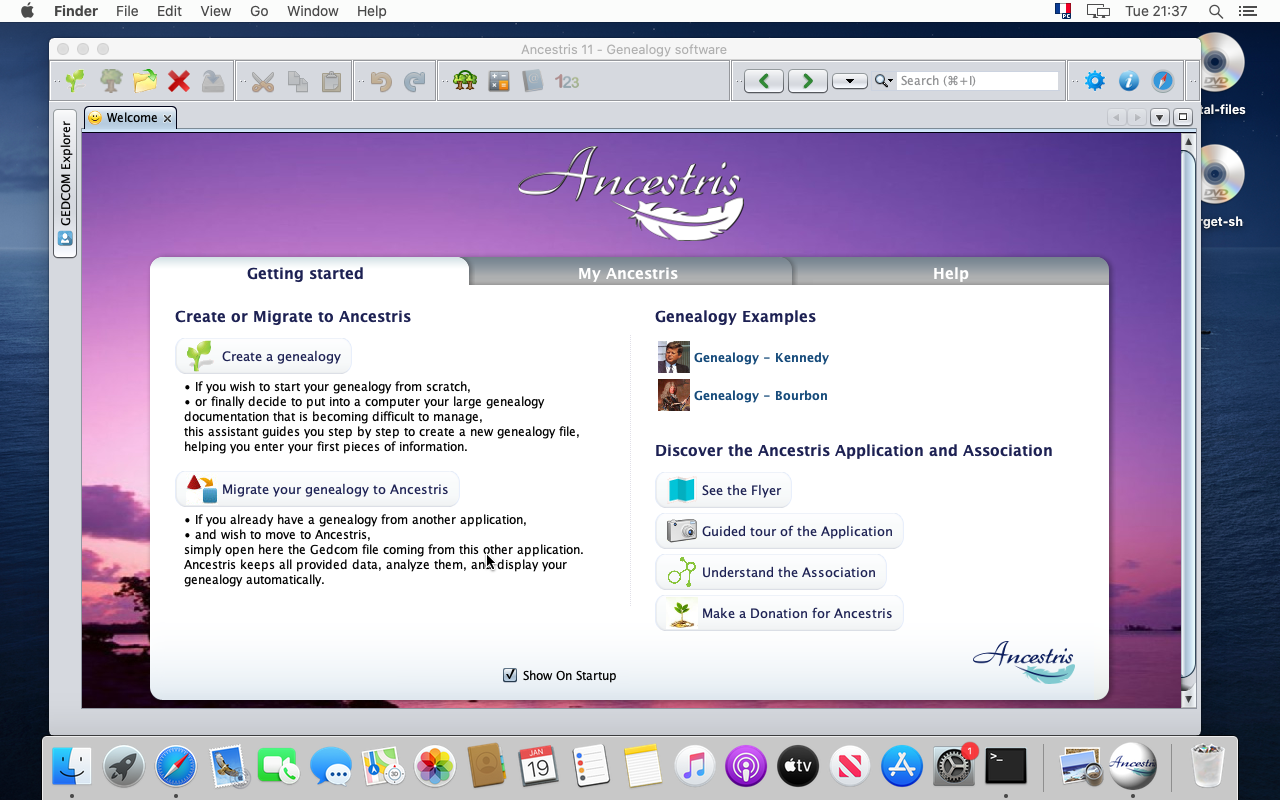
31. Please note that from the application Menu, you can access the Preferences and the "About Ancestris" panel.

Keep in dock
32. Let's keep the application in the Dock by clicking on the Ancestris icon in the dock panel.

33. Choose "Option" and "Keep in Dock".
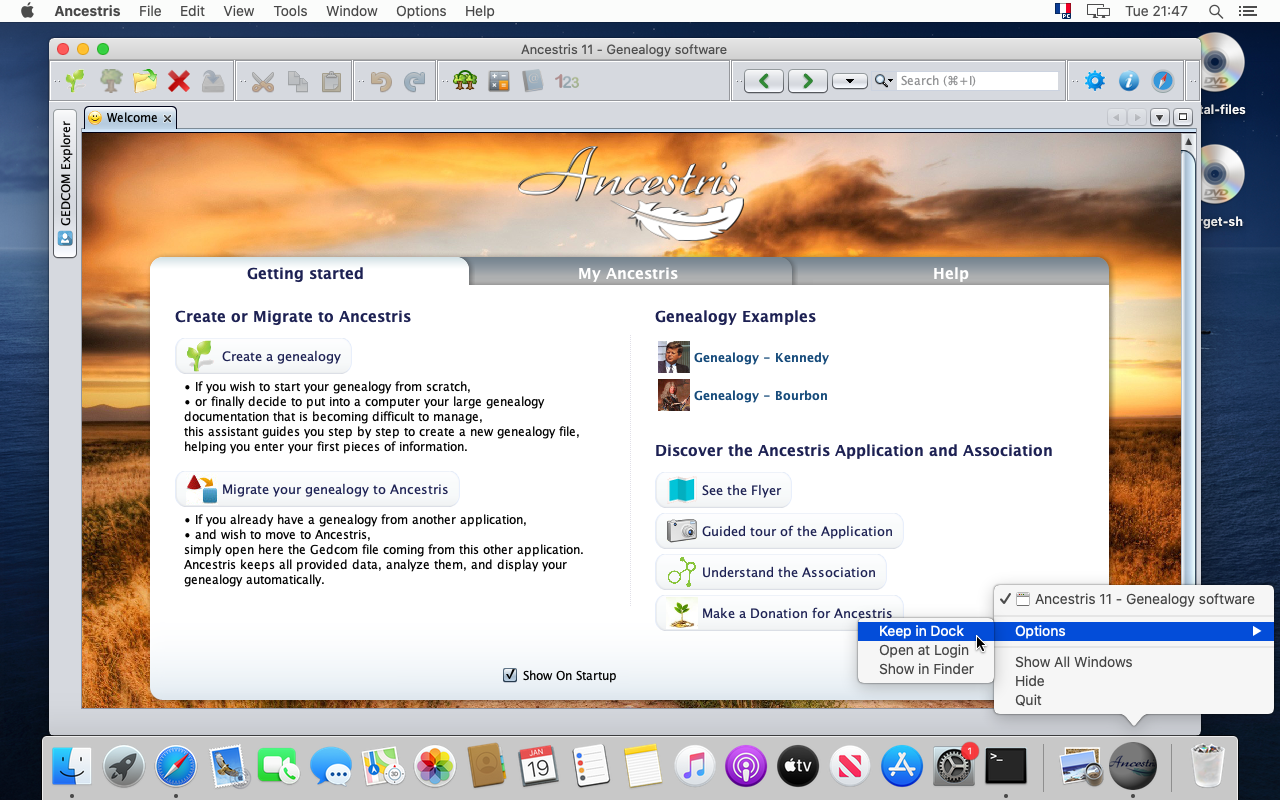
34. This is it. Ancestris is installed and in the Dock. Yessss !
