Stap-voor-stap installatie op MacOS
Deze pagina is een gedetailleerde stap-voor-stap beschrijving voor installatie van Ancestris op een MacOS systeem.
We laten hier een schermvoorbeeld zien van 21 januari 2021 van de installatie van Ancestris versie 11 op Mac OS Catalina.
Het betreft hier de volgende stappen:
- Het nog niet geïnstalleerde Java alsnog te installeren op Mac OS Catalina.
- Het downloaden van Ancestris versie 11 vanaf de veilige Ancestris web site.
- De toestemming geven aan de MacOS veiligheidscontrole om Ancestris te starten, ondanks dat Ancestris afkomstig is van een onbekende ontwikkelaar.
- Het starten van Ancestris.
- Aanmaken van een Ancherstris item in the Dock.
Merk op, dat deze schermafbeeldingen er verschillend uit kunnen zien ten opzichte van de huidige Ancestris en/of de -software schermafdrukken.
Een speciale opmerking voor de gebruikers van MacOS Big Sur: "Volg nauwkeurig het onderstaand stappen en lees goed de speciale sectie onderaan de tekst".
Installatie van Java
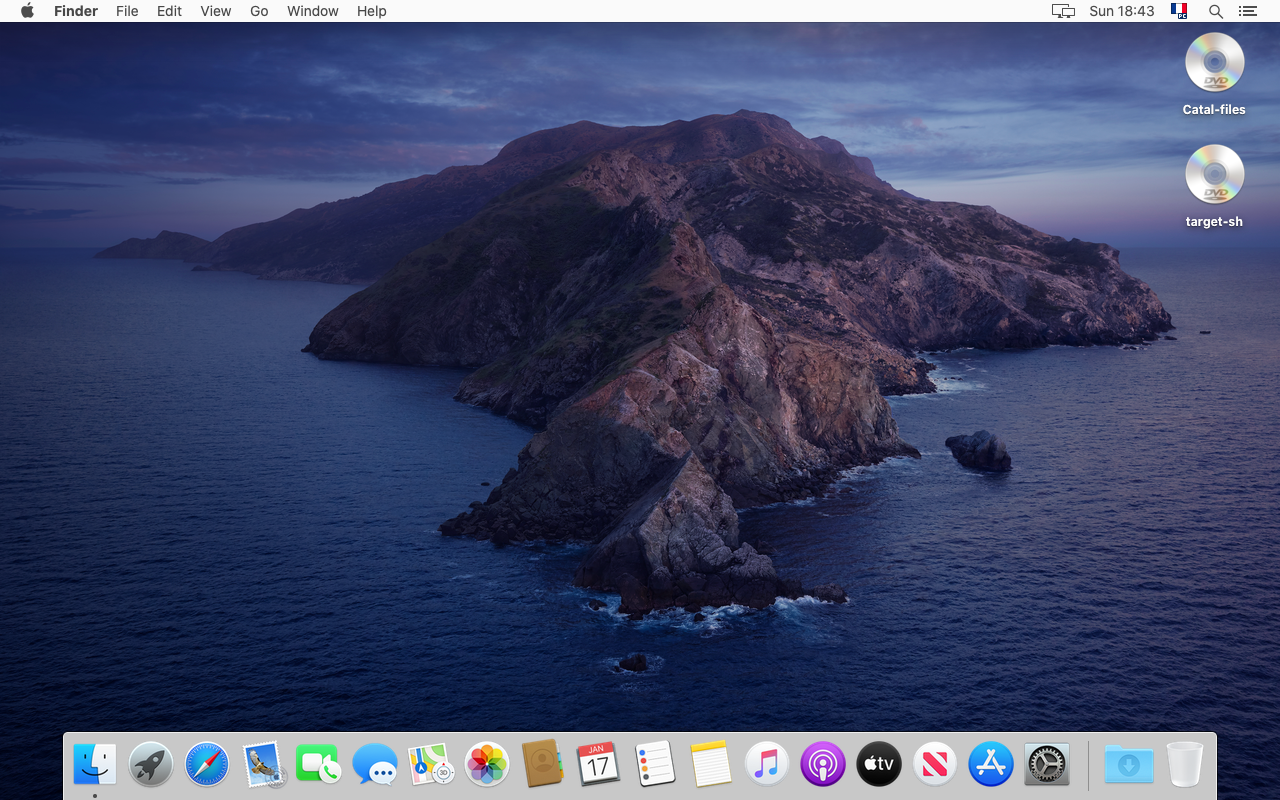
1. Vanaf het Mac OS bureaublad...
2. Open een terminal scherm en type "java -version".
Als Java niet geïnstalleerd is, zal een nieuw scherm verschijnen, waarin gevraagd wordt Java alsnog te installeren. Klik "More info...".
Als Java geīnstalleerd is, kan je direct doorgaan naar "screen 11".

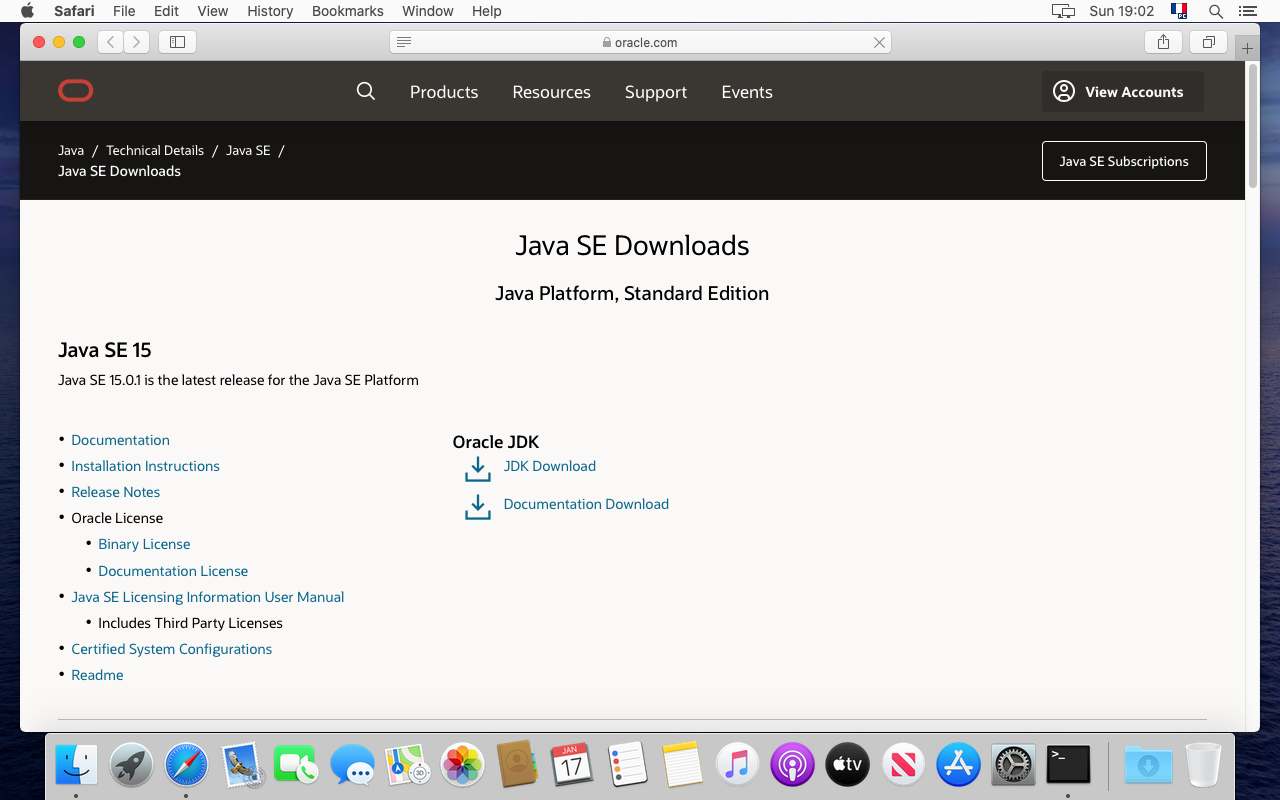
3. Je bent nu op de Java web site. Klik op "JDK Download"
We kunnen op de website zien dat versie 15 voorgesteld wordt om te installeren. Laten we toch deze versie installeren, alhoewel we versie 8 of 11 aanbevelen om te gebruiken, omdat dit al langere tijd stabiele versies zijn. (zie "required configuration").
4. Ga naar het "MacOS installatie programma" en dubbelklik op het ".dmg' bestand.

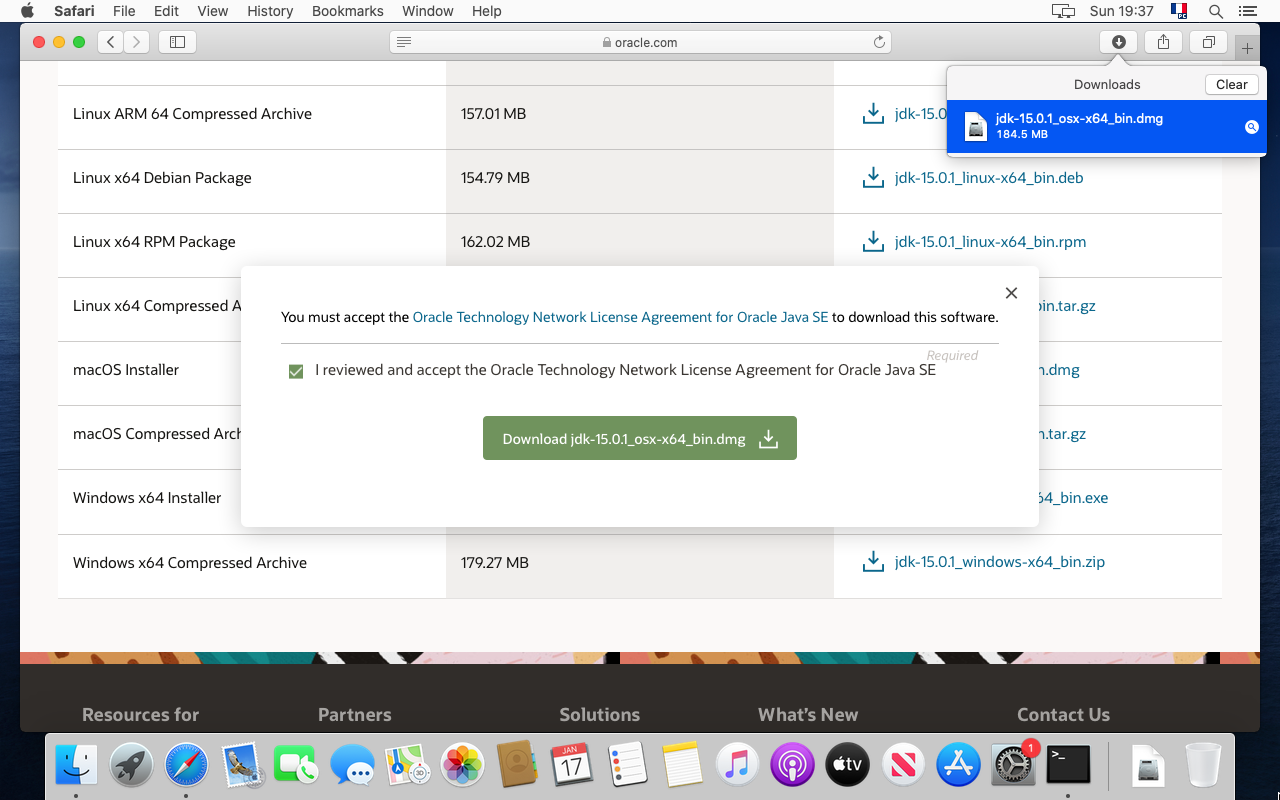
5. Klik op de groene "download" knop.

6. Het downloaden start... Wacht.

7. De download is gereed. Open de Download map om het bestand te controleren.
8. Dubbel klik op het JDK pakketje.

9. De JDK installatie start. Volg de stappen.

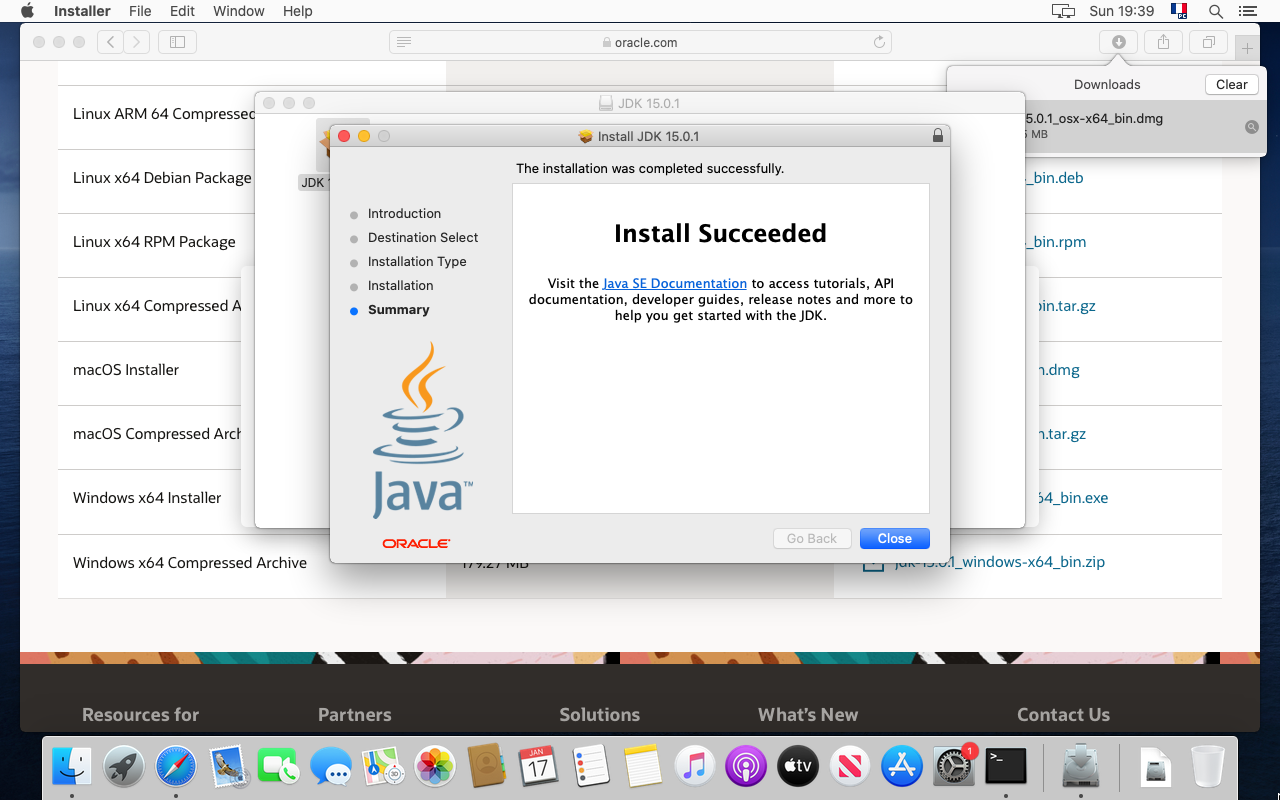
10. De installatie moet nu geslaagd zijn. Sluit het scherm.
11. Type opnieuw "java -version" in het terminal scherm.
De volgende mededeling zal verschijnen, dat aangeeft dat Java versie 15 in ons voorbeeld is geïnstalleerd.

Je bent nu klaar met de Java installatie. We gaan nu Ancestris installeren.
Installatie van Ancestris
12. Ga naar de https://www.ancestris.org web site

13. In het menu, klik op DOWNLOAD. Je komt nu op de download sectie.

14. Klik op de Ancestris 11 knop van het MacOS paneel.

15. Als dit de eerste keer is dat je Ancestris installeert, dan geeft je nu de download van Ancestris toestemming om vanaf de website Anchestris te dowloaden.

16. De downloading start. Het neemt een slechts een paar minuten in beslag.
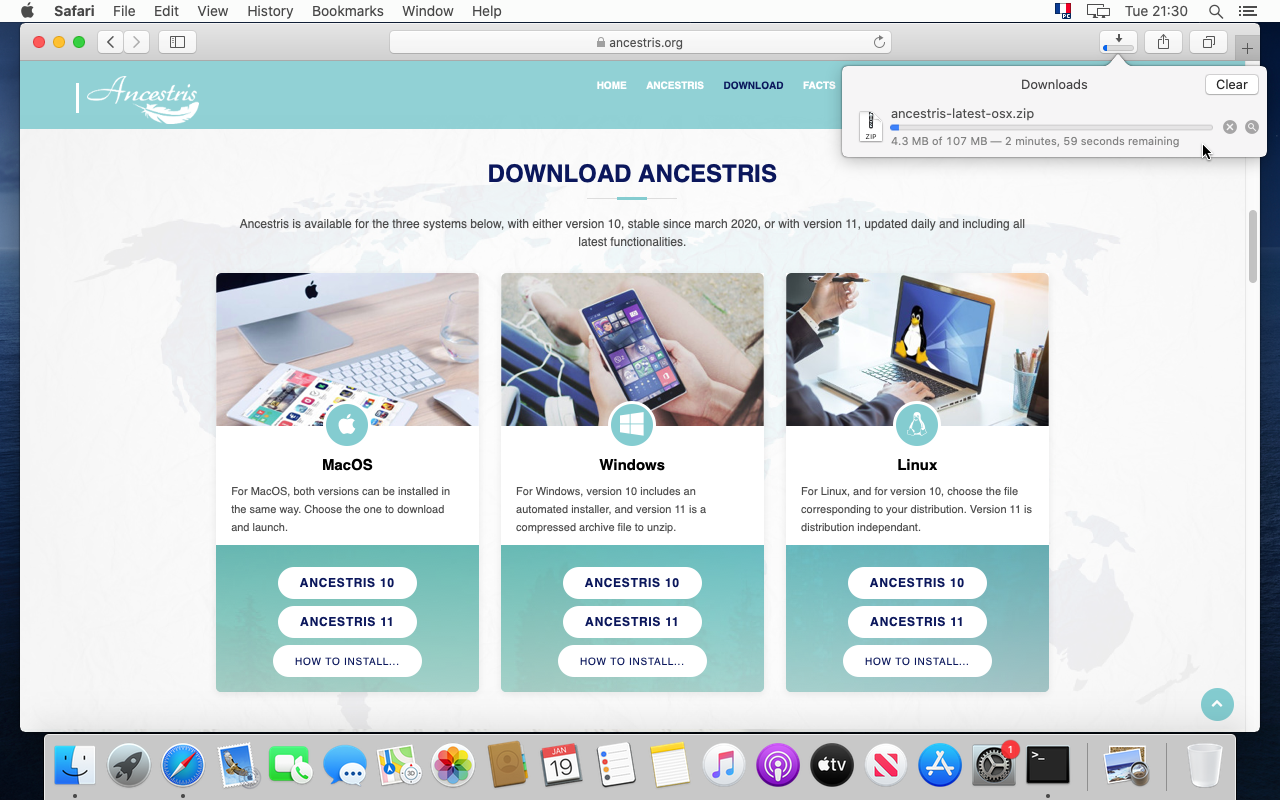
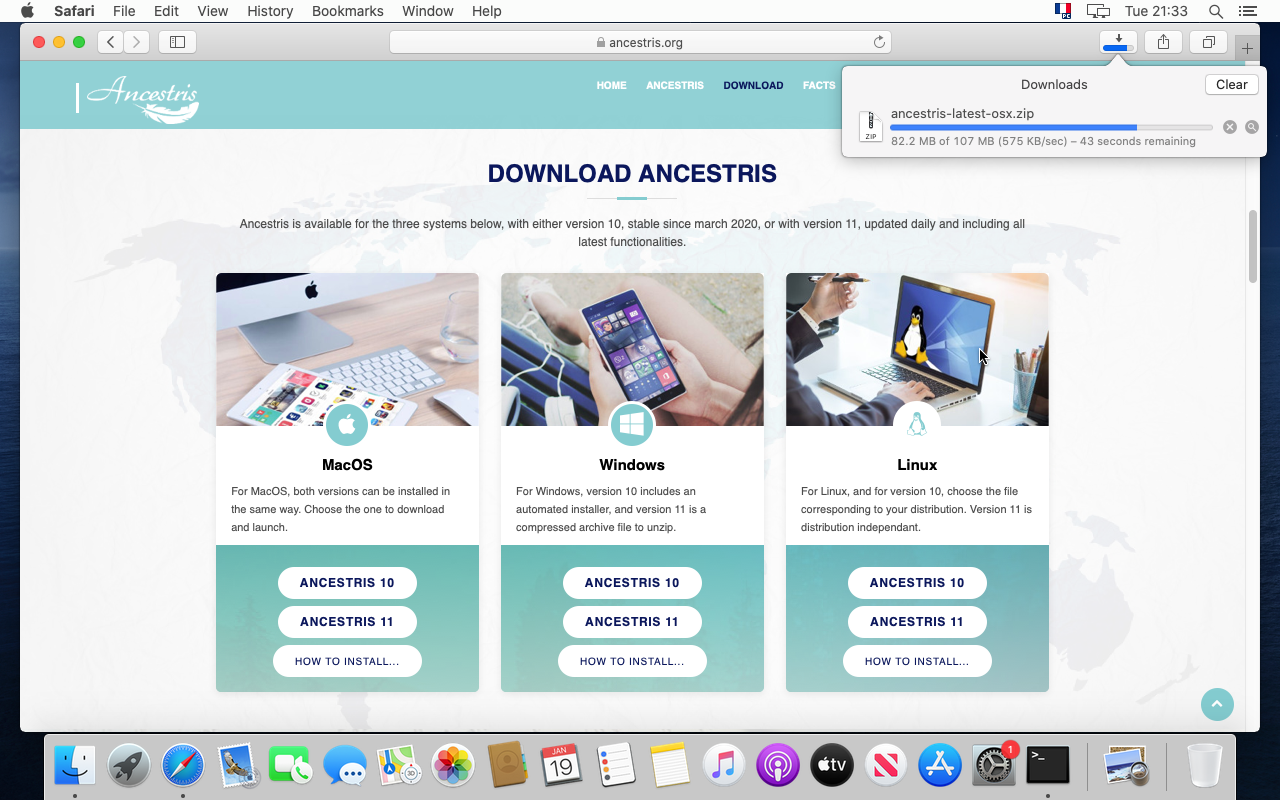
17. Wacht nog even langer .... we zeiden een paar minuutjes !
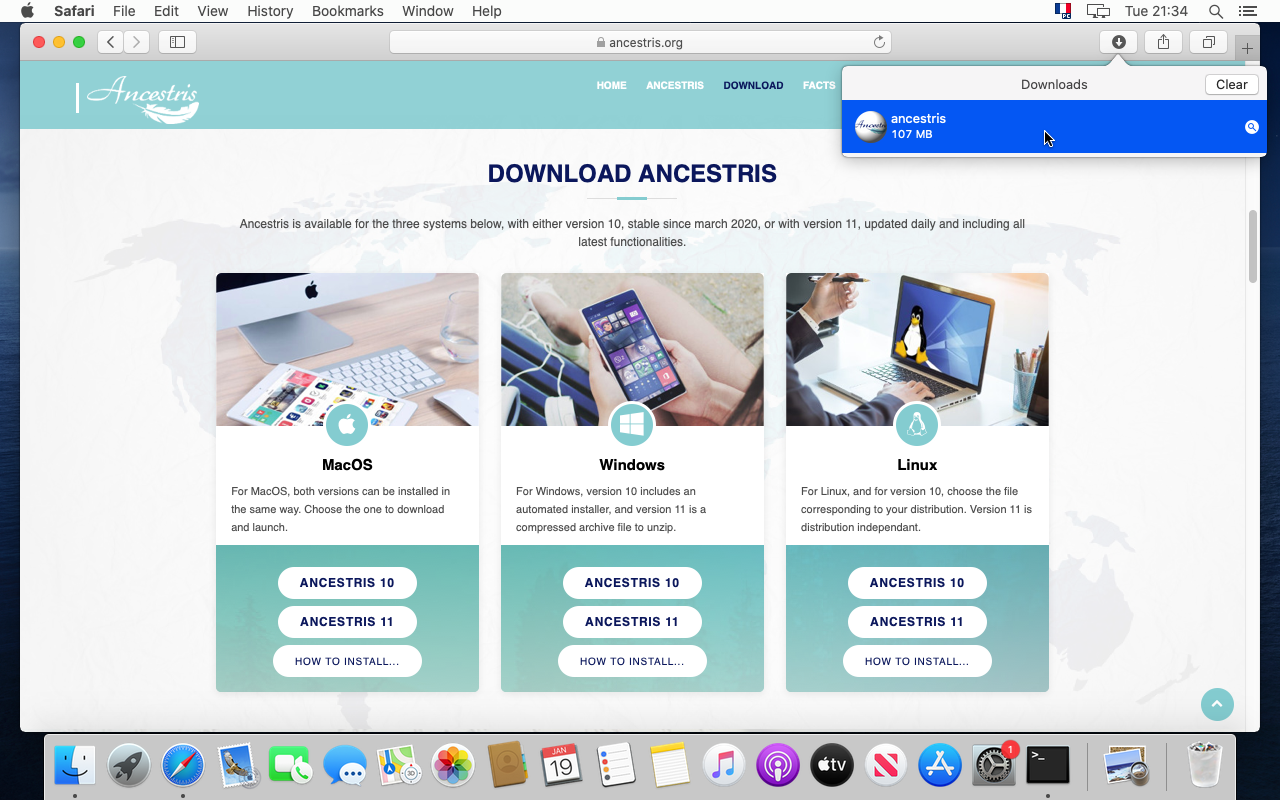
18. Als de download klaar is zet het bestand in je genealogie map.
19. Het is beter om het Ancestris programma in een andere map dan je genealogie data te zetten.

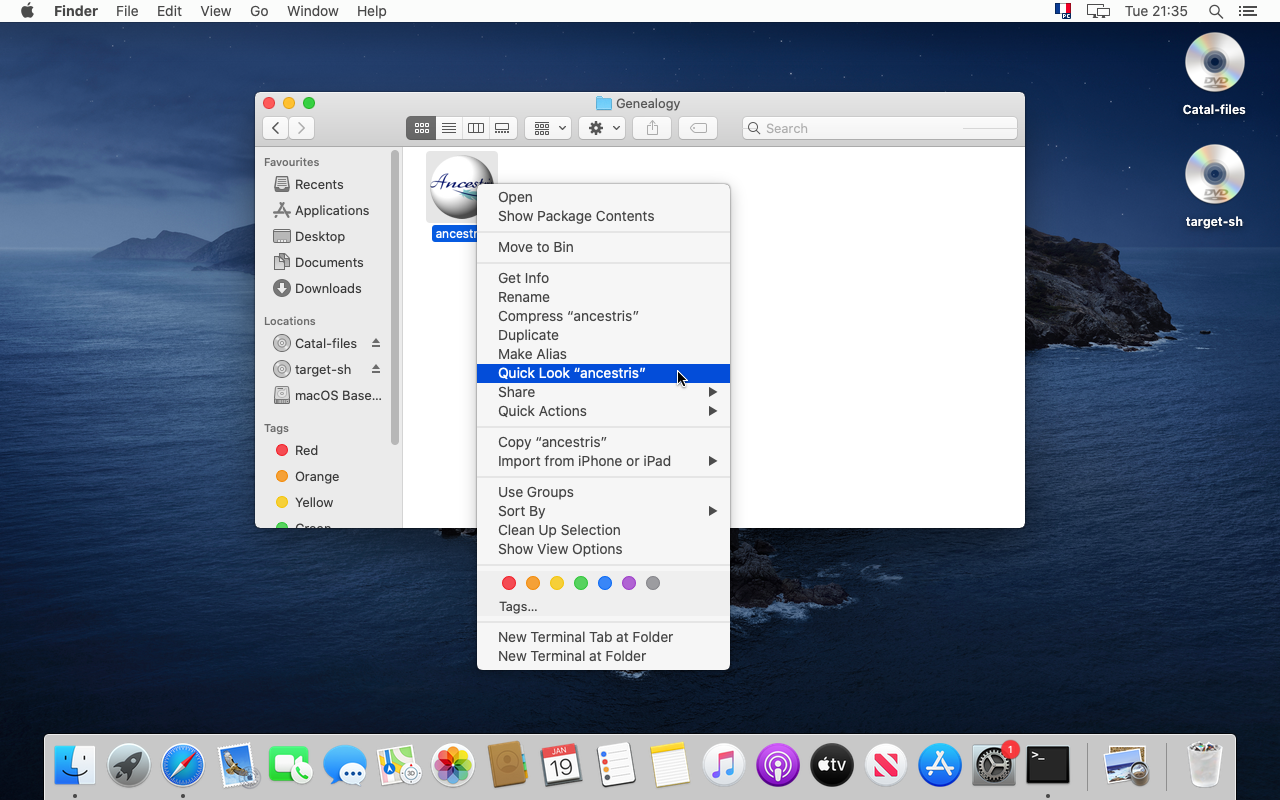
20. Om zeker te weten dat je de goede versie hebt, klik je op "Quick Look Ancestris" van het context menu.
21. Het programma scherm laat nu je het versienummer en de datum zien.
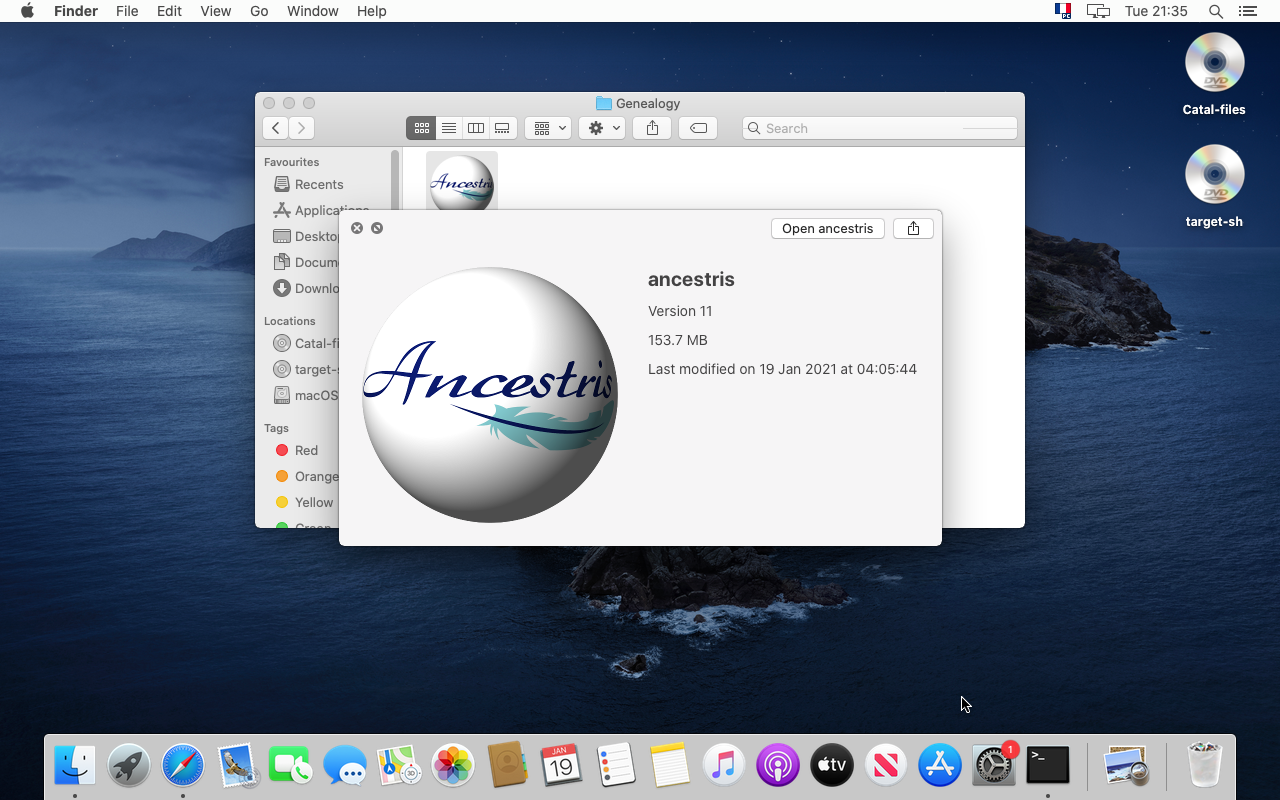
22. Klik op "Open Ancestris" of ga terug naar je Genealogie map en dubbelklik op het icoon om Ancestris te starten.

Goedkeuring van de veiligheid controle check
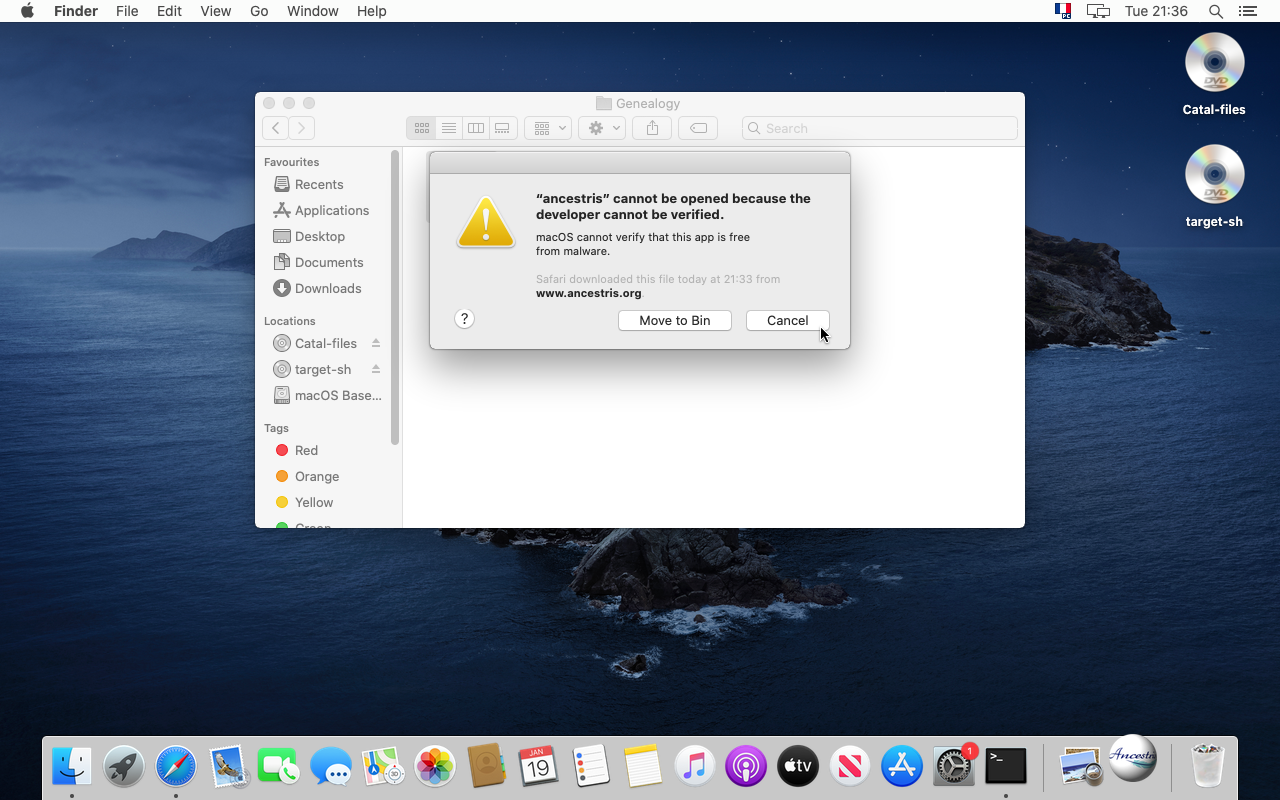
23. Ancestris start, maar MacOS vertelt je dat Ancestris van een ongeautoriseerde ontwikkelaar komt. Dit is geen probleem. Ancestris is een "Open Source' programma en heeft geen malware. Laten we het gebruik dus maar autoriseren.
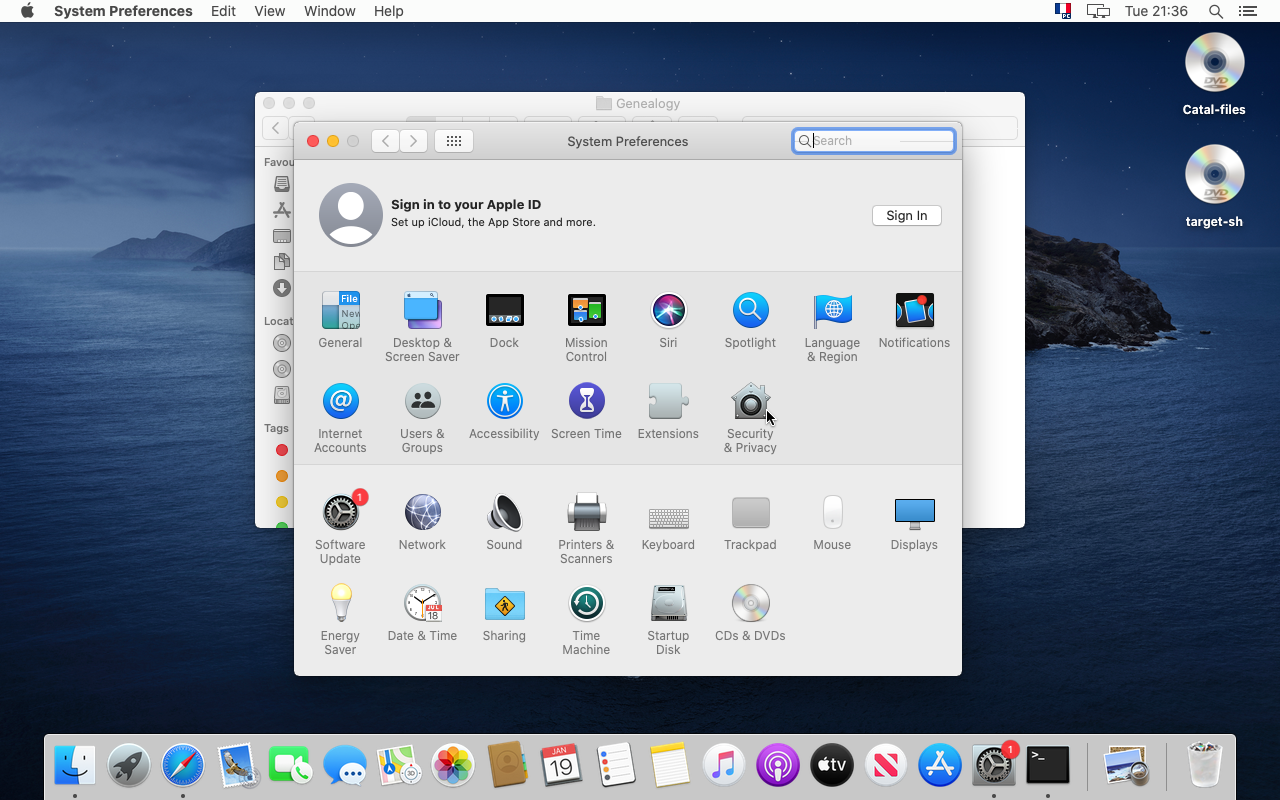
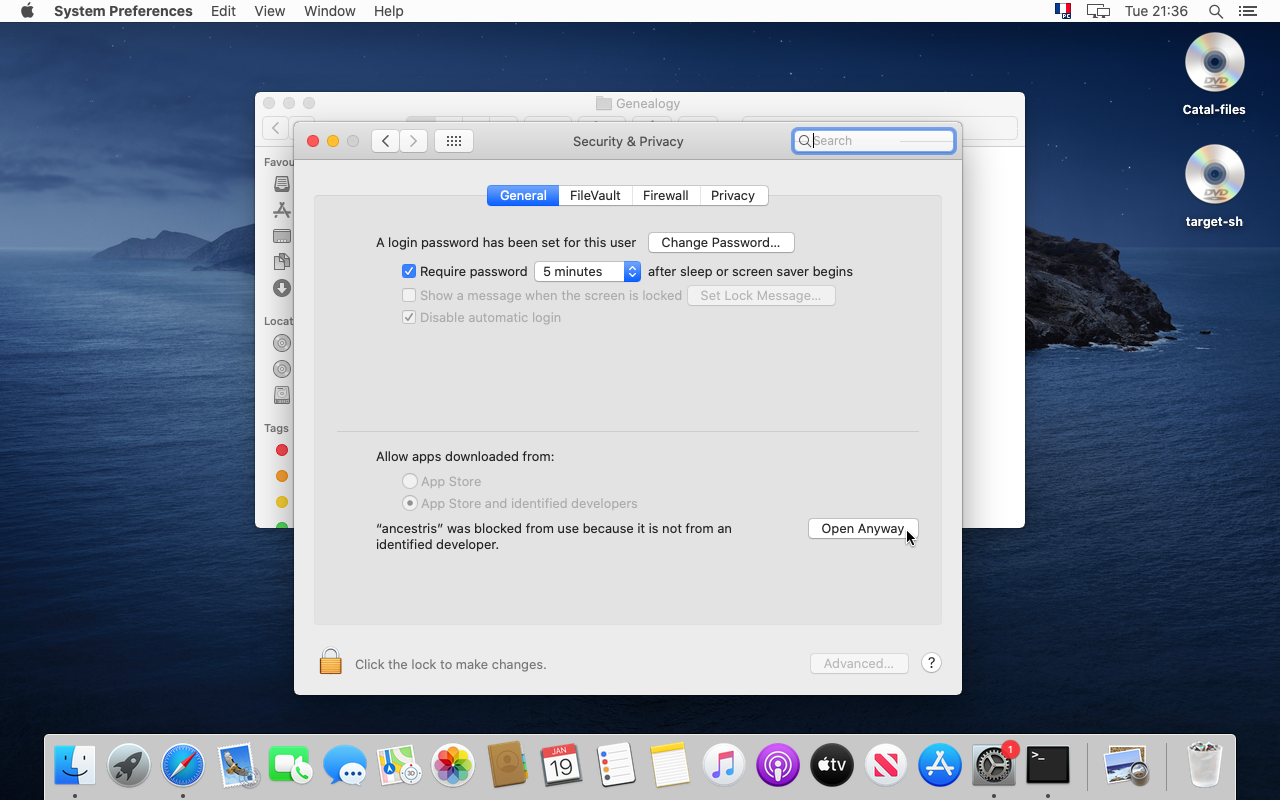
24. Om dit te doen, ga je naar "System Preferences" van je Mac.

25. Klik op "Security & Privacy".
26. Klik op "Open anyway".
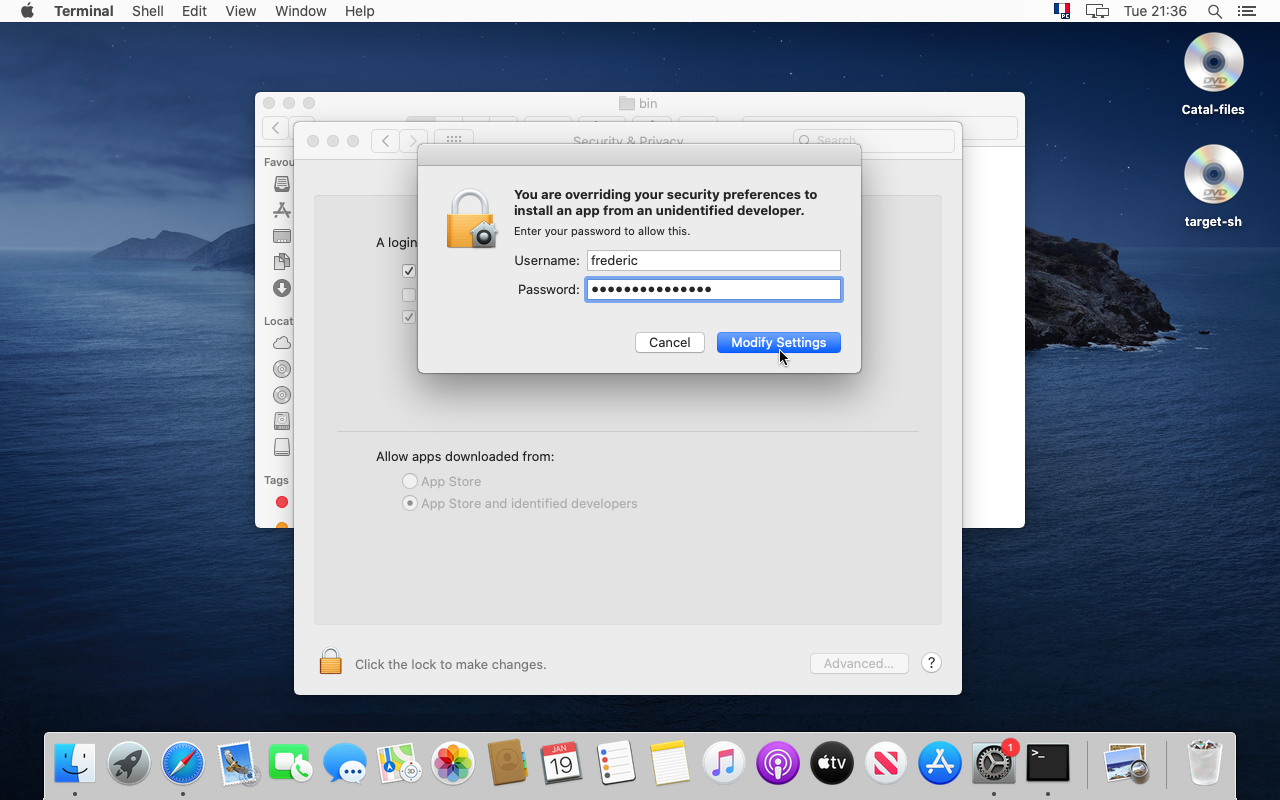
27. Als je dit voor de eerste keer doet, bevestig je het met het invoeren van je wachtwoord.
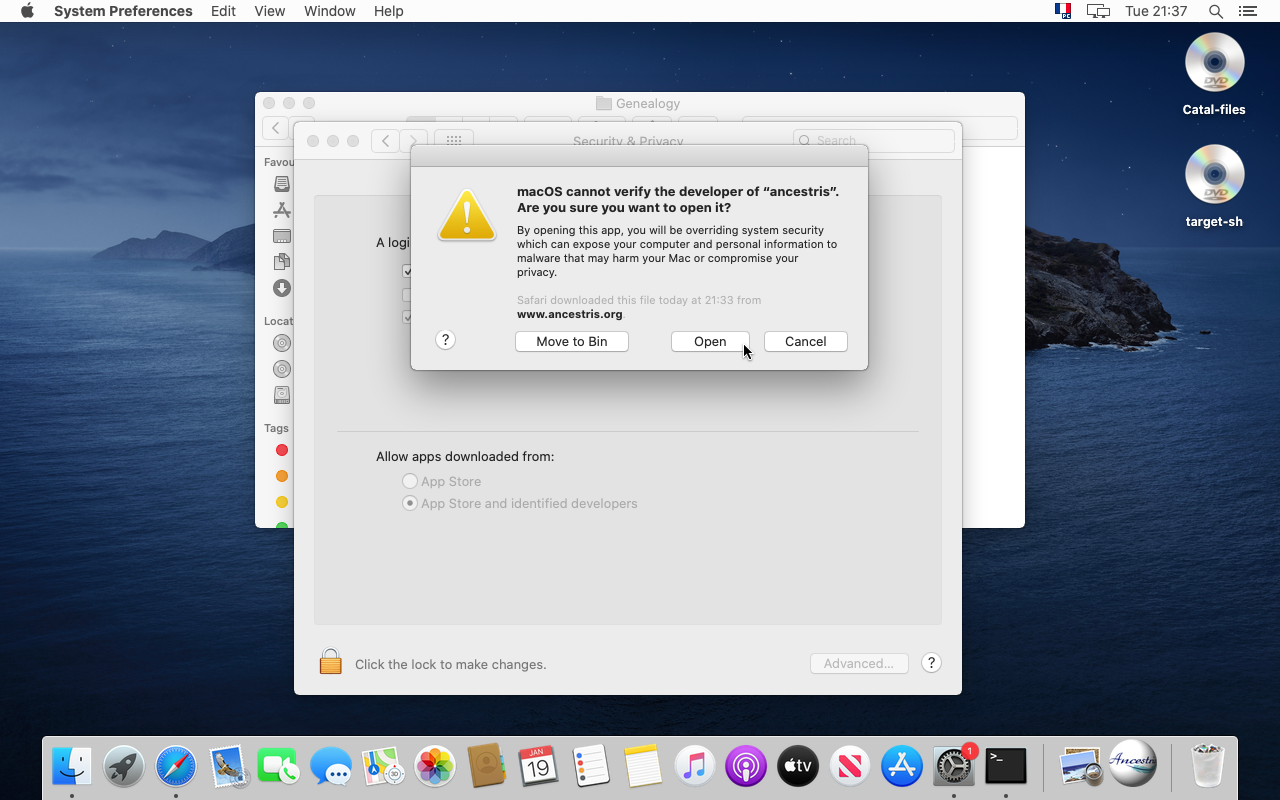
28. Ja, je weet het zeker. Klik op "Open".
29. Tenslotte, Ancestris is gestart.
.

30. Je ziet nu het welkomst scherm.
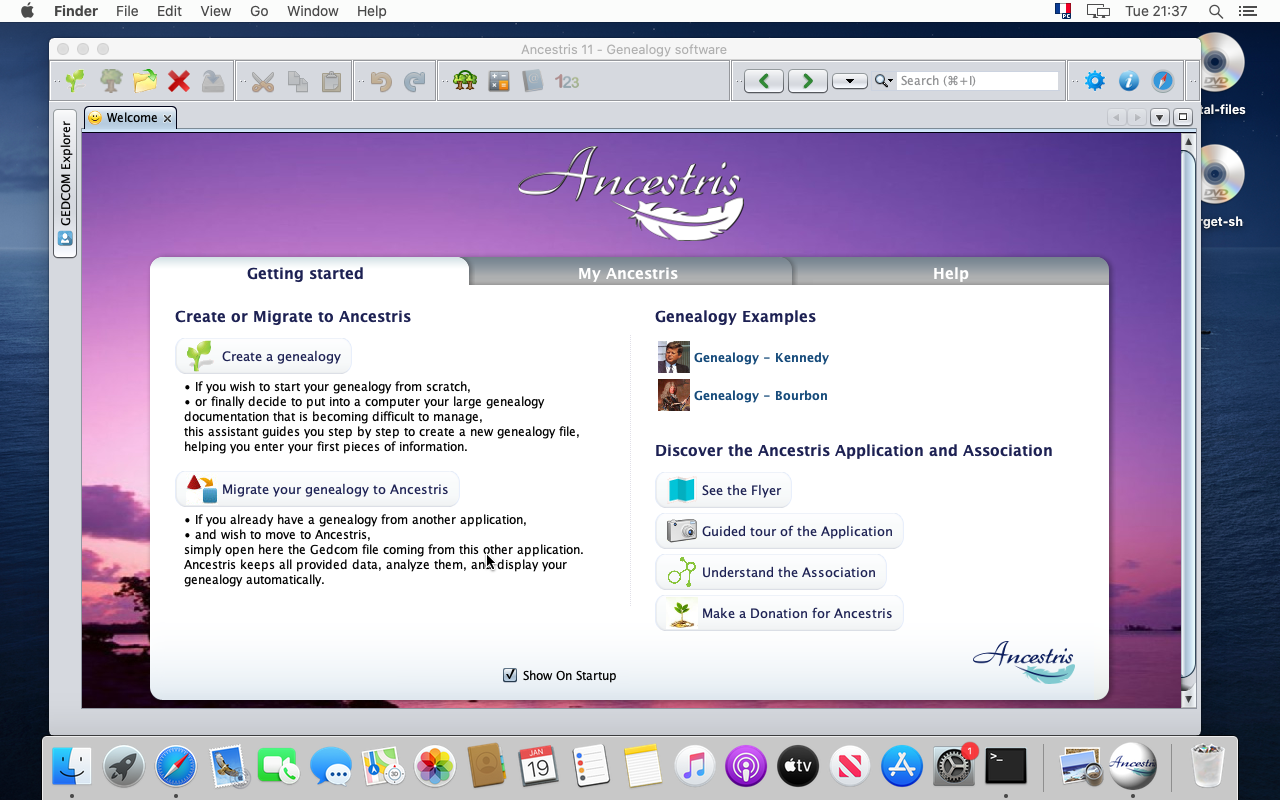
31. Merk op, dat je vanuit het programma, je toegang kan krijgen tot het "Voorkeuren"- en het "Over Ancestris" paneel.

Laat Ancestris in het "Dock" staan
32. Laat de applicatie in het Dock staan door op de Ancestris icoon in het "Dock" te aan te wijzen. Er verschijnt nu een submenu.

33. Kies "Option" en "Keep in Dock".
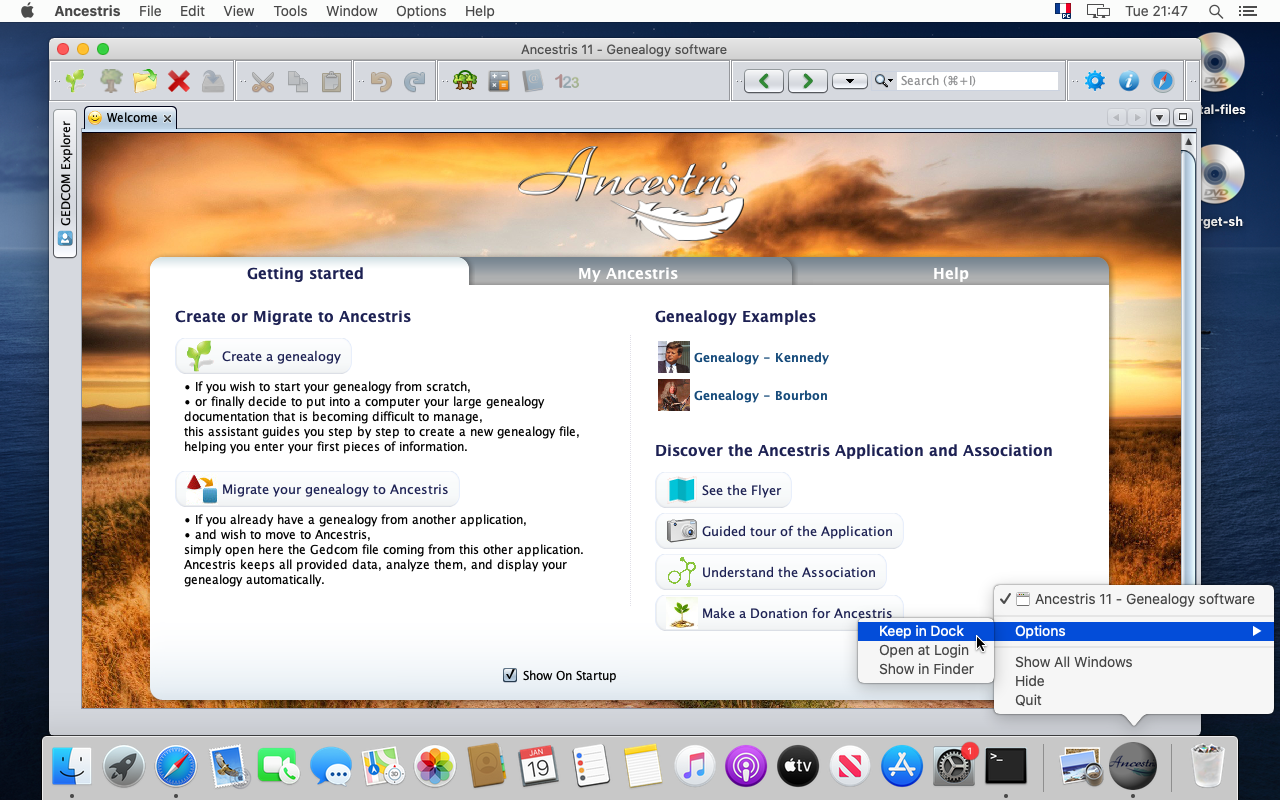
34. Dat is alles. Ancestris staat in het "Dock" en werkt. Yessss !

SpecialSpeciale noteopmerkingen forvoor usersgebruikers ofvan MacOS Big Sur
ThereEr arezijn additionalextra stepsstappen fornodig voor MacOS Bug Sur users,gebruikers, in caseindien Ancestris doesna notbovenstaande startinstallatie afterniet the installation above:start.:
ForVoorsecuritybeveiligingsreasons,redenen,itismighthetbemisschiennecessarynodigtoomstorede Gedcomfilesbestanden inanothereenfolderanderethanmapthedan'Documents'defolder"Documents" map op te slaan.ItHetmightisbemisschiennecessarynoodzakelijktoomspecifyhetthepadpathnaartohetthe java versionJava programma inthehetancestrisconfiguratieconfigurationbestandfilevan Ancestris op te slaan.
PleaseVolg followdeze theseextra additionalstappen stepsom tohet specifypad thenaar pathde toJava theversie javaaan versionte geven in thehet ancestrisAncestris configurationconfiguratie file:bestand.
BasicBasis principles:principes
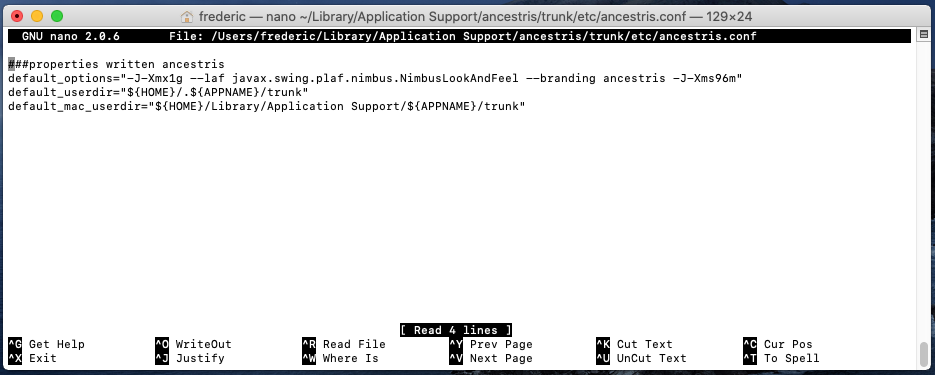
TheHetconfigurationconfiguratiefilebestandisbevindtherezich hier :${HOME}/Library/Application Support/ancestris/trunk/etc/ancestris.confJava'sDelocationJavaislokatiegivenwordtbymetthehetfollowingvolgendelineTerminalcommandcommando:opgevraagd:/usr/libexec/java_home -V
TheseDit arezijn thede steps.te volgren stappen:.
1. Open a terminal, and check and copy the location of the installed java version
- Type /usr/libexec/java_home -V on ther command line and press Enter
- You shoud see the path of the installed java version.
- Select the line indicating the path, and click on the mouse to copy it in the clipboard. This line could be different in your case.
- Here it is
/Library/Java/JavaVirtualMachines/jdk-15.0.1.jdk/Contents/Home
- Here it is

2. Open the editor on the Ancestris configuration file
- Type the following command which starts with "
nano ${HOME}..."

3. The nano editor opens and shows the content of the Ancestris configuration file
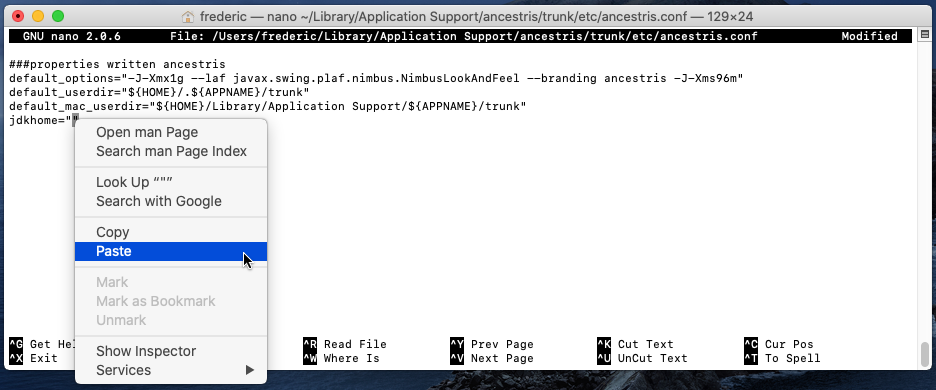
4. Add - or modify - the line that says jdkhome="" and paste the java path between the double quotes
- Add the line if it does not exist
- Or update it otherwise. Make sure in this case that there is no pond sign "#" at the beggining of the line, your change would not be taken into account.
5. Exit and save your change

6. Check that the Ancestris configuration file has your change, and start Ancestris.
- Type the command starting with "
cat ${home}/..." below. - The terminal displays the configuration file with the added line.

The configuration file is updated. You can start Ancestris and Ancestris should find java.